If you are looking for a simple, easy dessert that comes together in a hurry, this one is a great choice (and tasty, too).
Peachy Pockets use crescent dough and a few basic ingredients to make a delicious pastry that you could eat for breakfast or dessert.

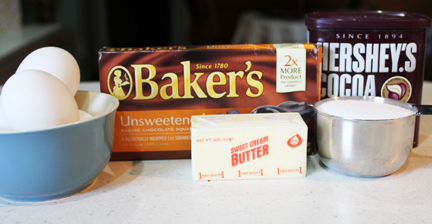
Basic Ingredients

Thoroughly drain peaches and slice into bite-sized pieces. Set aside. (If you have fresh peaches, even better. Just peel and slice.)

Mix together melted butter, cinnamon and brown sugar. Set aside.

Roll out crescent dough, pressing two triangles together to form a rectangle. Make sure you seal those perforated edges. Spread with cream cheese.

Top with a sprinkling of the cinnamon-sugar mixture.

Add a pile of peaches to the center of the rectangle.

Then fold the ends up and over, sealing the edges.
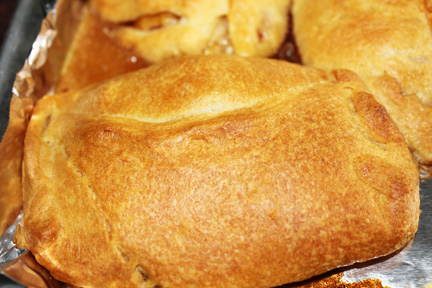
Bake at 350 degrees for about 10 minutes, until crescent dough is golden bread and juice is bubbling from the cracks you didn’t quite get sealed (should you leave any cracks.)

Melt cream cheese frosting in the microwave (about 10 seconds) and pour over tops of pockets.
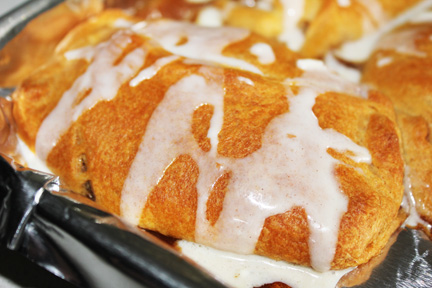
Just drizzle the frosting over the tops while your mouth begins to water.
Before plating, add a swirl of caramel sauce to the plate. Your taste buds will thank you.
Peachy Pockets
1 small can of peaches
1 tube of crescent rolls
1 tsp. cinnamon
1 tbsp. butter (melted)
1/4 cup brown sugar
1/4 cup whipped cream cheese
2 tbsp. cream cheese frosting
Preheat oven to 350 degrees.Drain the peaches, slice into bite-sized pieces and set aside. (If you have fresh peaches, you’ll need about a cup and a half. Just rinse, peel and slice.)
Melt butter and mix with cinnamon and sugar. Set aside.
Roll out crescent dough, pressing two triangles together to form a rectangle. Make sure to seal the perforated lines. Spread a layer of cream cheese over each piece then sprinkle with cinnamon mixture. Add peaches to the center of each pocket then fold the two ends up and over the pile of fruit. Carefully seal the edges by crimping them together then place on a baking sheet. (I lined mine with foil in case juice ran out because I didn’t want to have to clean up a mess. Give the foil a quick spray with non-stick spray to make moving the pockets easy after baking.)
Bake for about 10 minutes, or until crescents are light brown. If, like me, you failed to seal all those perforated lines, you’ll see juice bubbling by this time, too.
Remove from the oven. Microwave frosting for about 10 seconds and drizzle over tops of pockets.
Let cool about 15 minutes before serving.
Drizzle caramel sauce on a place then top with Peachy Pocket.
You could add a scoop of whipped cream or ice cream, or devour as is while the warm, delicious flavors melt in your mouth!
She Who Is Addicted to Recipes with Crescent Dough