I’m super-excited today to share some great summer cookout tips from Jack Vogt, Tony Roma’s Pitmaster just in time for the summer barbecue season!
How to prep for an Unforgettable Summer Cookout
Before you fire up the grill, you’ve got to get your backyard kitchen aka THE GRILL prepped and ready. Here’s a checklist to get you set for your first summer cookout:
- Grill. If you already own a grill, drag it out of storage and give it a good scrub. Use a stiff wire brush to scrape off the grate and follow the directions in your grill’s instruction manual for cleaning the rest of the grill. If you’re new to the grilling game, check out this list of grills and smokers from AmazingRibs.com to help you find a grill that matches your needs and budget.
- Fuel. If you’re working with a gas grill, you’ll need to fill your propane tank. While you’re there, grab a spare. You never want to get halfway through grilling the perfect prime rib and discover you’re out of gas. If you have a charcoal grill, pick up a bag of charcoal briquettes, a chimney starter and a few pieces of newspaper to get the fire started.
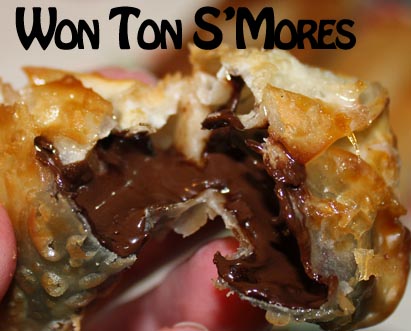
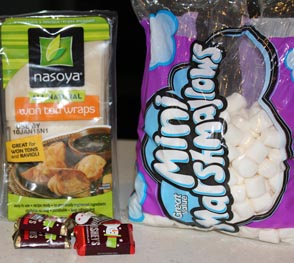
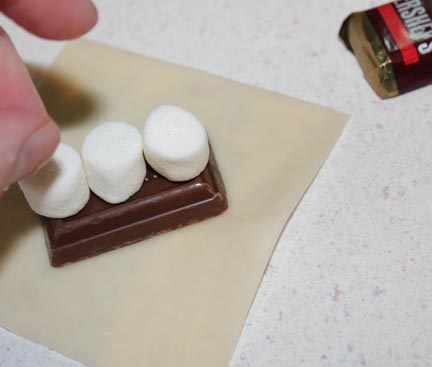
- Grilling tools. Many stores sell BBQ or grill tool sets, but you can also buy each tool separately depending on what you already have at home. The most important tools to have handy are tongs, a spatula, a basting brush and a fork. You may also want to pick up a few metal skewers for kebabs (and everyone’s favorite dessert – s’mores!).
- Instant Read Thermometer. Using a meat thermometer will ensure your meat is properly cooked – no one wants their guests to leave with a stomachache. A thermometer will also help you gauge when to pull the meat off to avoid an overcooked, dry dinner.
- Flashlight or grill light. If you think your summer party will extend past daylight hours, you’ll need some direct lighting on the grill. You can buy a grill light that clips onto the side of the grill so you can work hands free. If you’re using a flashlight, enlist a friend to assist you.
Now that you’ve got the grill prepped, here are a few of my tested tips to make this summer’s cookouts the most successful (and delicious) yet!
- Choose the best cut. The best cut (and type) of meat may depend on your budget and the number of people at your party, but these three are my favorites.
Baby back ribs are the most tender cut. While they are one of the pricier options, this cut is sure to please your guests. You can start cooking ribs before your guests arrive and finish them on the grill when you’re ready to eat.
Chicken breasts, legs and thighs are all great options if you’re feeding a group. Chicken is less expensive than ribs and it is easy to cook (read: hard to mess up!), so it’s a good choice if you’re a grilling novice.
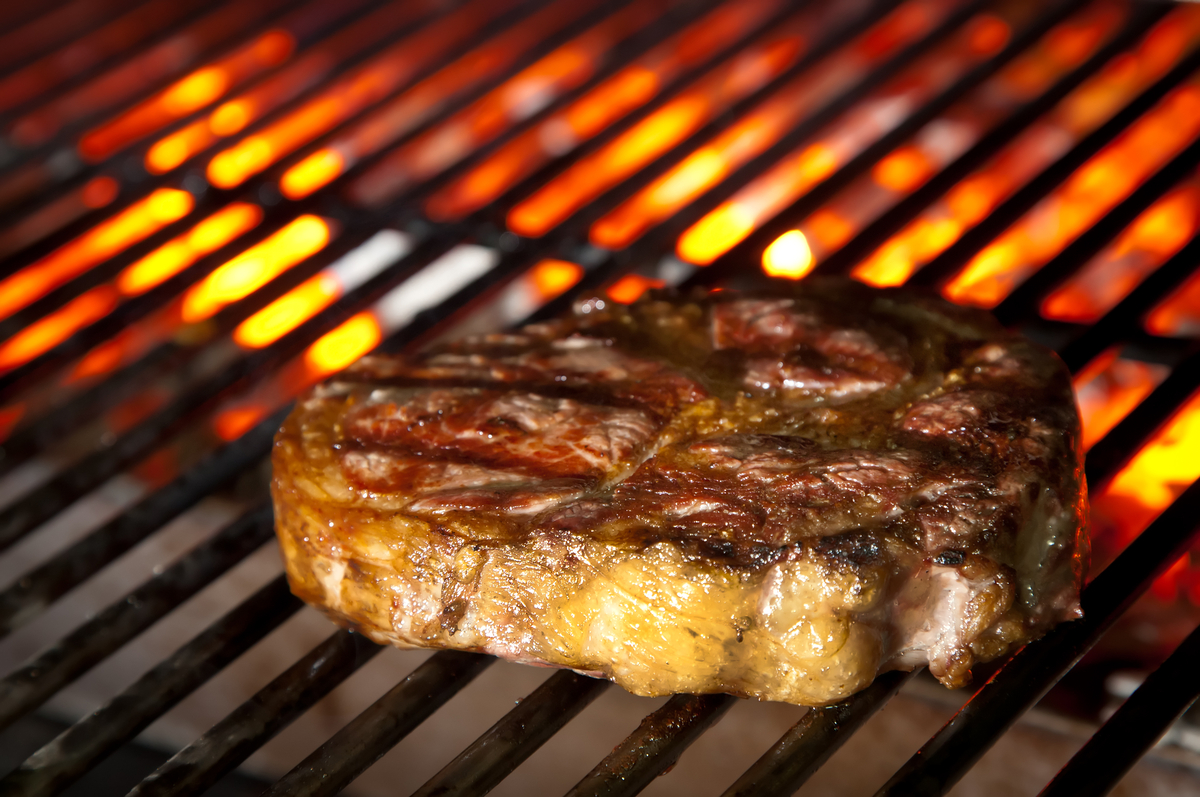
Beef skirt steak may have a bad reputation as a tough cut of meat, but it can be real crowd pleaser when cooked on the grill. Plus, it can be cooked quickly (about four minutes on each side) so you won’t have to worry about keeping hungry guests waiting.
- Marinate to perfection. Marinades are used to enhance the flavors of your chosen meat and your marinade options are almost limitless. Most marinades consist of a fat (like olive oil), an acid (like citrus or wine), and flavoring (herbs and spices), but as always, there are exceptions to this rule. Whether you are making your own marinade or using a prepared one, you’ll want to make sure you give the meat enough time to soak up all the flavor.
If you’re working with seafood, a short marinating time is best; an hour or two is plenty of time to infuse seafood with flavor. You can soak hard vegetables anywhere from 30 minutes to two hours and softer vegetables for about 30 minutes. You have more leeway when it comes to meat, which can be marinated anywhere from one hour to overnight (which may be the most convenient if you are planning a party for a lot of people).
Keep in mind that the thinner the food is cut, the less time it will need to marinate. Marinades that are high in acid also require less time as the acid breaks down tissue and can toughen the meat if left to soak for an extended period of time.
Safety tip: Don’t ever reuse a marinade as it can contain harmful bacteria.
- Seasoning is everything! You may think that since you’ve already marinated your meat, you don’t have to worry about seasoning, but think again! Seasoning with salt and pepper will help bring out the flavors you have infused into the meat. Even if you decide to skip the marinade and go with a dry rub, you still want to make sure you include salt and pepper.
- Pre-cook meat. Before your guests arrive, heat the meat most of the way so all you have to do is finish on the grill. You can also purchase pre-cooked ribs, pulled pork or chicken at your local supermarket. Easy to prepare and ready to serve in about 15 minutes, they’re the perfect option for entertaining, plus you’ll have more time to socialize and more room on the grill for other dishes.
- Maintain the correct temperature. Cooking your meat to the proper temperature can mean the difference between a juicy steak and a dry one. Use your grill’s lid and vents to help you control the temperature.
The difference between using your grill’s lid and leaving it open is like the difference between oven and stovetop cooking. The lid is useful in trapping not only heat, but also smoke and flavor. If you don’t use the lid, you’re only cooking from underneath, which is preferable for thin foods, but not for foods that are more than ¾ inch thick.
Basic rule of thumb: If the food is thin or you need to watch its color, leave the lid off. If it’s over an inch thick, close the lid and use a high quality grill thermometer.
The key to successful grilling is to remain in control of the heat. It’s also important to remember that the charcoal or wood is not the only fuel- oxygen also plays a role. Grills have an intake vent and an exhaust vent, and by manipulating these vents you can control the temperature. The intake damper brings oxygen to the fire, and the exhaust damper helps the intake vent do this, while also allowing gases to escape.
Below are a few recipes to cook on the grill this summer!
Open-faced Pulled Pork Mac and Cheese Sandwich
Prep time: 10 minutes | Cook time: 40 minutes | Total time: 50 minutes
Yield: 8 servings
Ingredients:
- 8 slices Texas Toast
- 4 cups prepared macaroni and cheese, warmed
- 2large onions, thinly sliced
- 8 tablespoons unsalted butter, divided
- 1 tsp. Kosher salt
- 1 tsp. freshly ground black pepper
- 8 slices Gouda cheese
- 8 slices sharp cheddar cheese
- 1 pkg. (2 cups) Tony Roma’s BBQ Pulled Pork
- 1 cup barbecue sauce
Directions:
- Preheat grill to medium-high, about 400°-450°F, and lightly oil the grate.
- Place sliced onions into a 6-inch square piece of tin foil, drizzle with olive oil and salt and pepper, to taste. Close foil around onion slices.
- Set foil packets on lower rack of a gas grill or directly on top of hot coals on a charcoal grill. Cook for 30-35 minutes. While waiting for the onions to caramelize, heat Tony Roma’s Pulled Pork as per package instructions.
- Butter both sides of each slice of toast. Layer each with one slice of cheddar cheese, ¼ cup macaroni and cheese, ¼ cup pulled pork, ¼ cup caramelized onions, and one slice of Gouda cheese.
- Working in batches of four, cook the sandwiches until the cheese melts and the bread is golden, about 5 minutes.
- Drizzle with barbeque sauce and enjoy!


 Easy Pull Apart Pizza Bread