February is National Hot Breakfast month. Krusteaz officially named every Wednesday night this month “Breakfast Night.”
Krusteaz found in a national survey that nine out of ten Americans claim to eat breakfast for dinner, with 56 percent doing so once a month or more often. Families are even more into the trend with 67 percent of respondents with children saying they have breakfast for dinner once a month or more.
One of the contributing factors to eating breakfast for dinner is the ease of preparation versus a traditional dinner. Families also say it is a fun way to break of the monotony of the usual weeknight dinner.
The folks at Krusteaz were kind enough to send me a box of fun goodies to sample and experiment with. Captain Cavedweller and I enjoyed Breakfast Night last night and I thought I’d share the results with you today!
**GIVEAWAY**
Post a comment below about your favorite breakfast item or menu and you will be entered to win your own box of goodies from Krusteaz including: Buttermilk Pancake Mix (1), Blueberry Belgian Waffle Mix (1), Chocolate Chunk Muffin Mix (1) and Honey Wheat Pancake Mix (1) as well as Krusteaz coupons for free product. The giveaway will close tonight at midnight, so hurry and post those comments.
Since I’m lazy, I decided to make a breakfast casserole for dinner.
That turned out to be a tasty (and incredibly easy) decision.


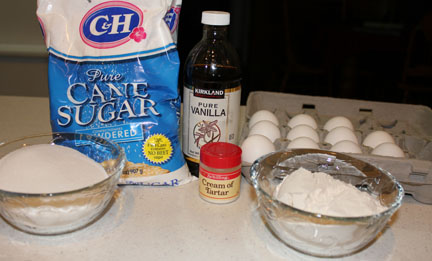
Ingredients
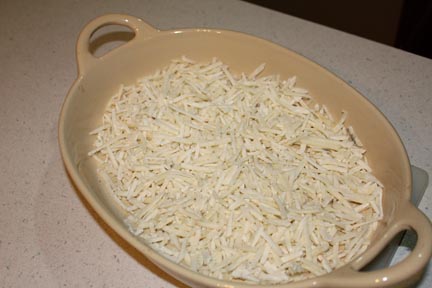
Grease a pan and add hash browns. Slide into oven as it preheats.
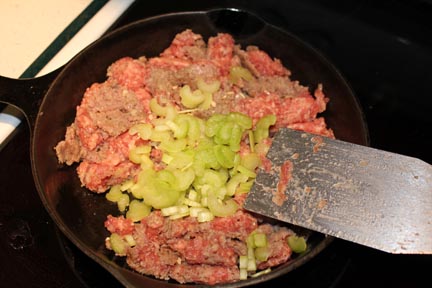
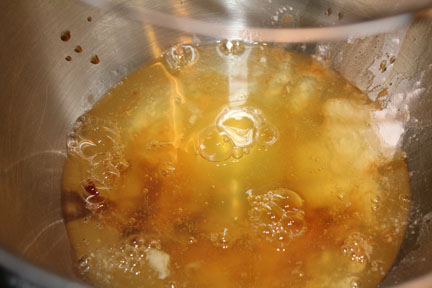
Brown sausage with celery and onion.
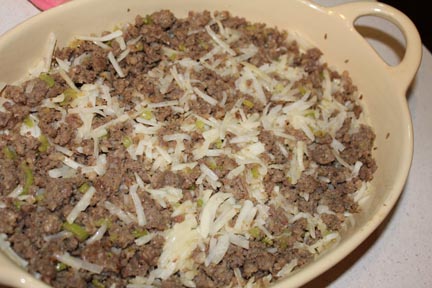
Mix with potatoes right in the pan.
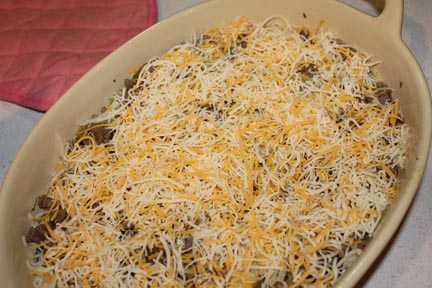
Top with cheese.

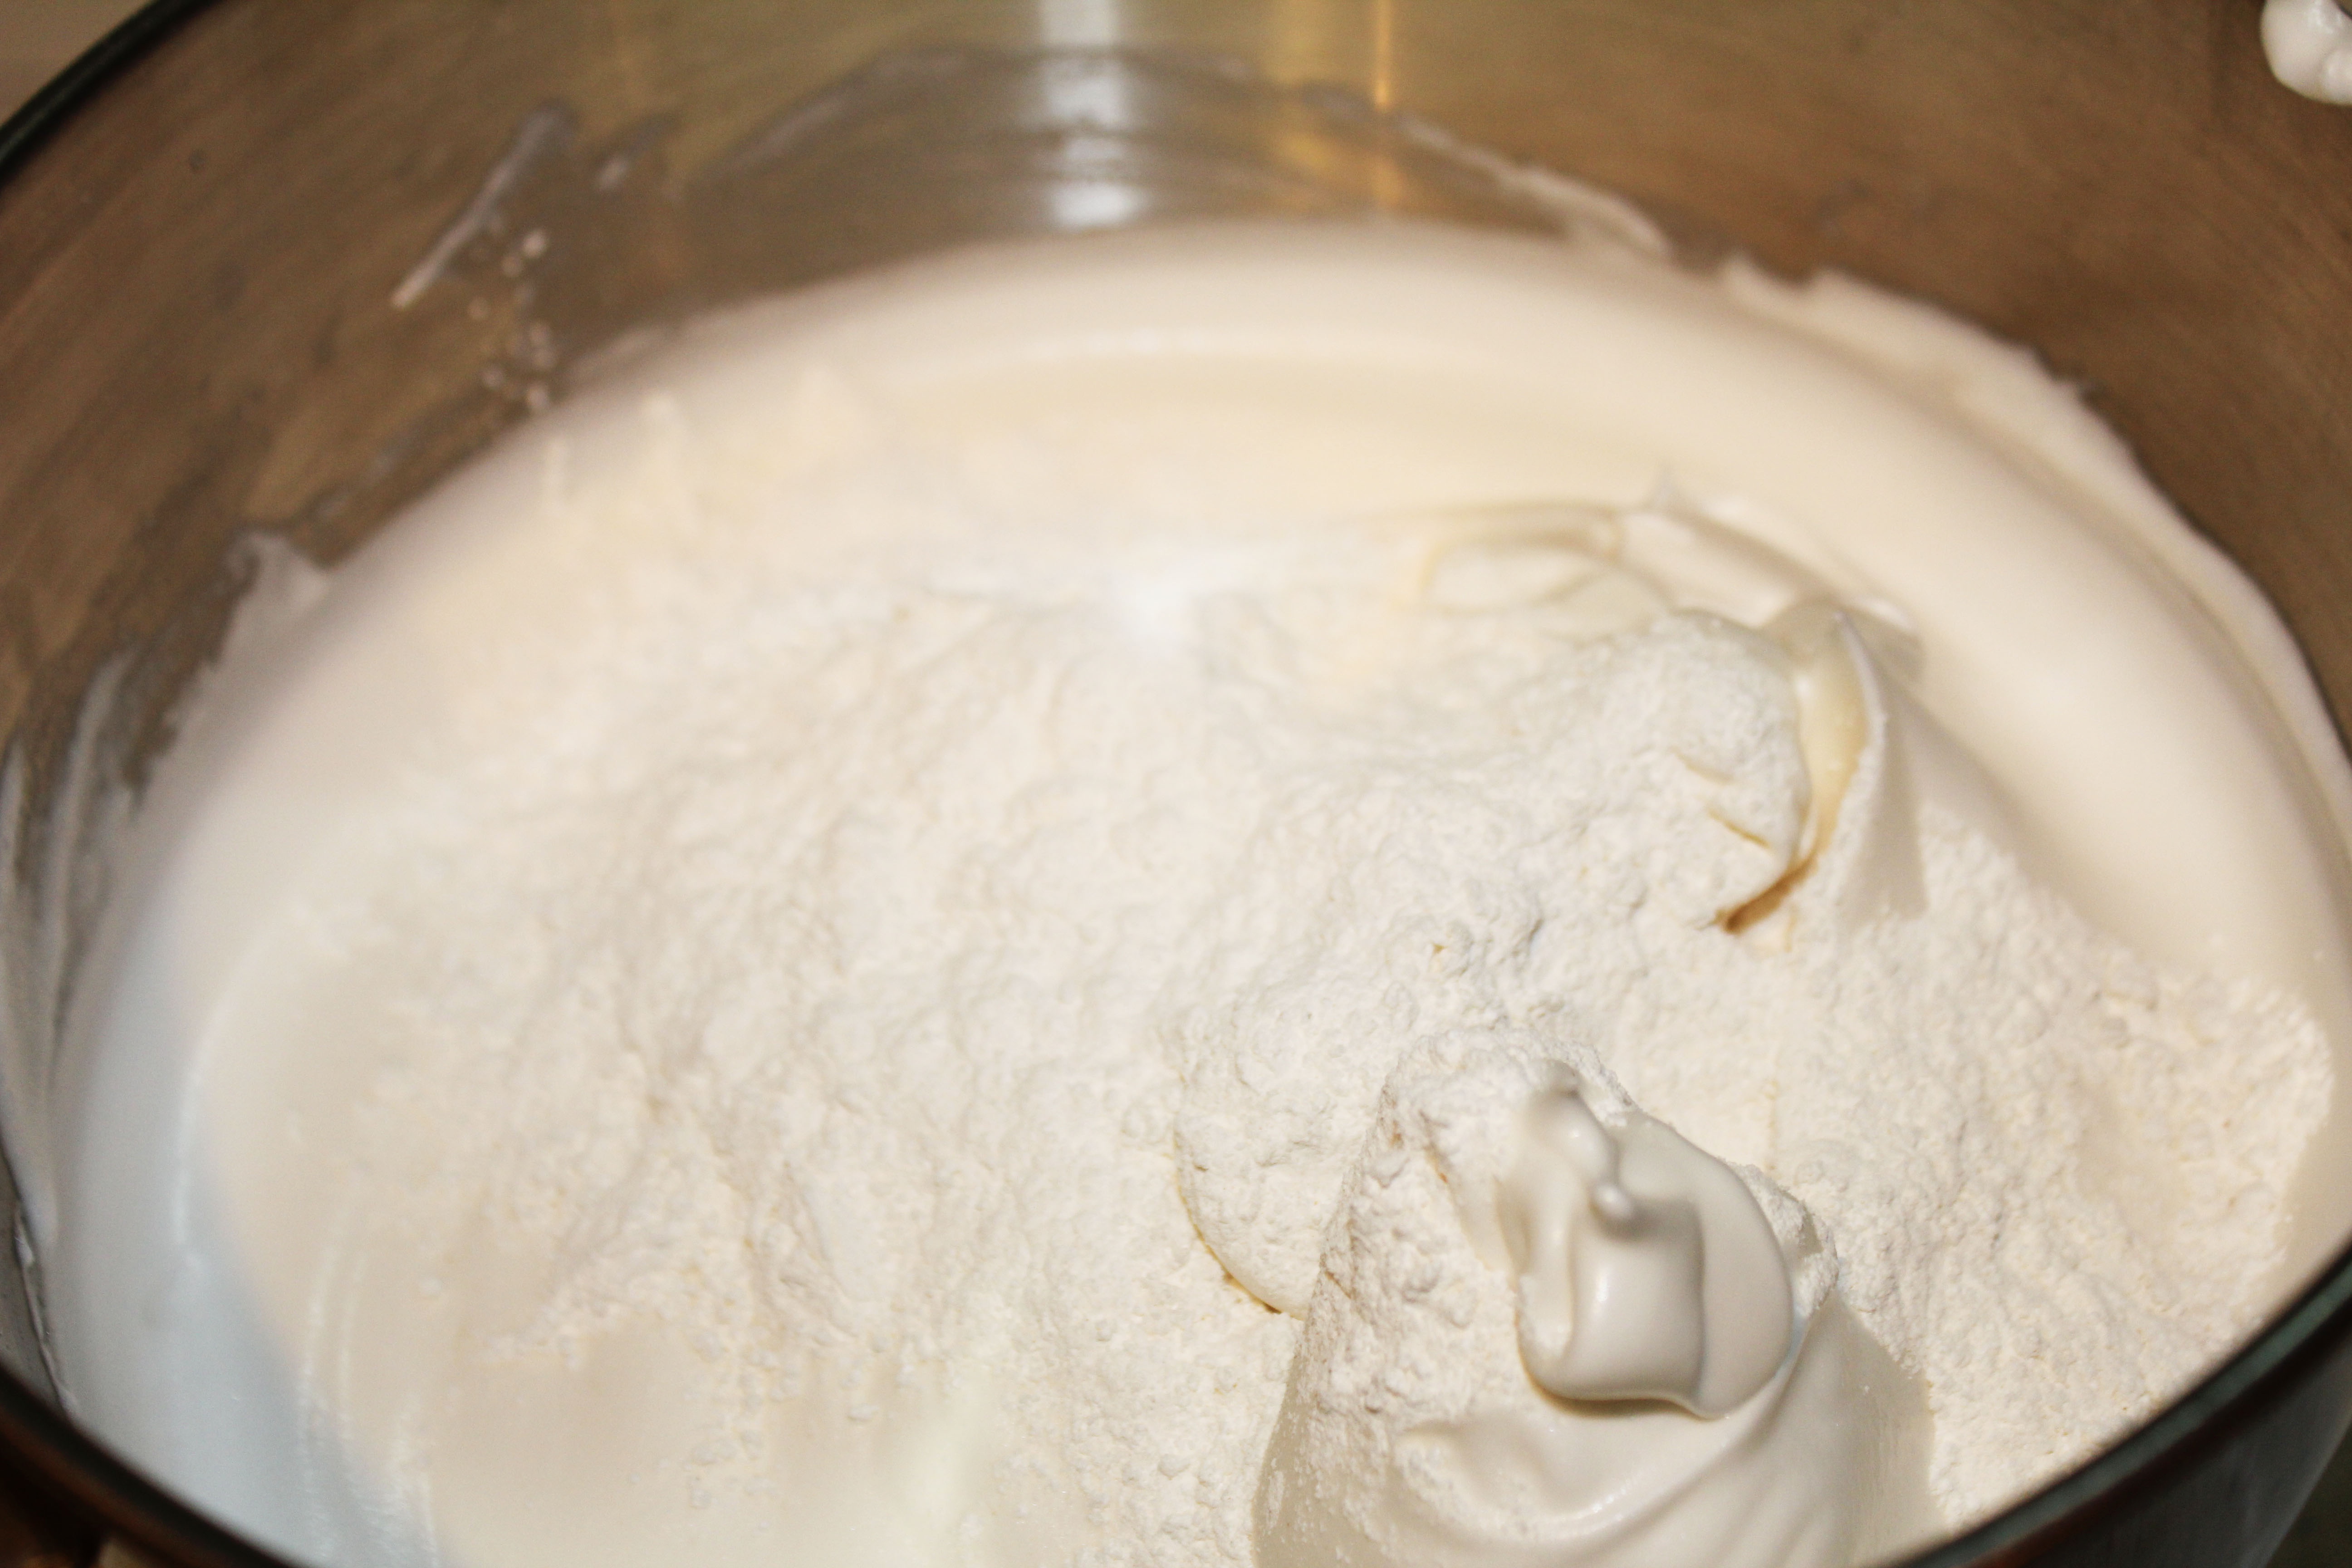
Mix batter.
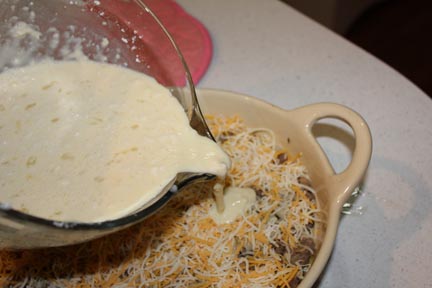
Pour over meat and cheese in baking pan. Do not stir!
Bake about 40 minutes until golden brown and knife inserted in center comes out clean. Top with additional cheese and bake a few minutes until cheese is melted then serve!
Breakfast Sausage Bake
1 cup Krusteaz Light & Fluffy Buttermilk Pancake Mix
2 packages bulk pork sausage (12 ounce each)
1/2 cup chopped celery
1 tbsp. chopped onion
3 cups frozen shredded hash brown potatoes
2 cups shredded Colby-Jack cheese
2 cups milk
4 eggs
Preheat oven to 400 degrees.
Grease a 9×13 baking dish. Place in hash browns and pop the pan into the oven as it preheats.
In a heavy skillet, brown sausage with celery and onion. Drain grease. Remove baking dish from oven and mix potatoes with sausage. Sprinkle one cup of the cheese over the meat mixture.
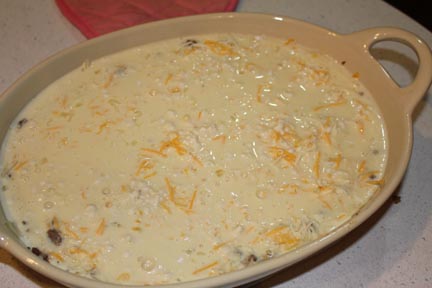
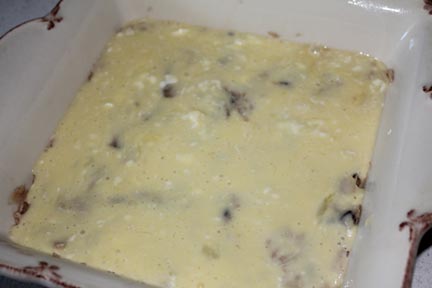
In a large mixing bowl combine pancake mix, milk and eggs until well blended. Pour into baking dish. Do not stir!
Bake for 40-45 minutes until top is lightly browned and a knife inserted comes out clean. Sprinkle with remaining cheese and bake an additional minute or two until cheese is melted.
Serve and savor an easy weeknight meal!
Oh – and what’s dinner without a little dessert?

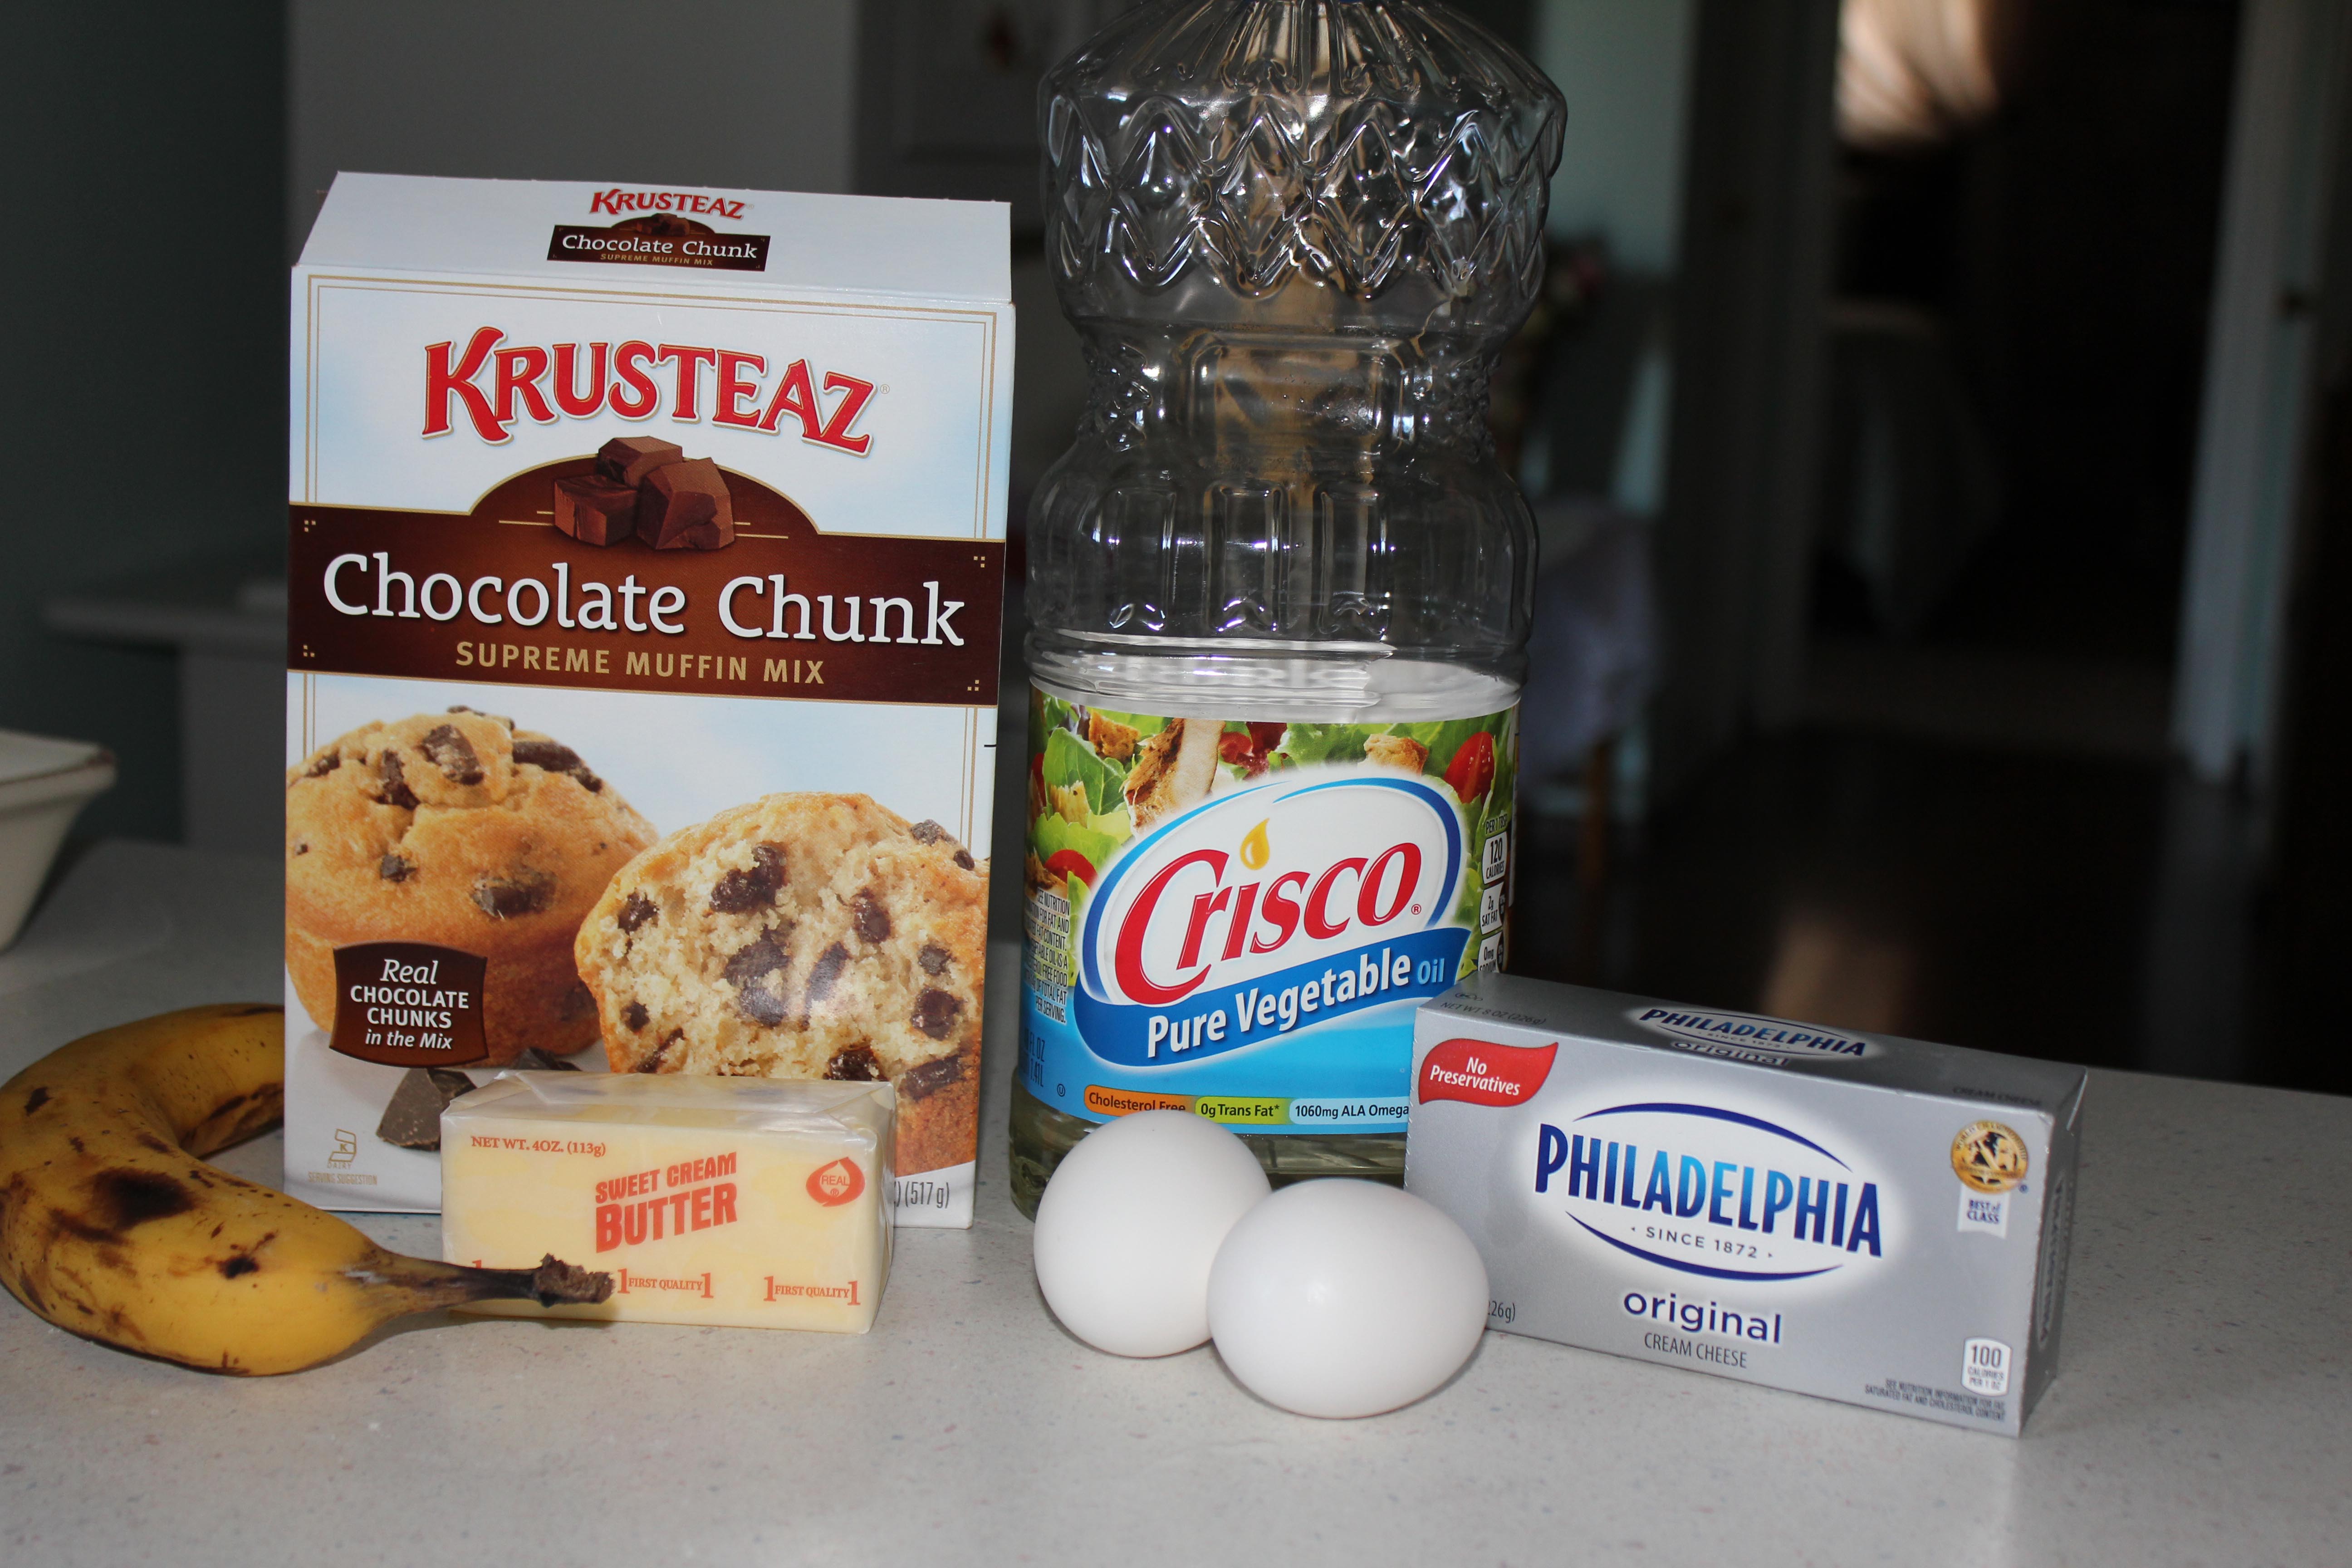
Ingredients

Mix crust and press into greased baking pan.

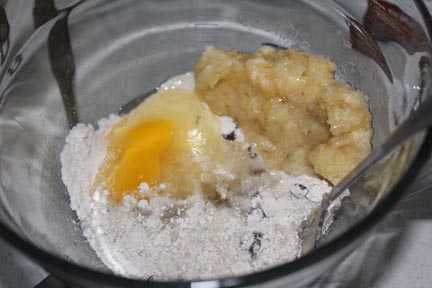
Mix batter until well blended.
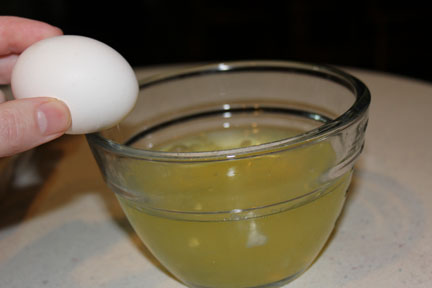
Combine cream cheese with egg (and sugar if desired). Pour over crust.

Top with muffin batter and bake until light brown and edges pull away from sides of the pan.

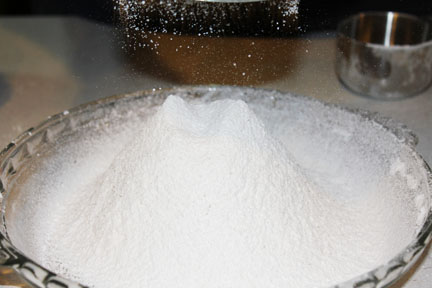
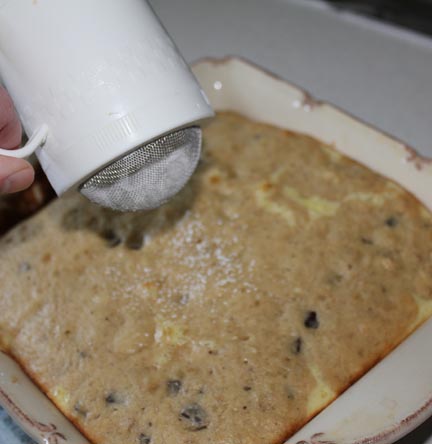
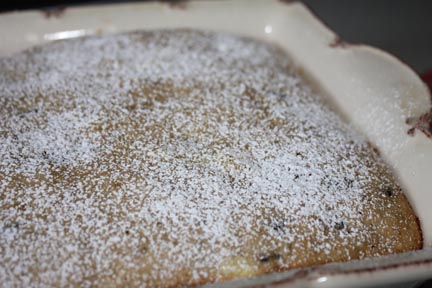
Sprinkle with powered sugar.

Let cool and enjoy!
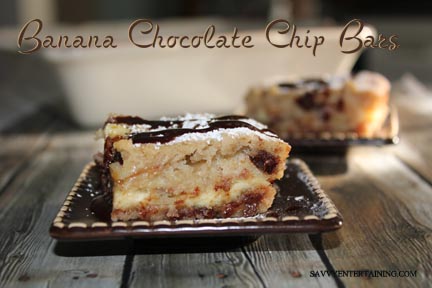
Banana Chocolate Chip Bars
1 box Krusteaz Chocolate Chunk Muffin mix
1/4 cup butter, softened
1/3 cup water
1/3 cup oil
2 eggs
1 ripe banana, mashed
4 ounces cream cheese, softened
Powdered sugar
Preheat oven to 350 degrees
Grease an 8×8 cake pan, set aside.
Divide the muffin mix in half (you should have about three cups total). In a small mixing bowl, combine half the muffin mix with the butter. Press the mixture into the bottom of the baking pan.
In a large mixing bowl, combine the remaining muffin mix with water, oil, 1 egg and the mashed banana until well blended.
In a medium mixing bowl, combine cream cheese and remaining egg. If you want a sweeter filling, add 1/2 cup of powdered sugar. Pour the cream cheese mixture over the top of the crust.
Top with the muffin batter.
Bake for about 35-40 minutes until top is light brown or a toothpick inserted in the center comes out clean.
Immediately sprinkle with powdered sugar. You can also drizzle with a little chocolate sauce if you want an added chocolate boost (which, of course I did!).
If you happen to have leftovers, cover with plastic wrap and store in the fridge.
Read Full Post »