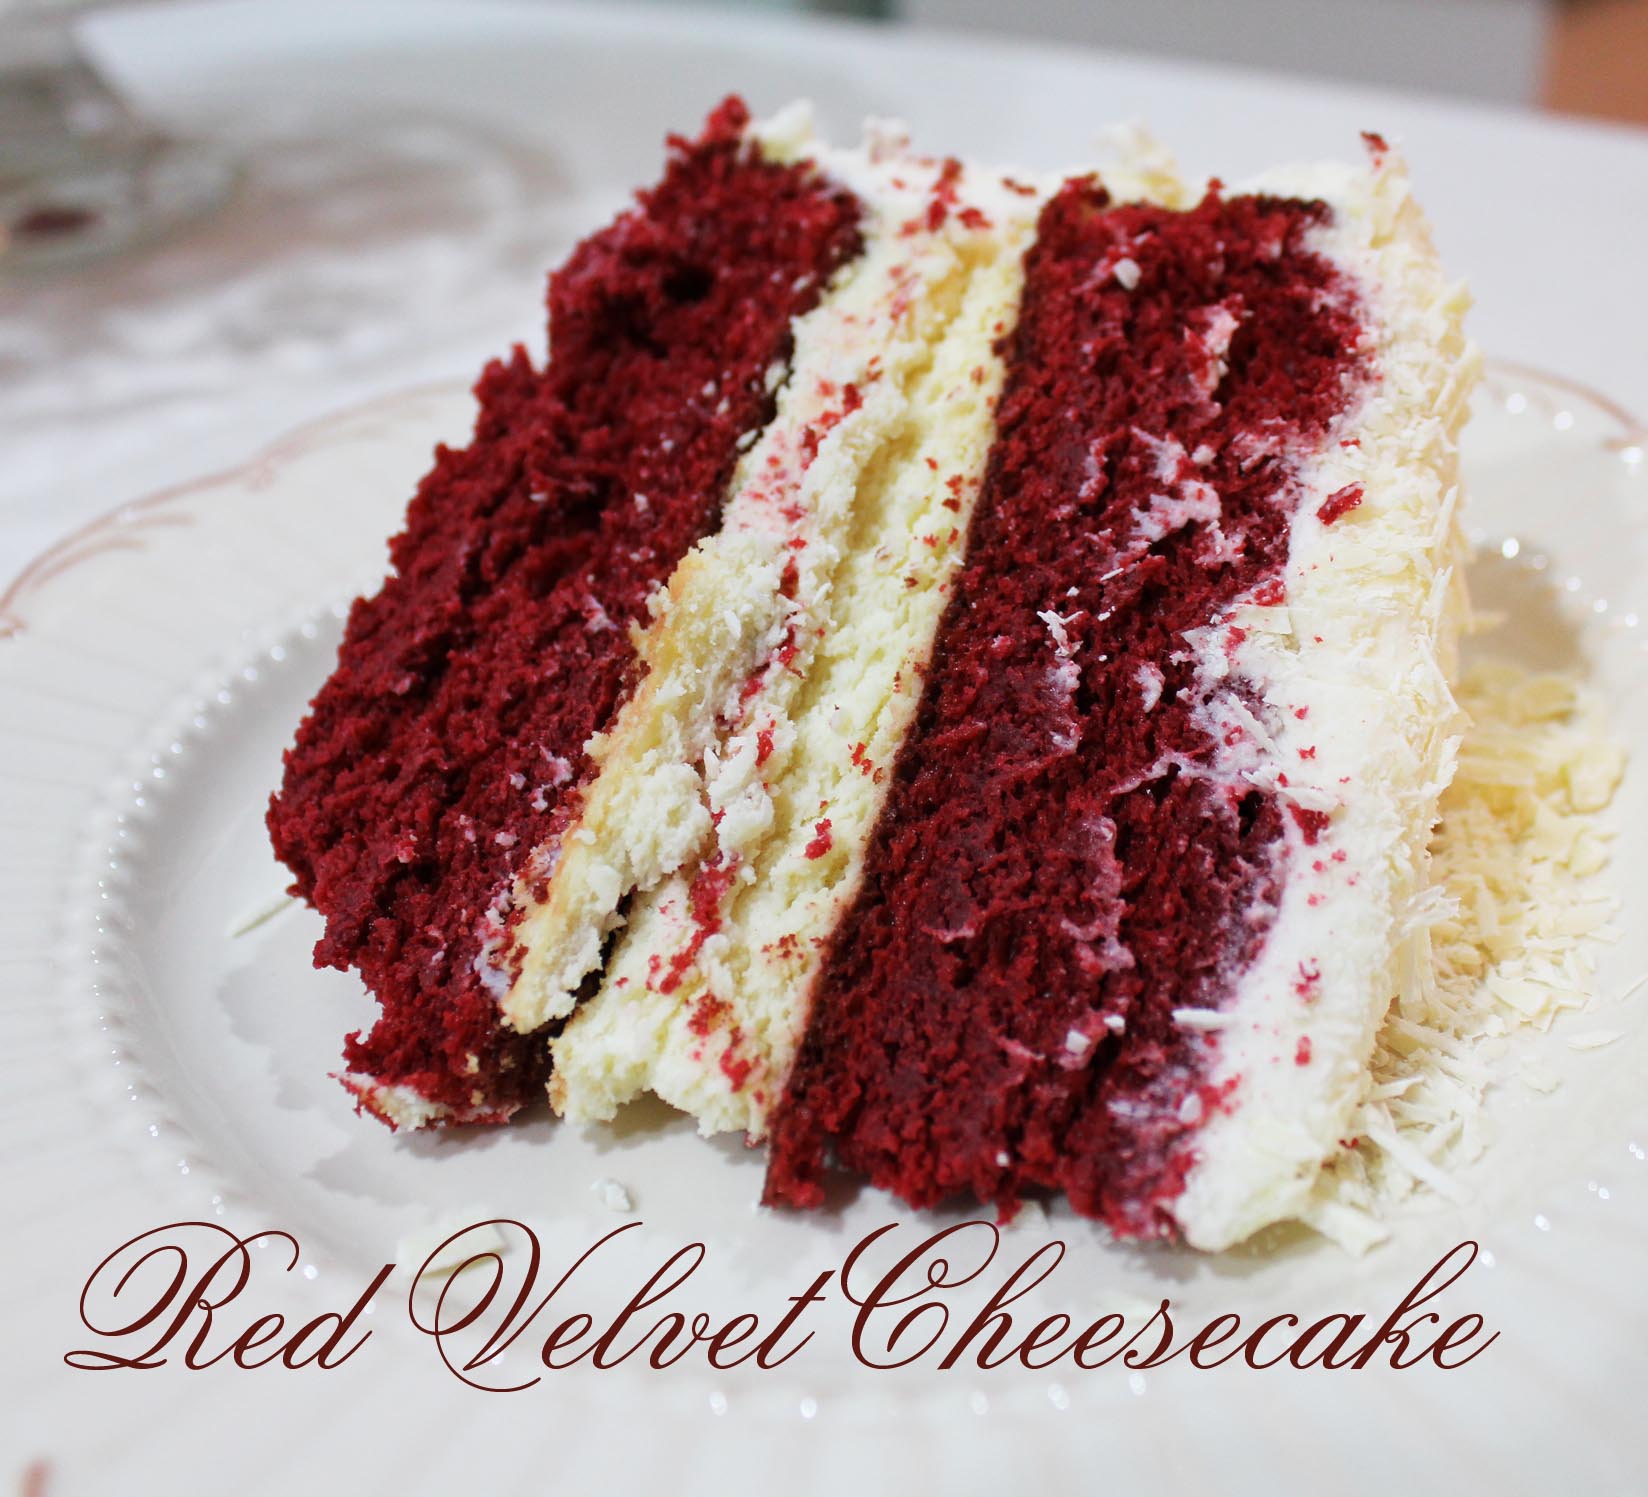
The last time Captain Cavedweller and I had the opportunity to eat at The Cheesecake Factory, I ordered their Red Velvet Cheesecake.
It was so good, I think I dreamed about the deliciousness for a week.
On a quest to recreate that decadent dessert at home, I finally came up with a recipe that is pretty close.
It does require some work and involves some time, but the results are so worth it! This would be a tasty and beautiful finale to a Valentine’s meal.
Think about whipping up one of these for your special sweetie. They may just thank you – profoundly!
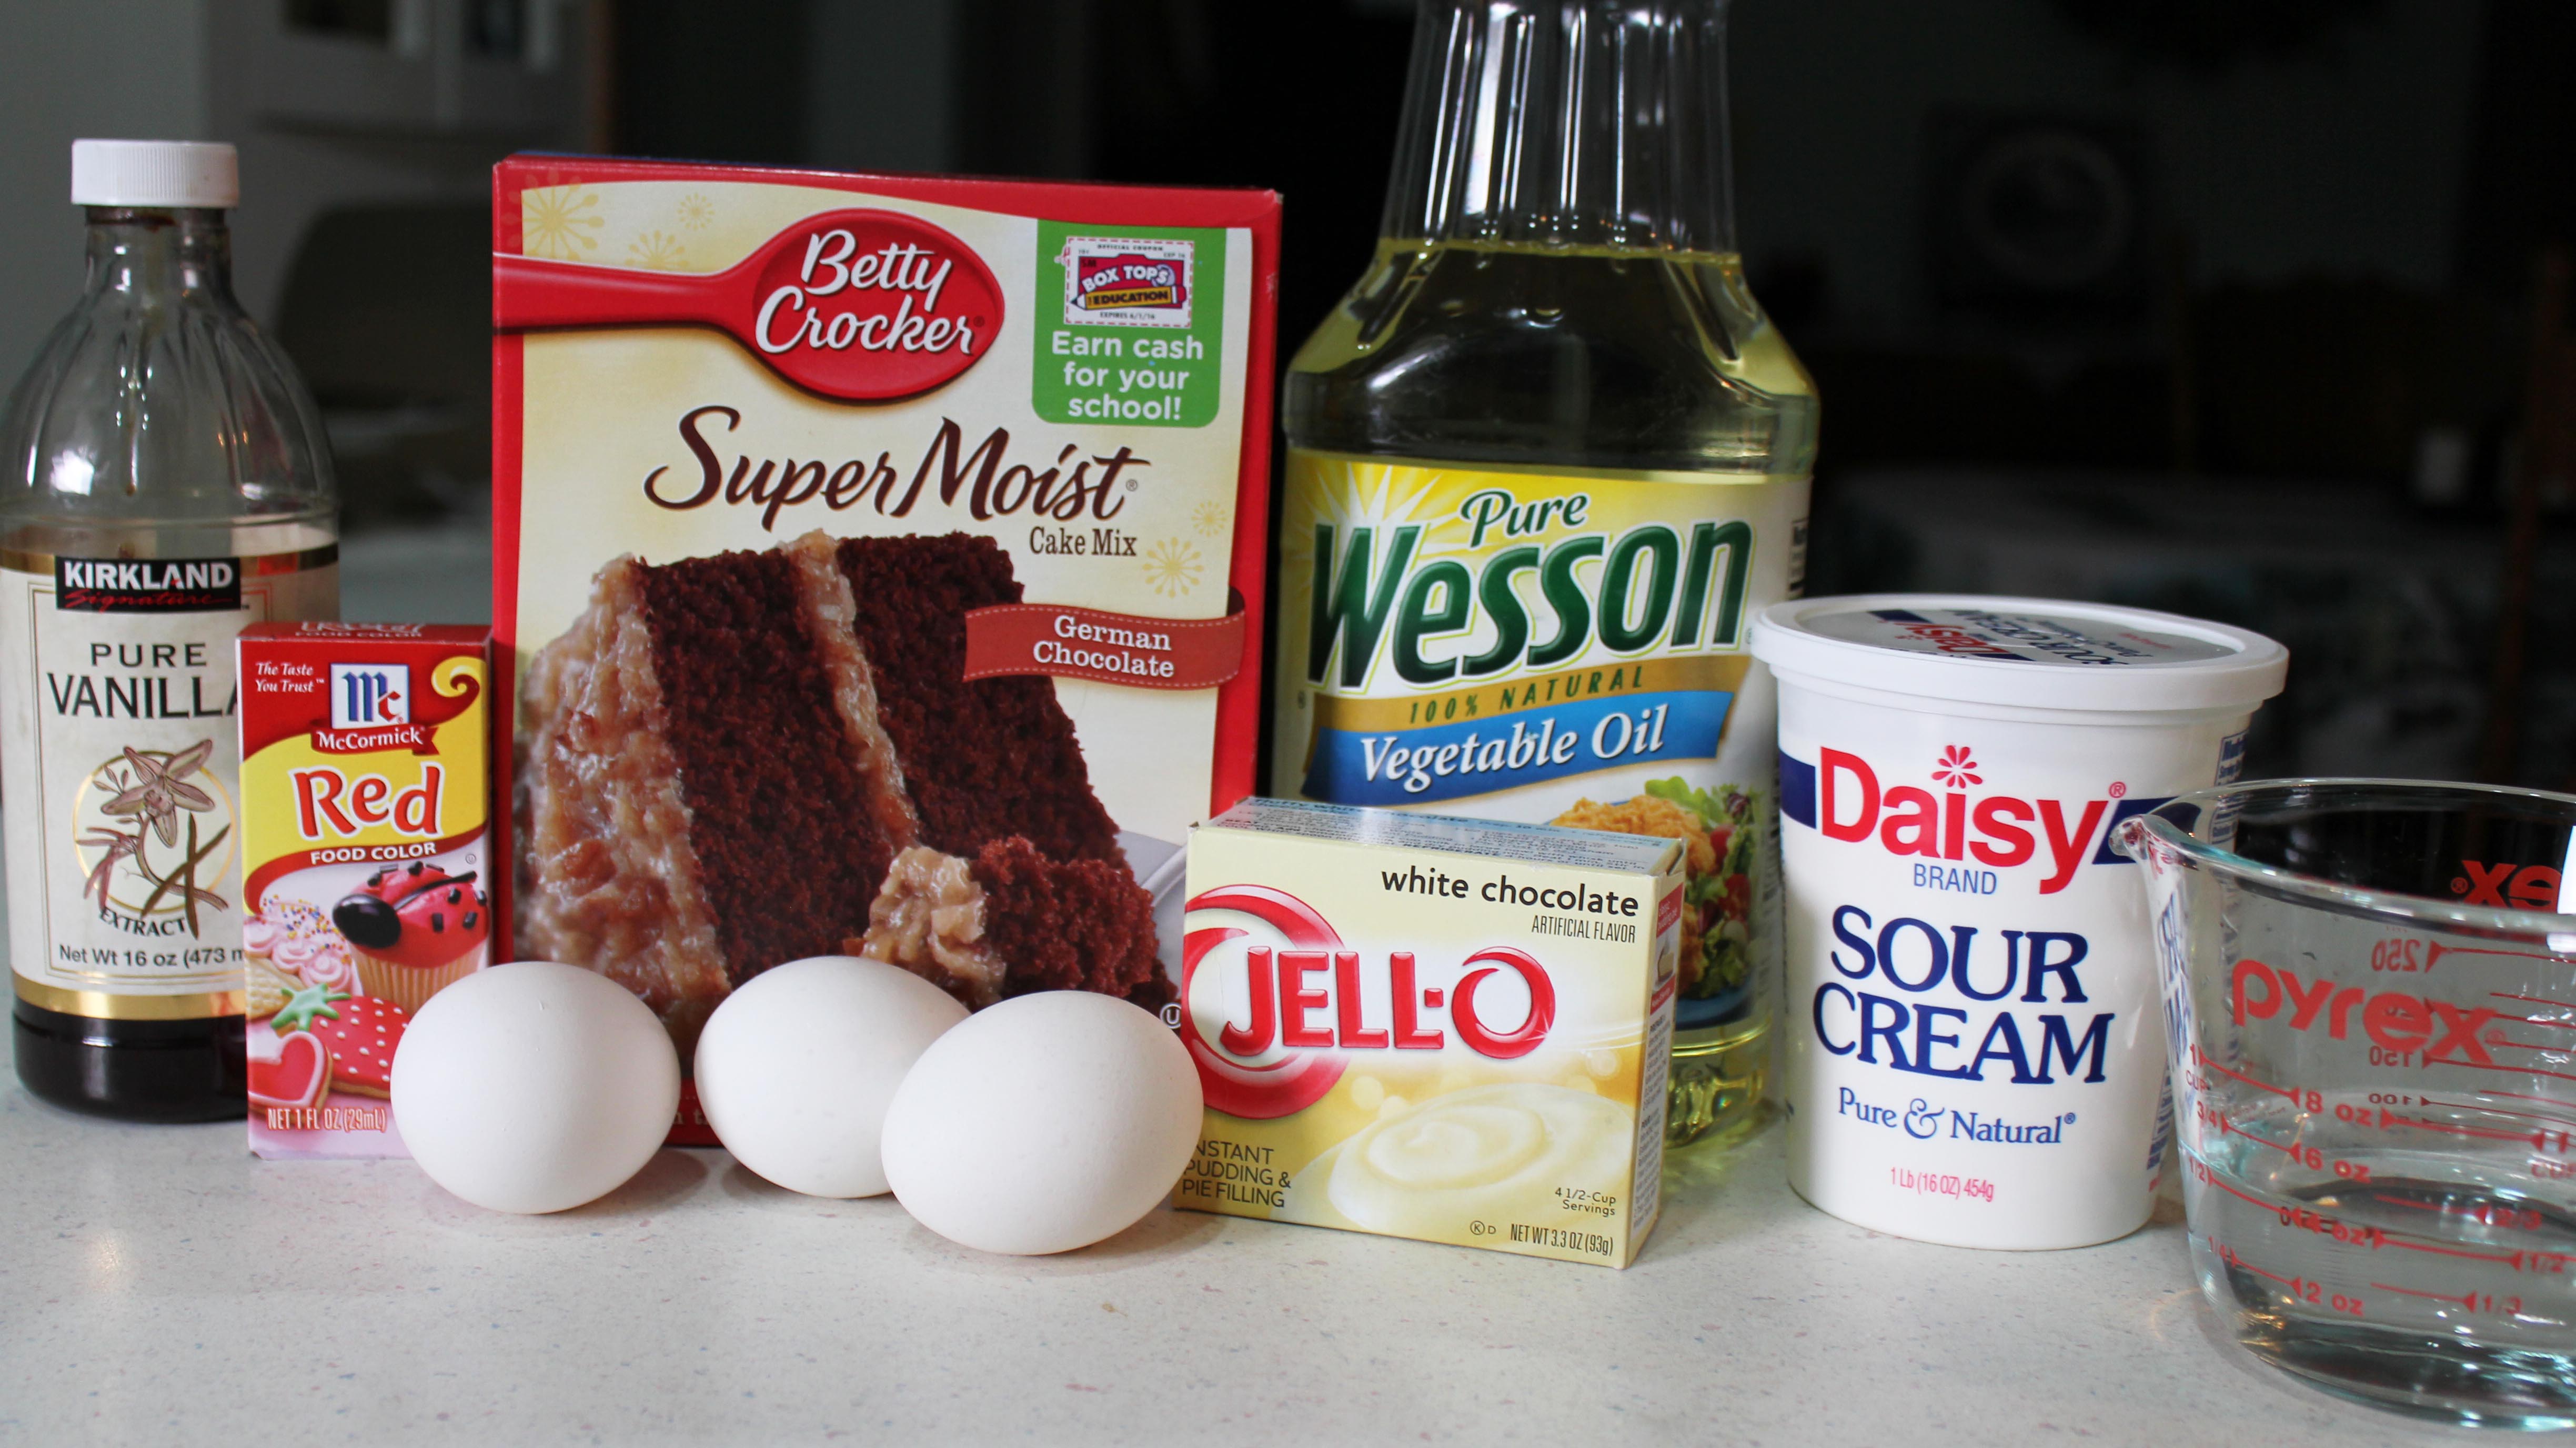
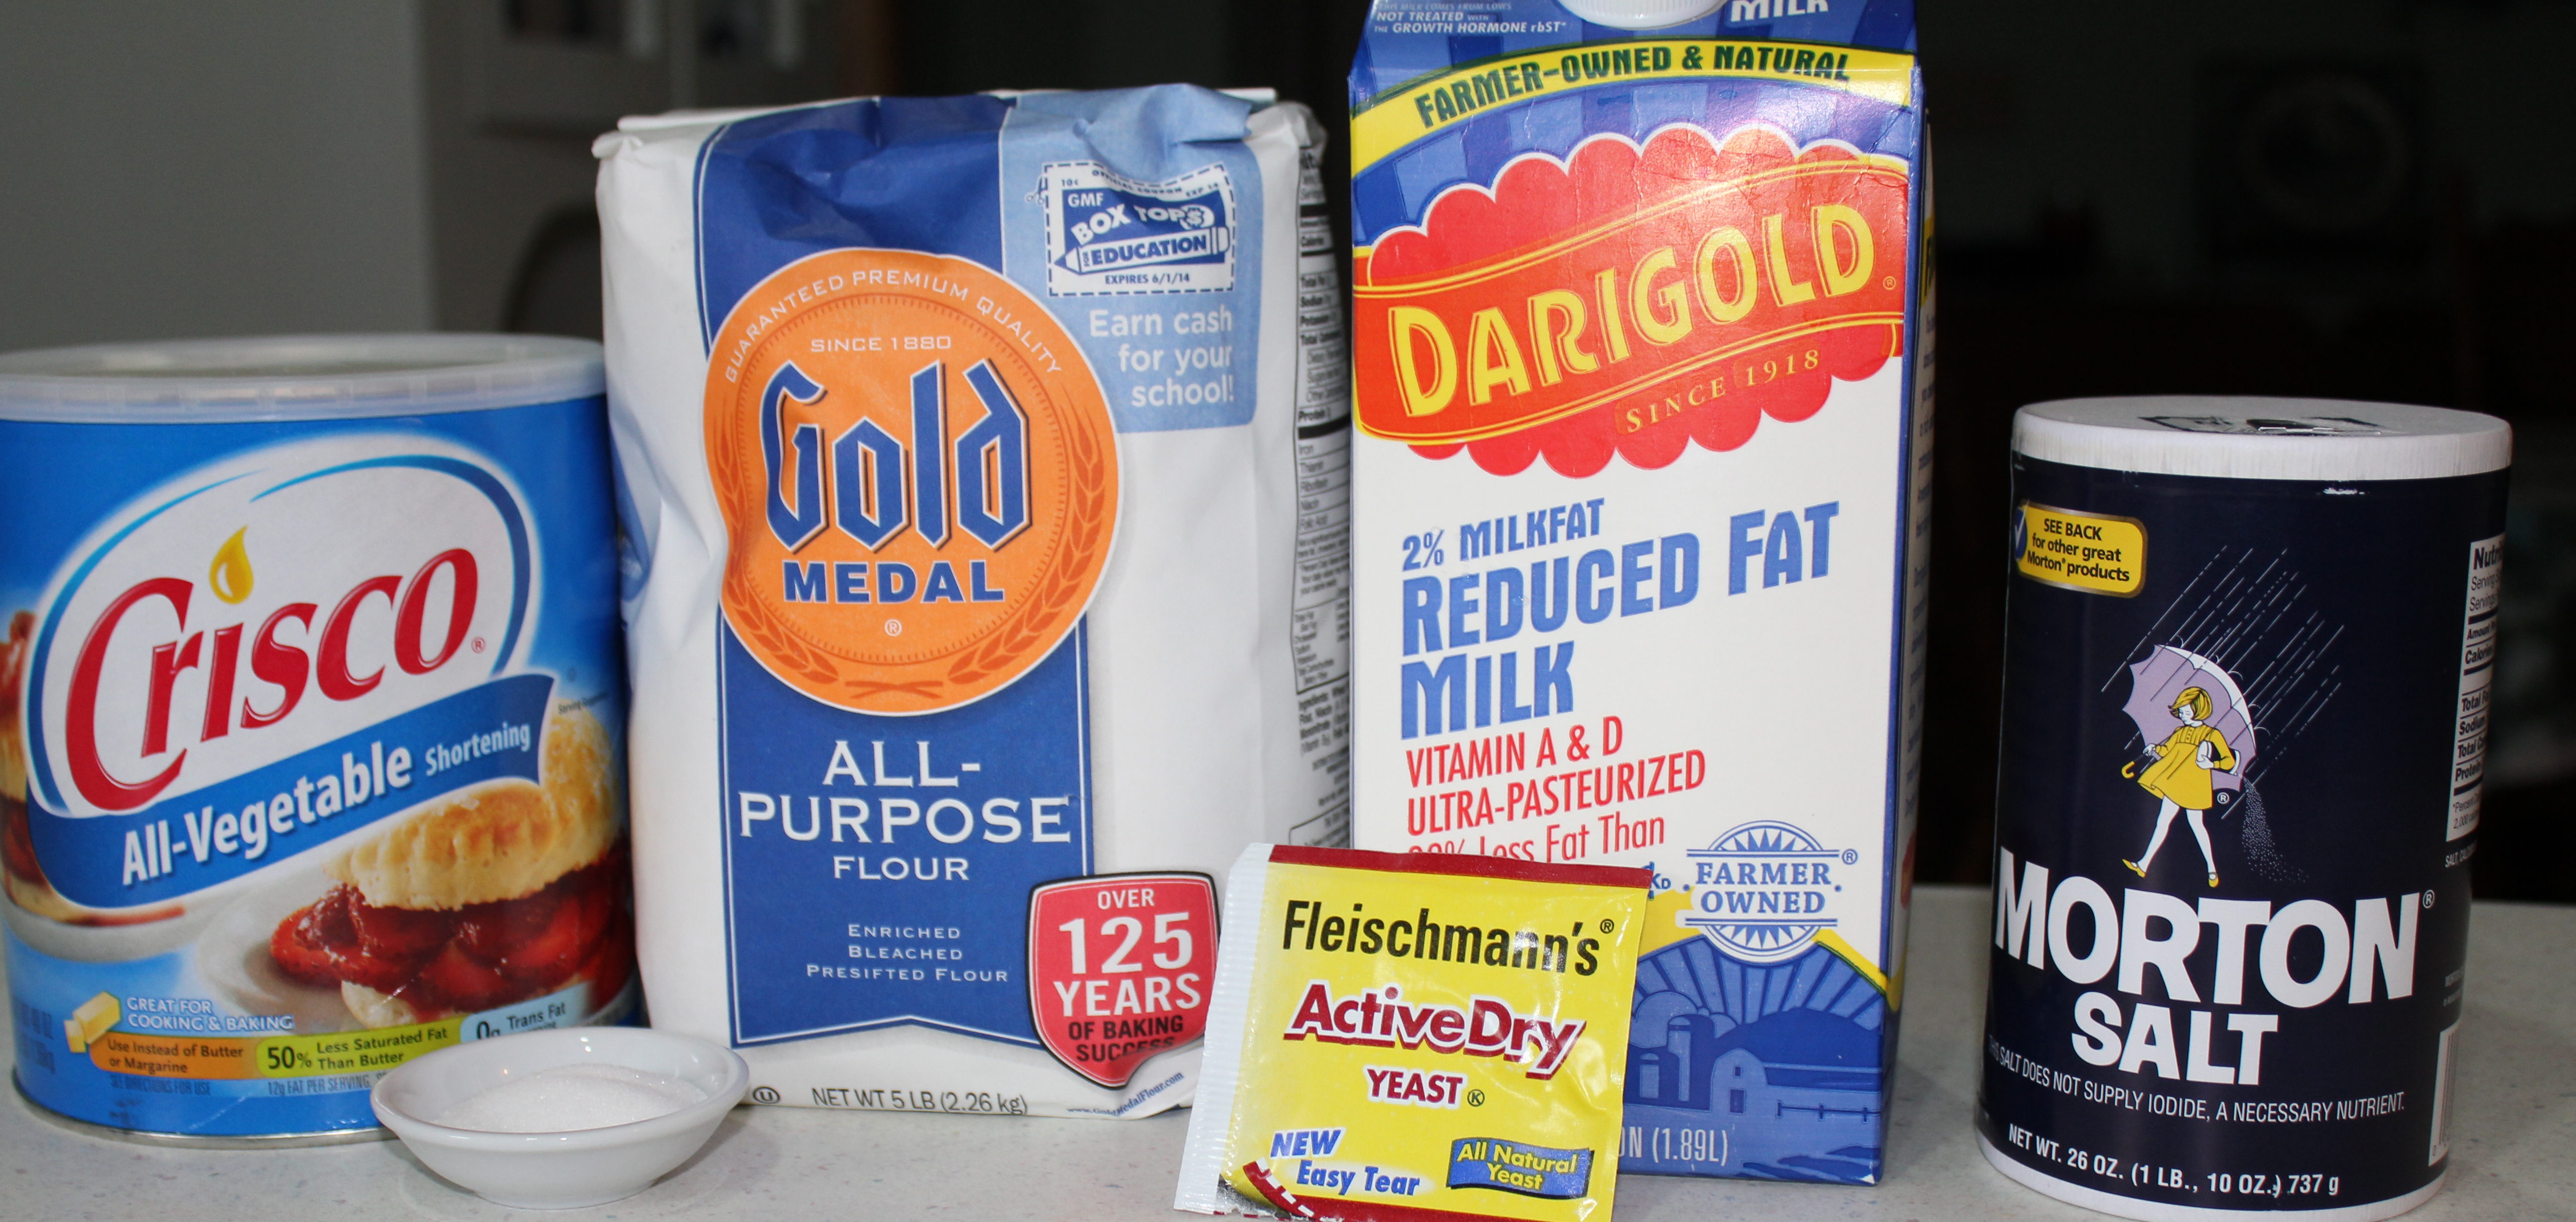
Ingredients
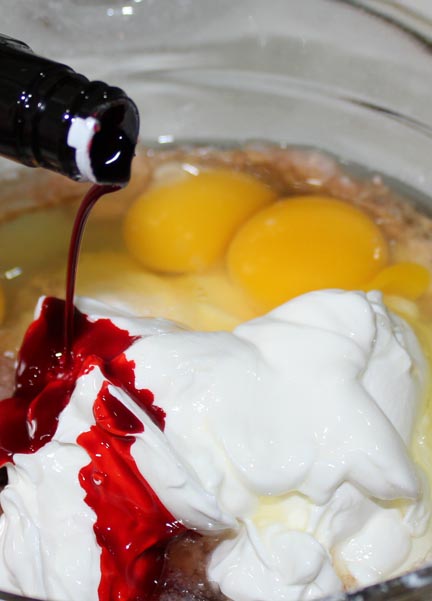
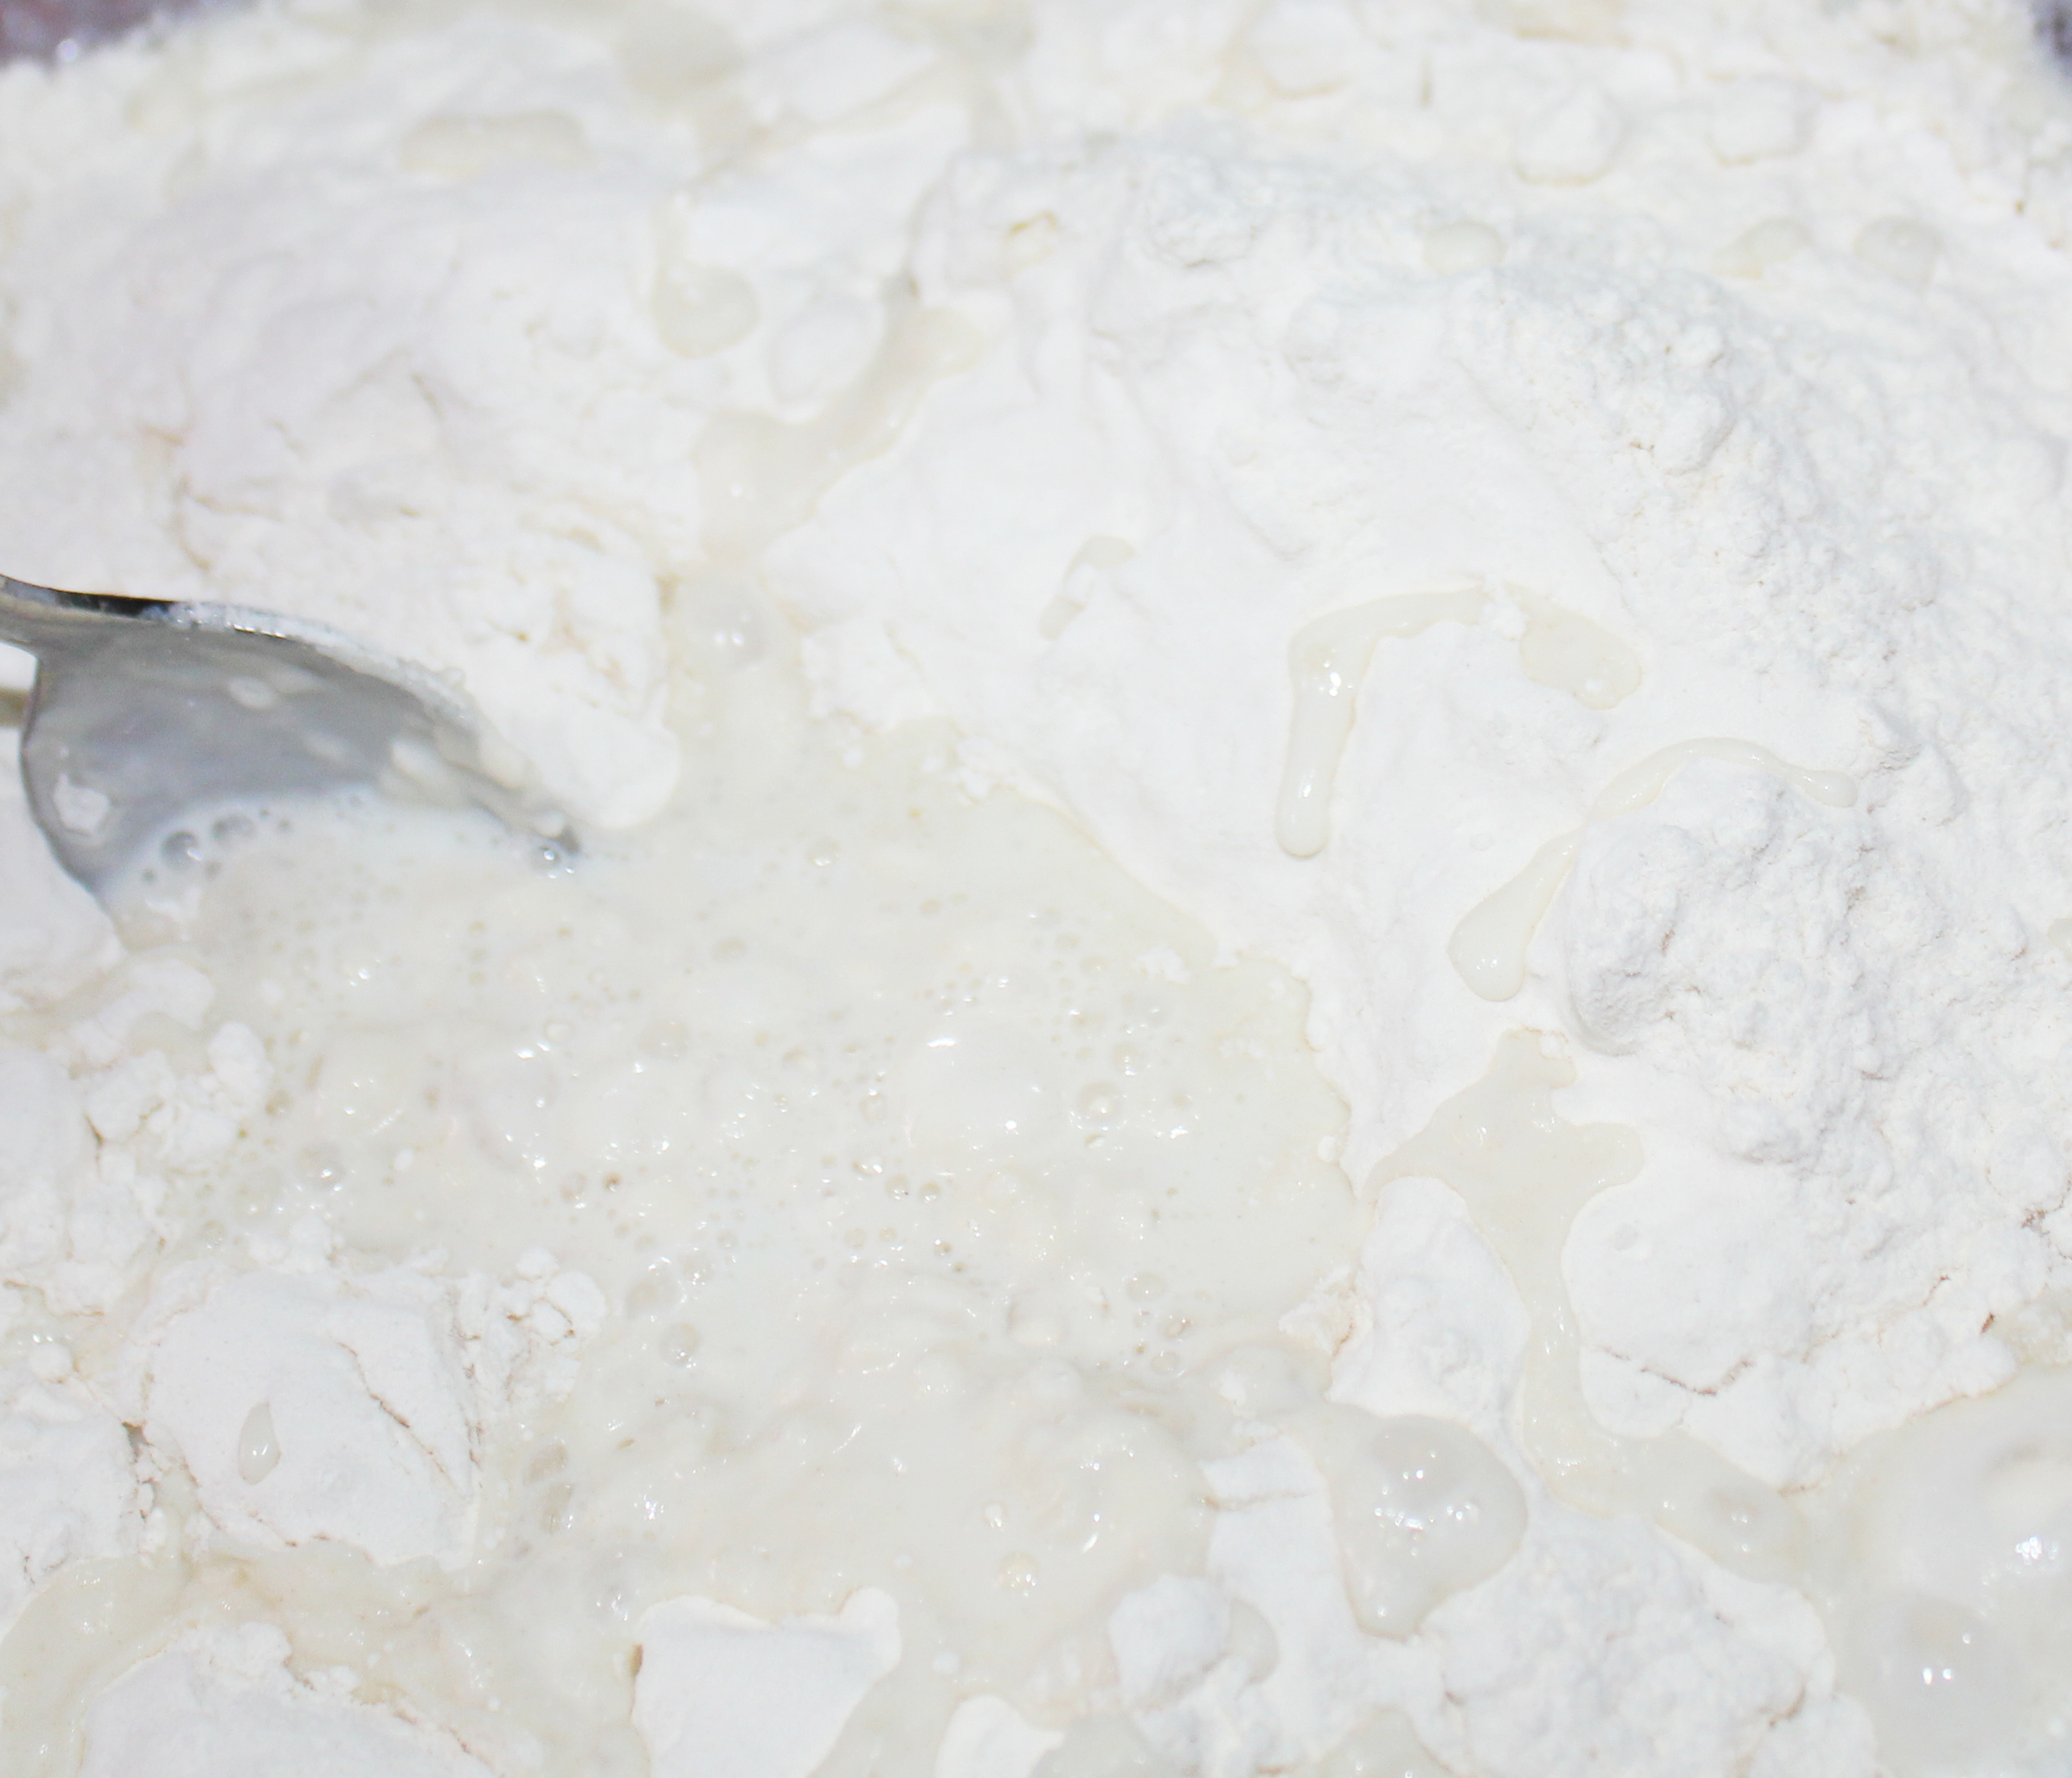
Mix everything together, making sure you use an entire bottle of red food coloring.
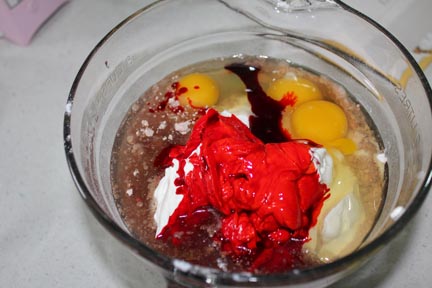
Isn’t it pretty? I was deprived of Red Velvet Cake growing up because someone who’s initials are MOM told me I’d die of cancer if I ate that much food coloring at one time. Huh. I think that was her way of saying she didn’t like Red Velvet Cake and wasn’t going to make it.
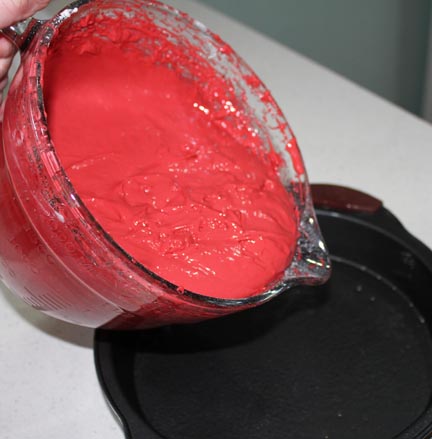
Pour your vibrant red batter into your prepared cake pans and bake in a 350 oven until done.

I got so busy putting the cake together, I skipped a few shots. Basically, let your cake cool, take your frozen cheesecake out of the freezer. Frost both the two sides of cake layers that will connect with the cheesecake and put them together.
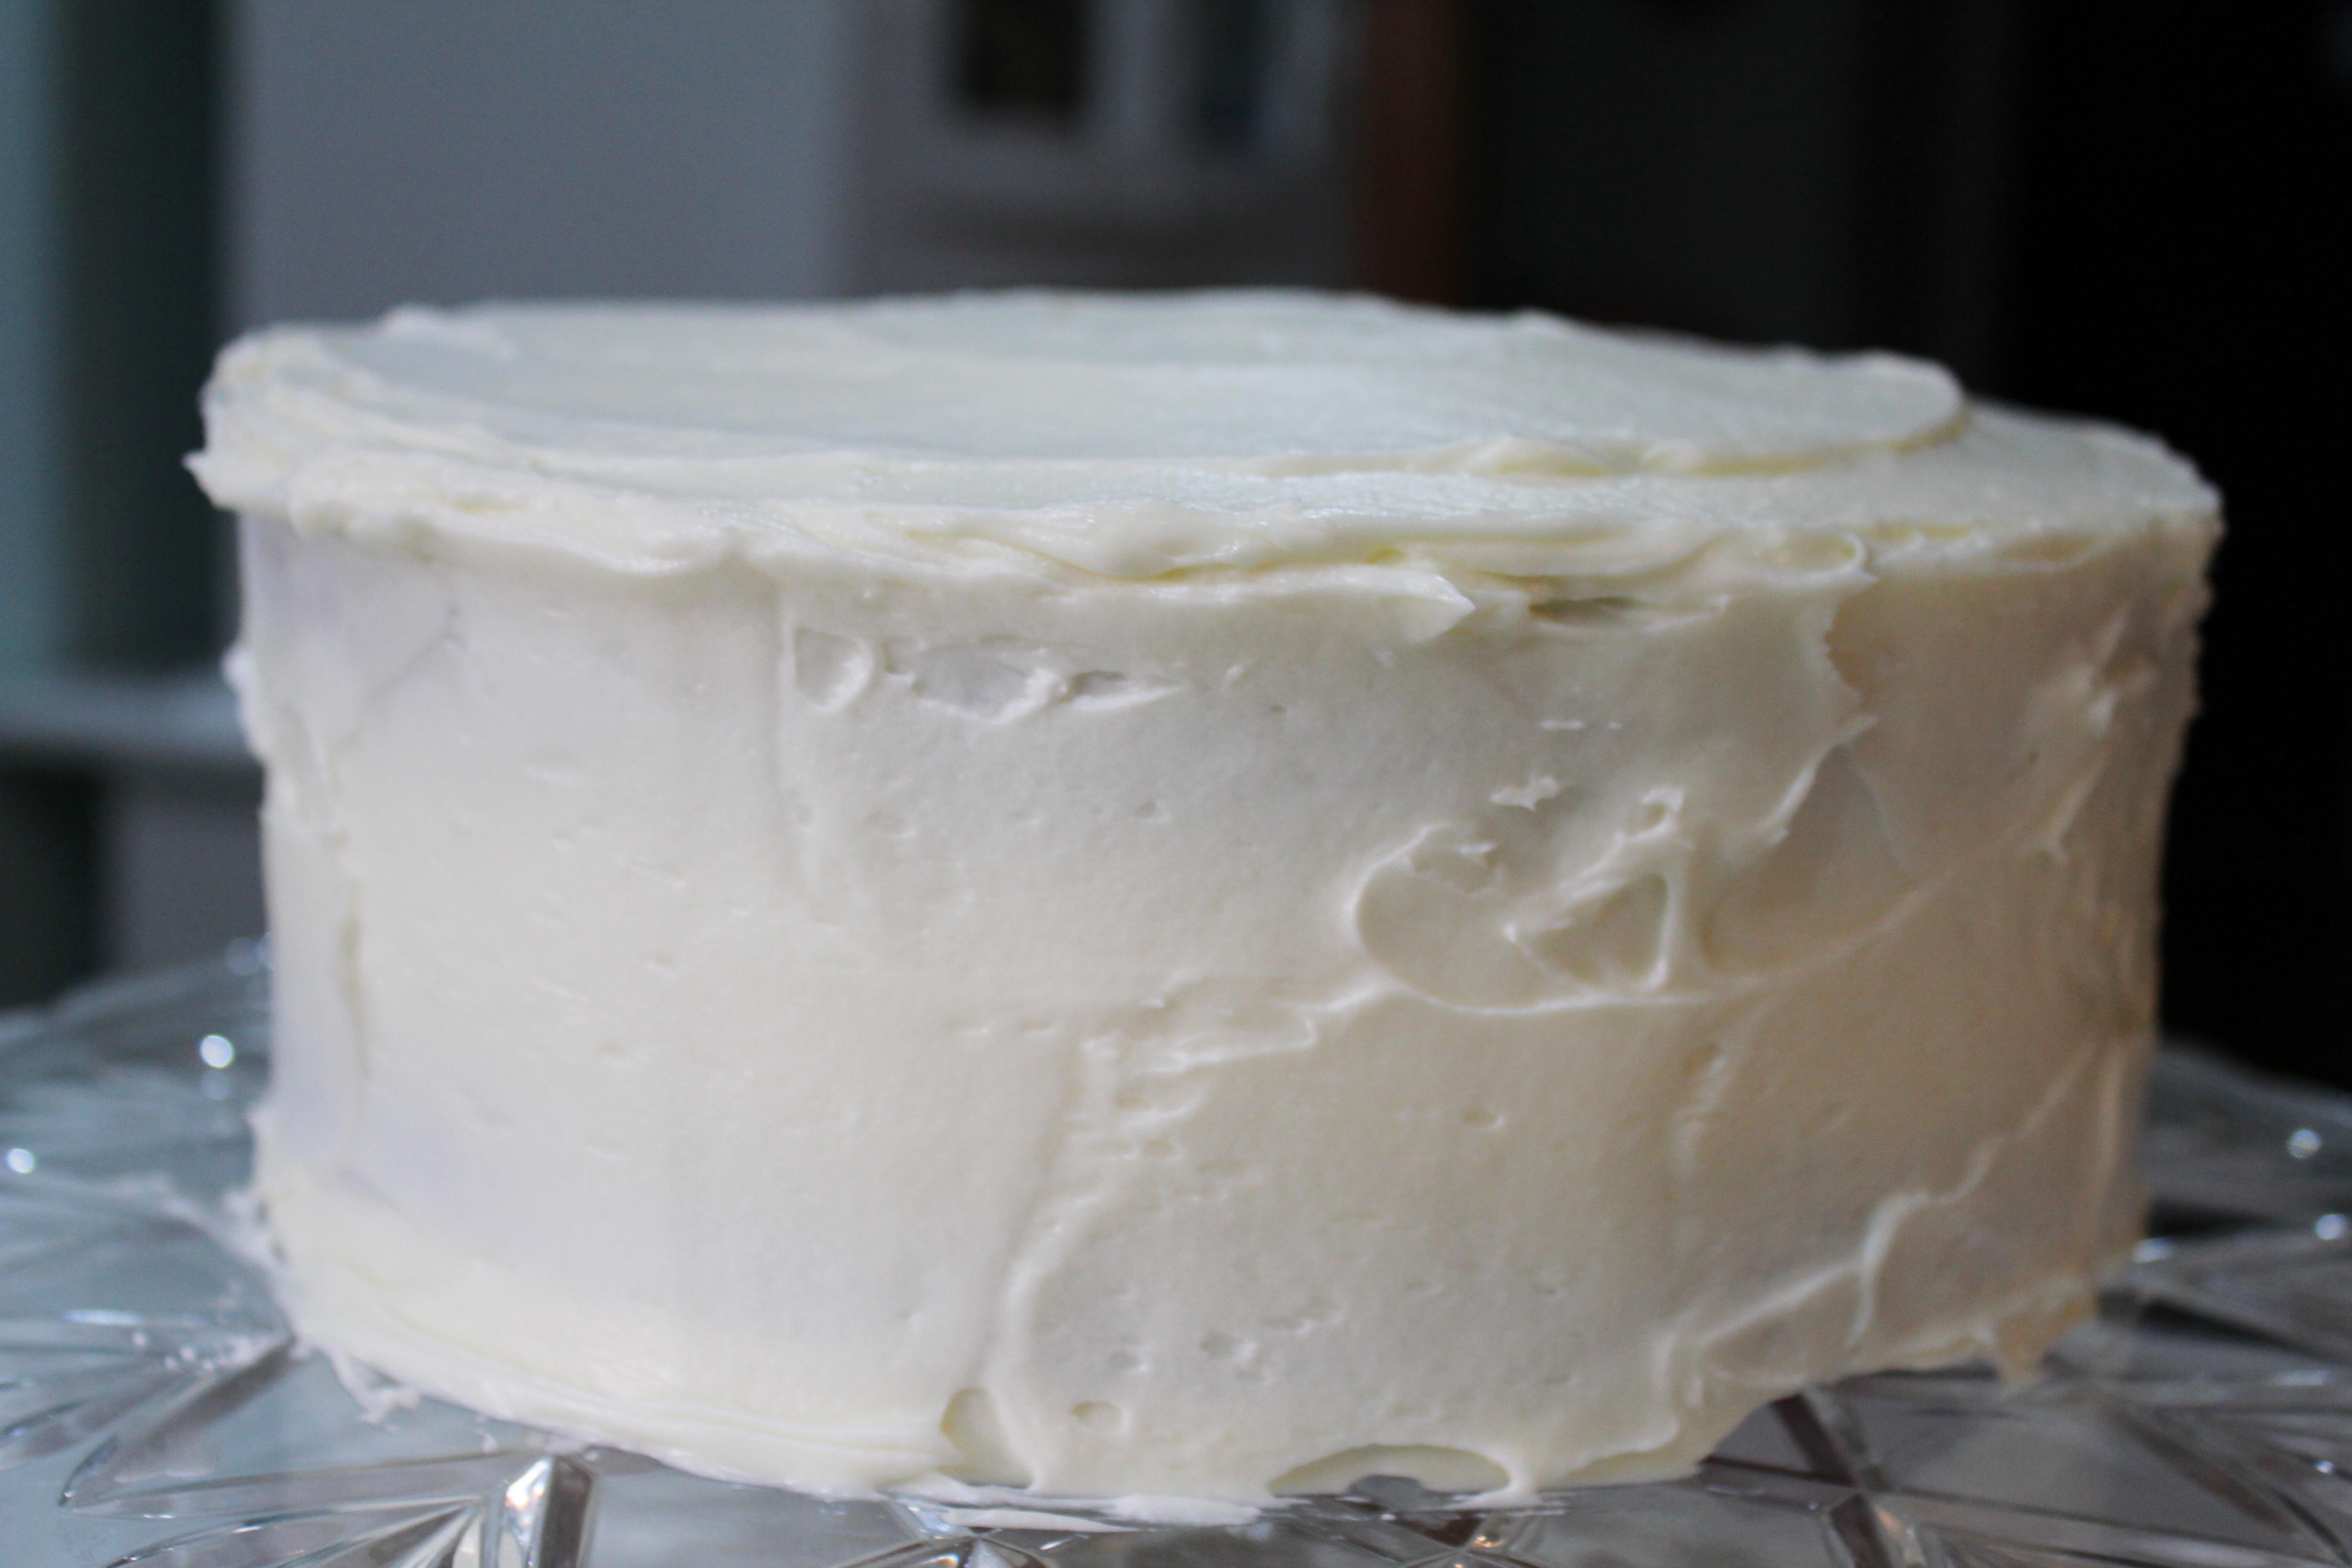
Frost the cake with Cream Cheese Frosting. If it starts getting crumbs in the frosting, give it a light “base coat,” freeze, then give it a nice thick covering with the frosting.
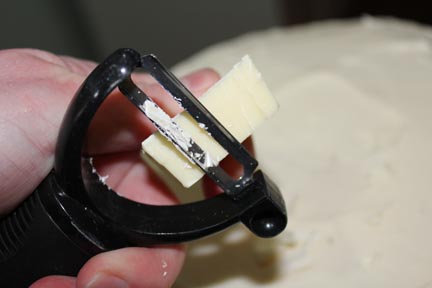
Shave some white chocolate…
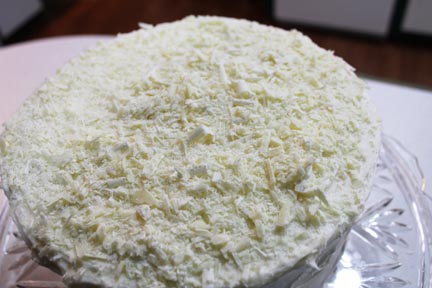
Then liberally sprinkle on top of the cake.

How cool is that?
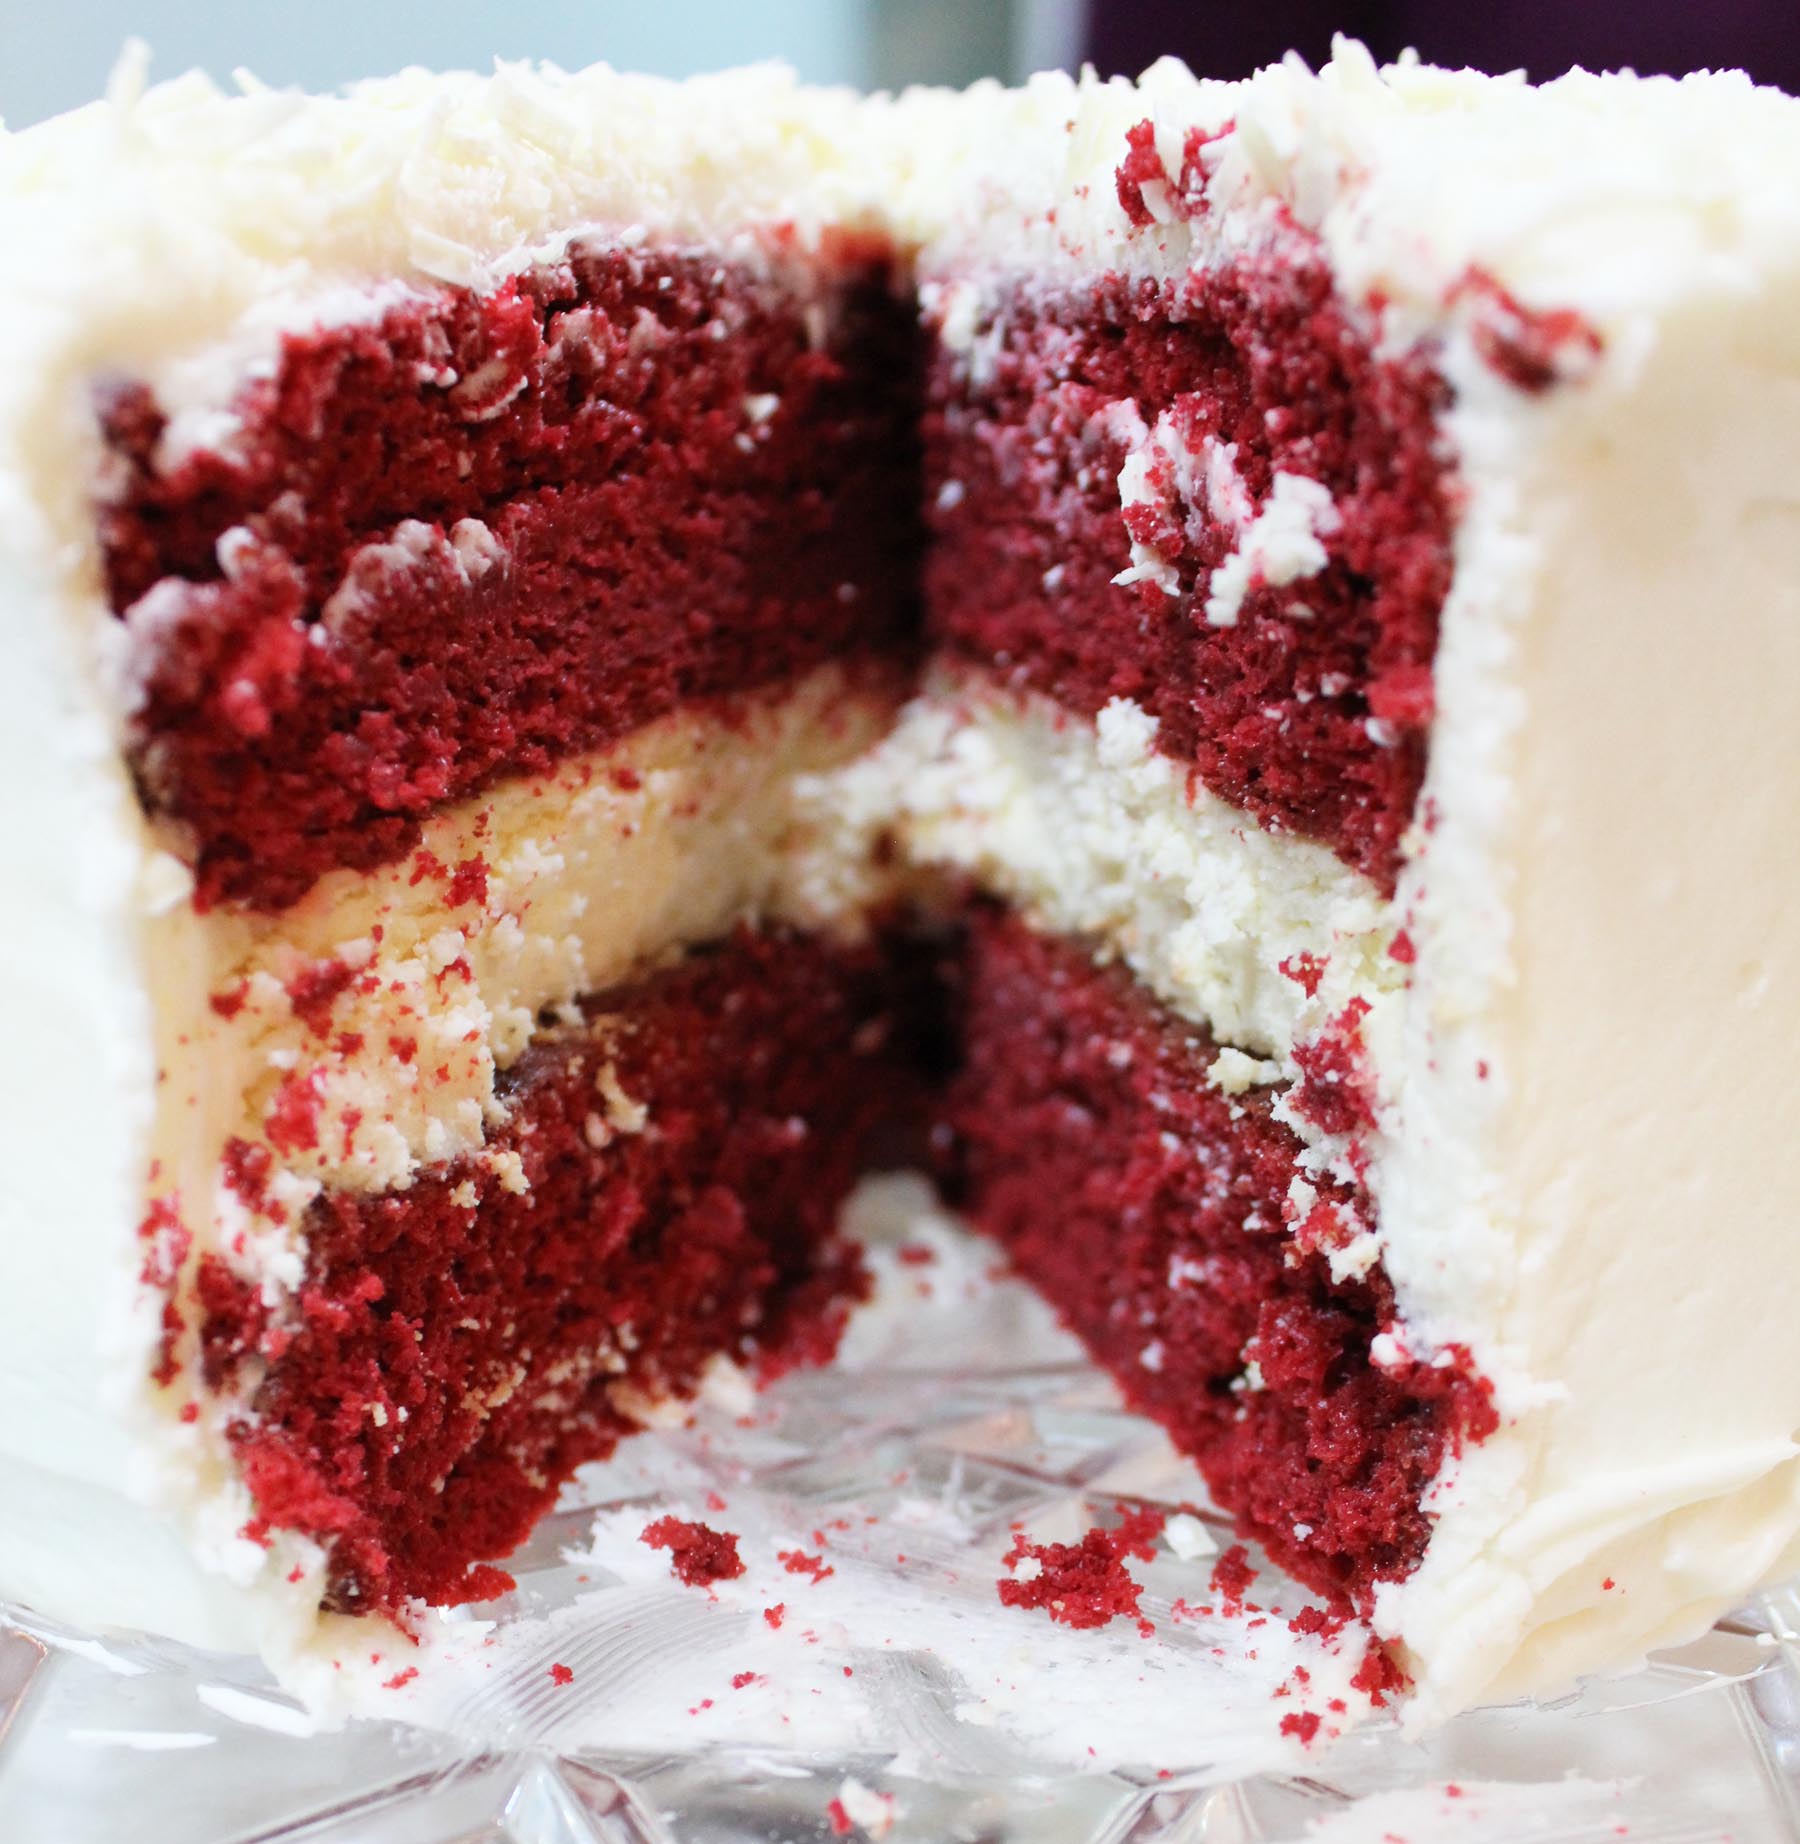
Slice into the cake and prepare to dazzle your sweetheart.

They really will think you’ve got magical powers if you make this for them for Valentine’s Day.
Red Velvet Cheesecake
1 box German Chocolate Cake mix
1 cup sour cream
1/2 cup water
1/2 cup vegetable oil
1 (1 ounce) bottle red food color
3 large eggs
1 box white chocolate instant pudding (3.3 ounce)
1 tsp. vanilla extract
Cream Cheese Frosting
White chocolate curls (optional)
Preheat oven to 350 degrees and grease two 9-inch round cake pans.
Combine all ingredients and mix on low speed for a minute. Scrape down edges of bowl then beat an additional two minutes on medium/high speed. Pour into cake pans and bake about25 minutes or until cake begins to pull away from sides of the pan or bounces back to your touch. (Note: use the entire bottle of food coloring if you want this to be a pretty red color.)
Let cake cool completely before assembling.
You can use a cheesecake mix, one from the store or make your own. I highly recommend making your own. Click on the link above for a simple but oh-so-good recipe. You’ll want to freeze the cheesecake layer before you try and work with it.
Once the red velvet cake has cooled, take the cheesecake out of the freezer and trim off any excess if it is going to be bigger than your cake layers.
Turn one cake layer top side down on a cake plate or platter. Slather on a layer of frosting (see easy recipe below) then gently place the cheesecake on top. Frost the inside of the other cake layer before putting it on the cheesecake, basically creating a cake and frosting sandwich around the cheesecake. Frost the entire cake with a thin layer of the frosting. If it is getting “crumby”, stick it in the freezer until the frosting is set then give it a nice thick coat of the frosting.
If you want to get all fancy-pants, shave some white chocolate curls on top.
Freeze the cake until about an hour before you are ready to serve. I made mine a week in advance and it was absolutely delicious!
If you want to make your cream cheese frosting from scratch, it’s easy!
Cream Cheese Frosting
1 box powdered sugar
8 ounces cream cheese, softened
1/2 cup butter, softened
1 tsp. vanilla
Combine all ingredients until smooth and creamy.
She Who May Be Dreaming of Another Piece