On rare and random occasions, I’ll make a batch of home-made bread or dinner rolls.
They are soooo good right out of the oven, hot and yeasty with butter melting into every crevice.
This recipe is one my mom taught me when I was young and she learned it from her mom.
It isn’t hard to make, just takes a little time while you are waiting impatiently for the bread to rise so you can bake these babies and enjoy all that fresh bread goodness.

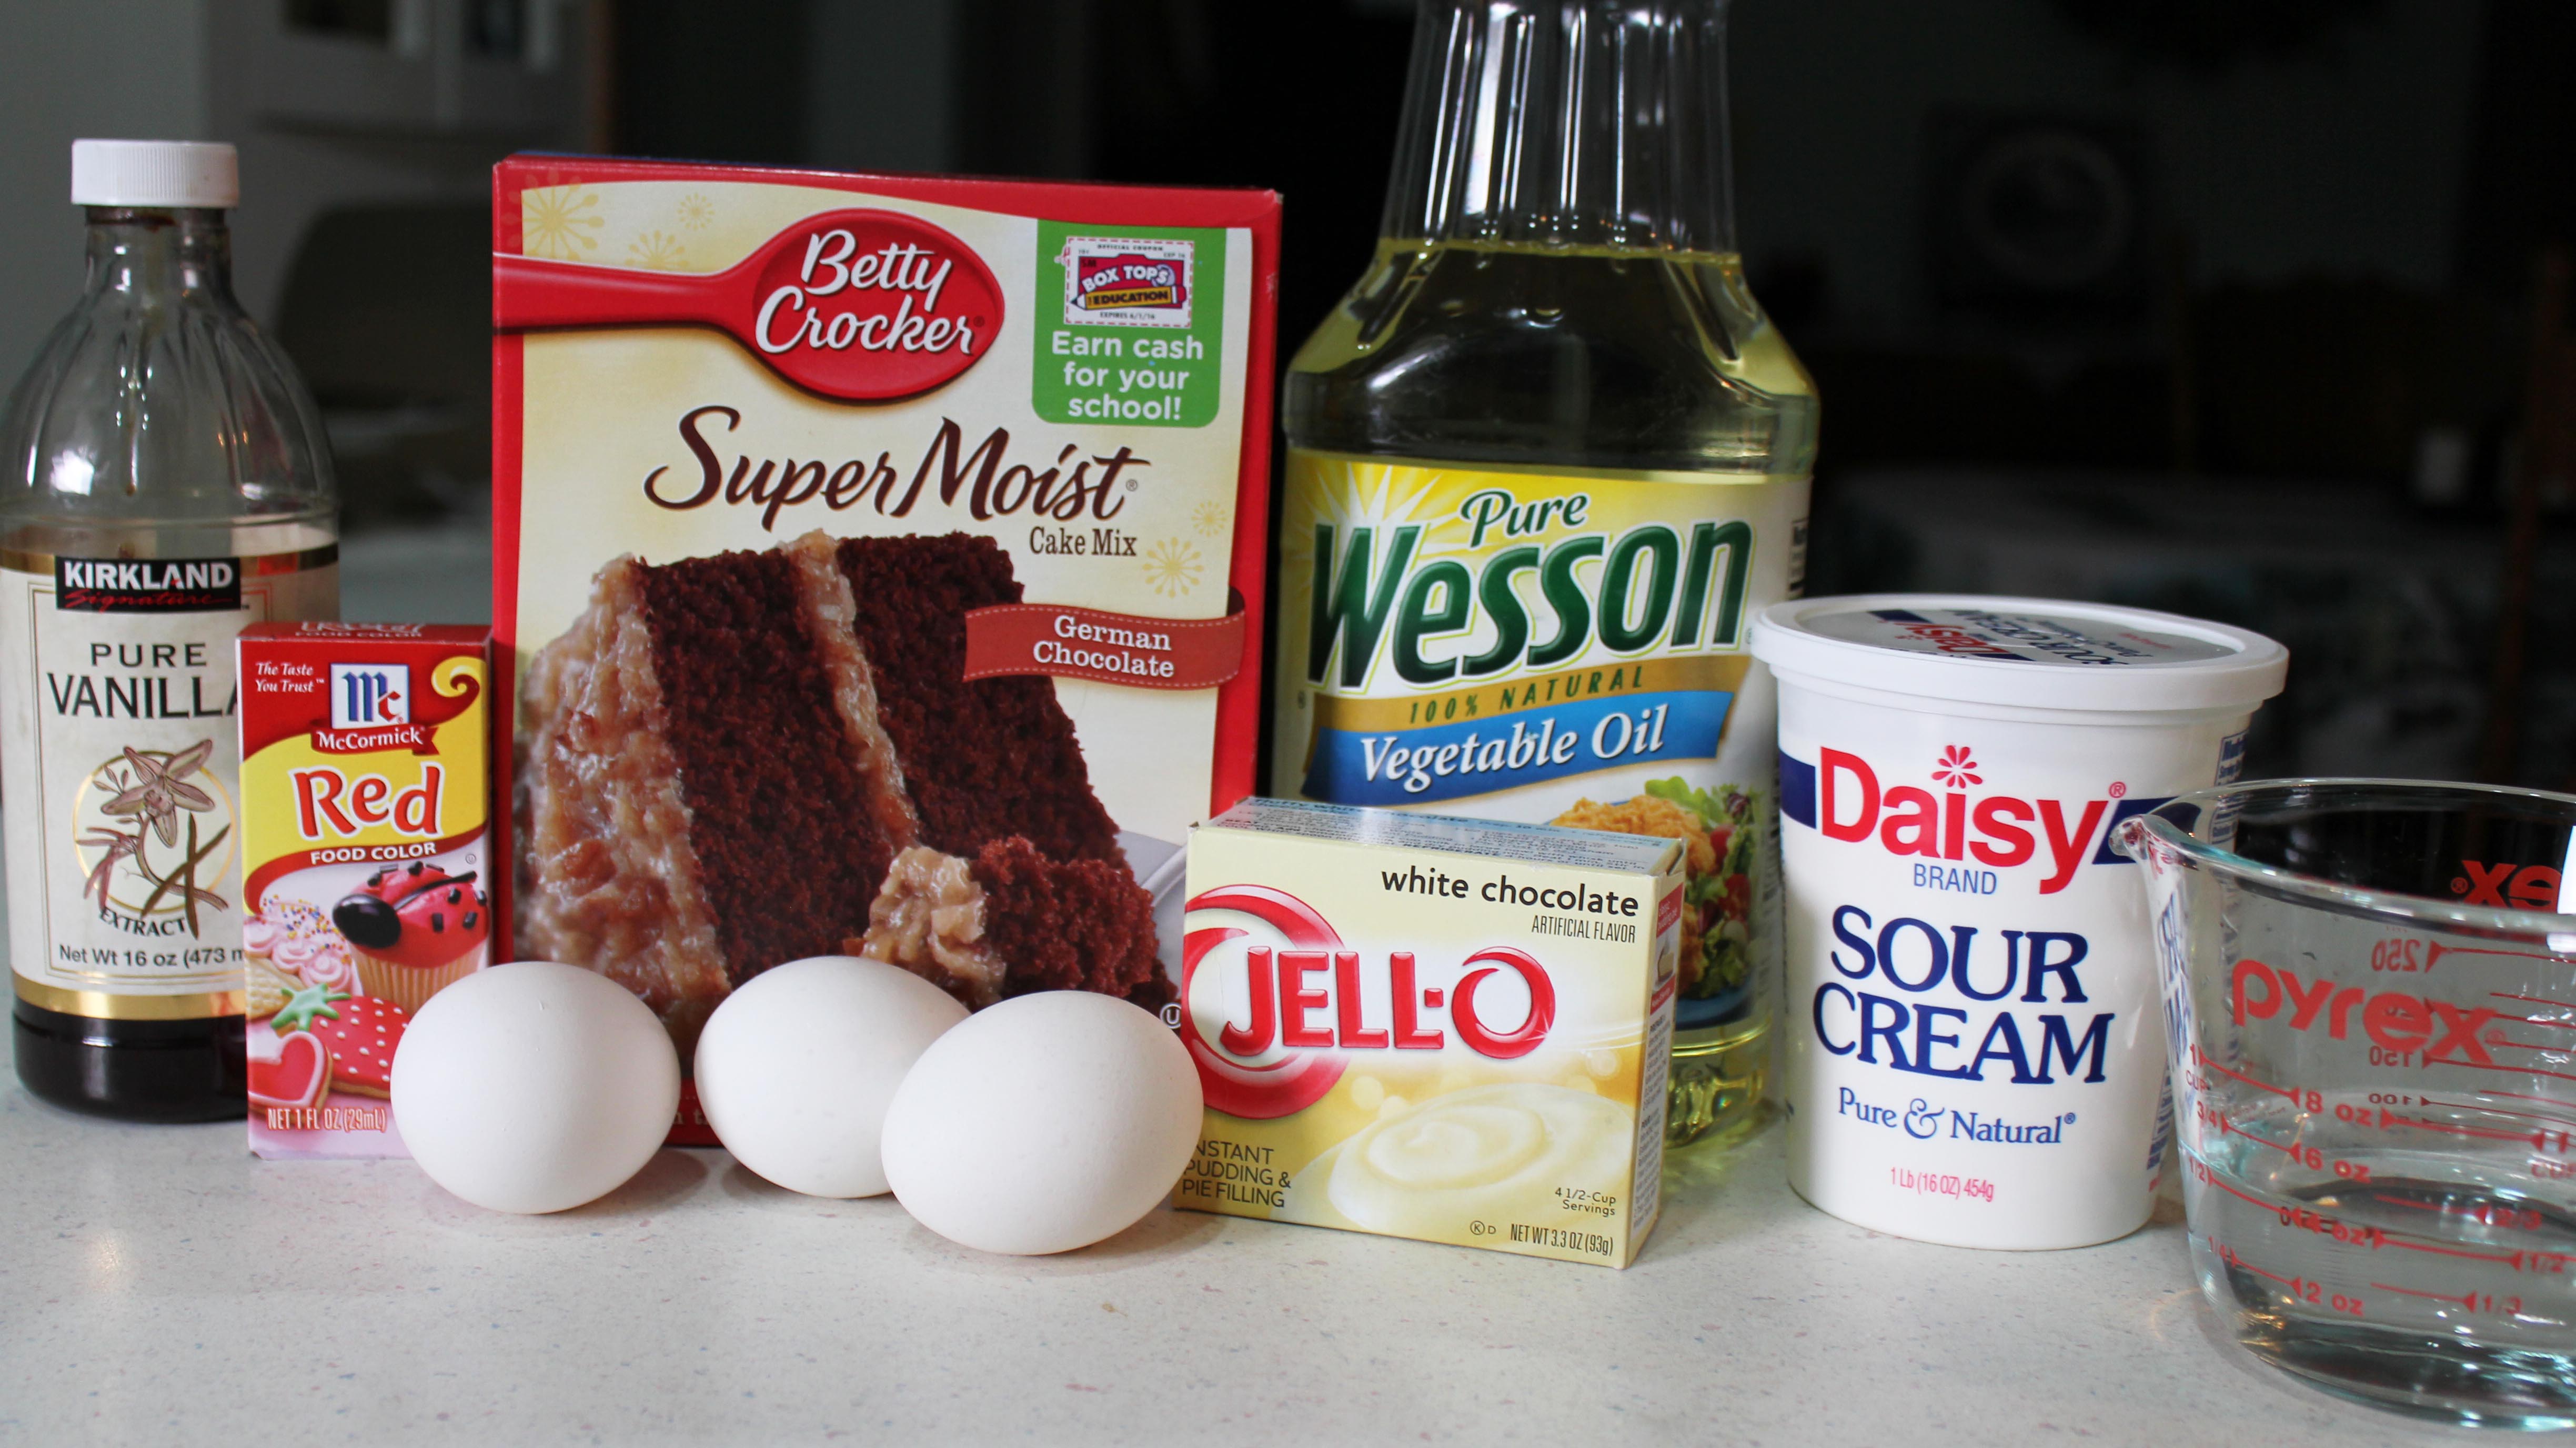
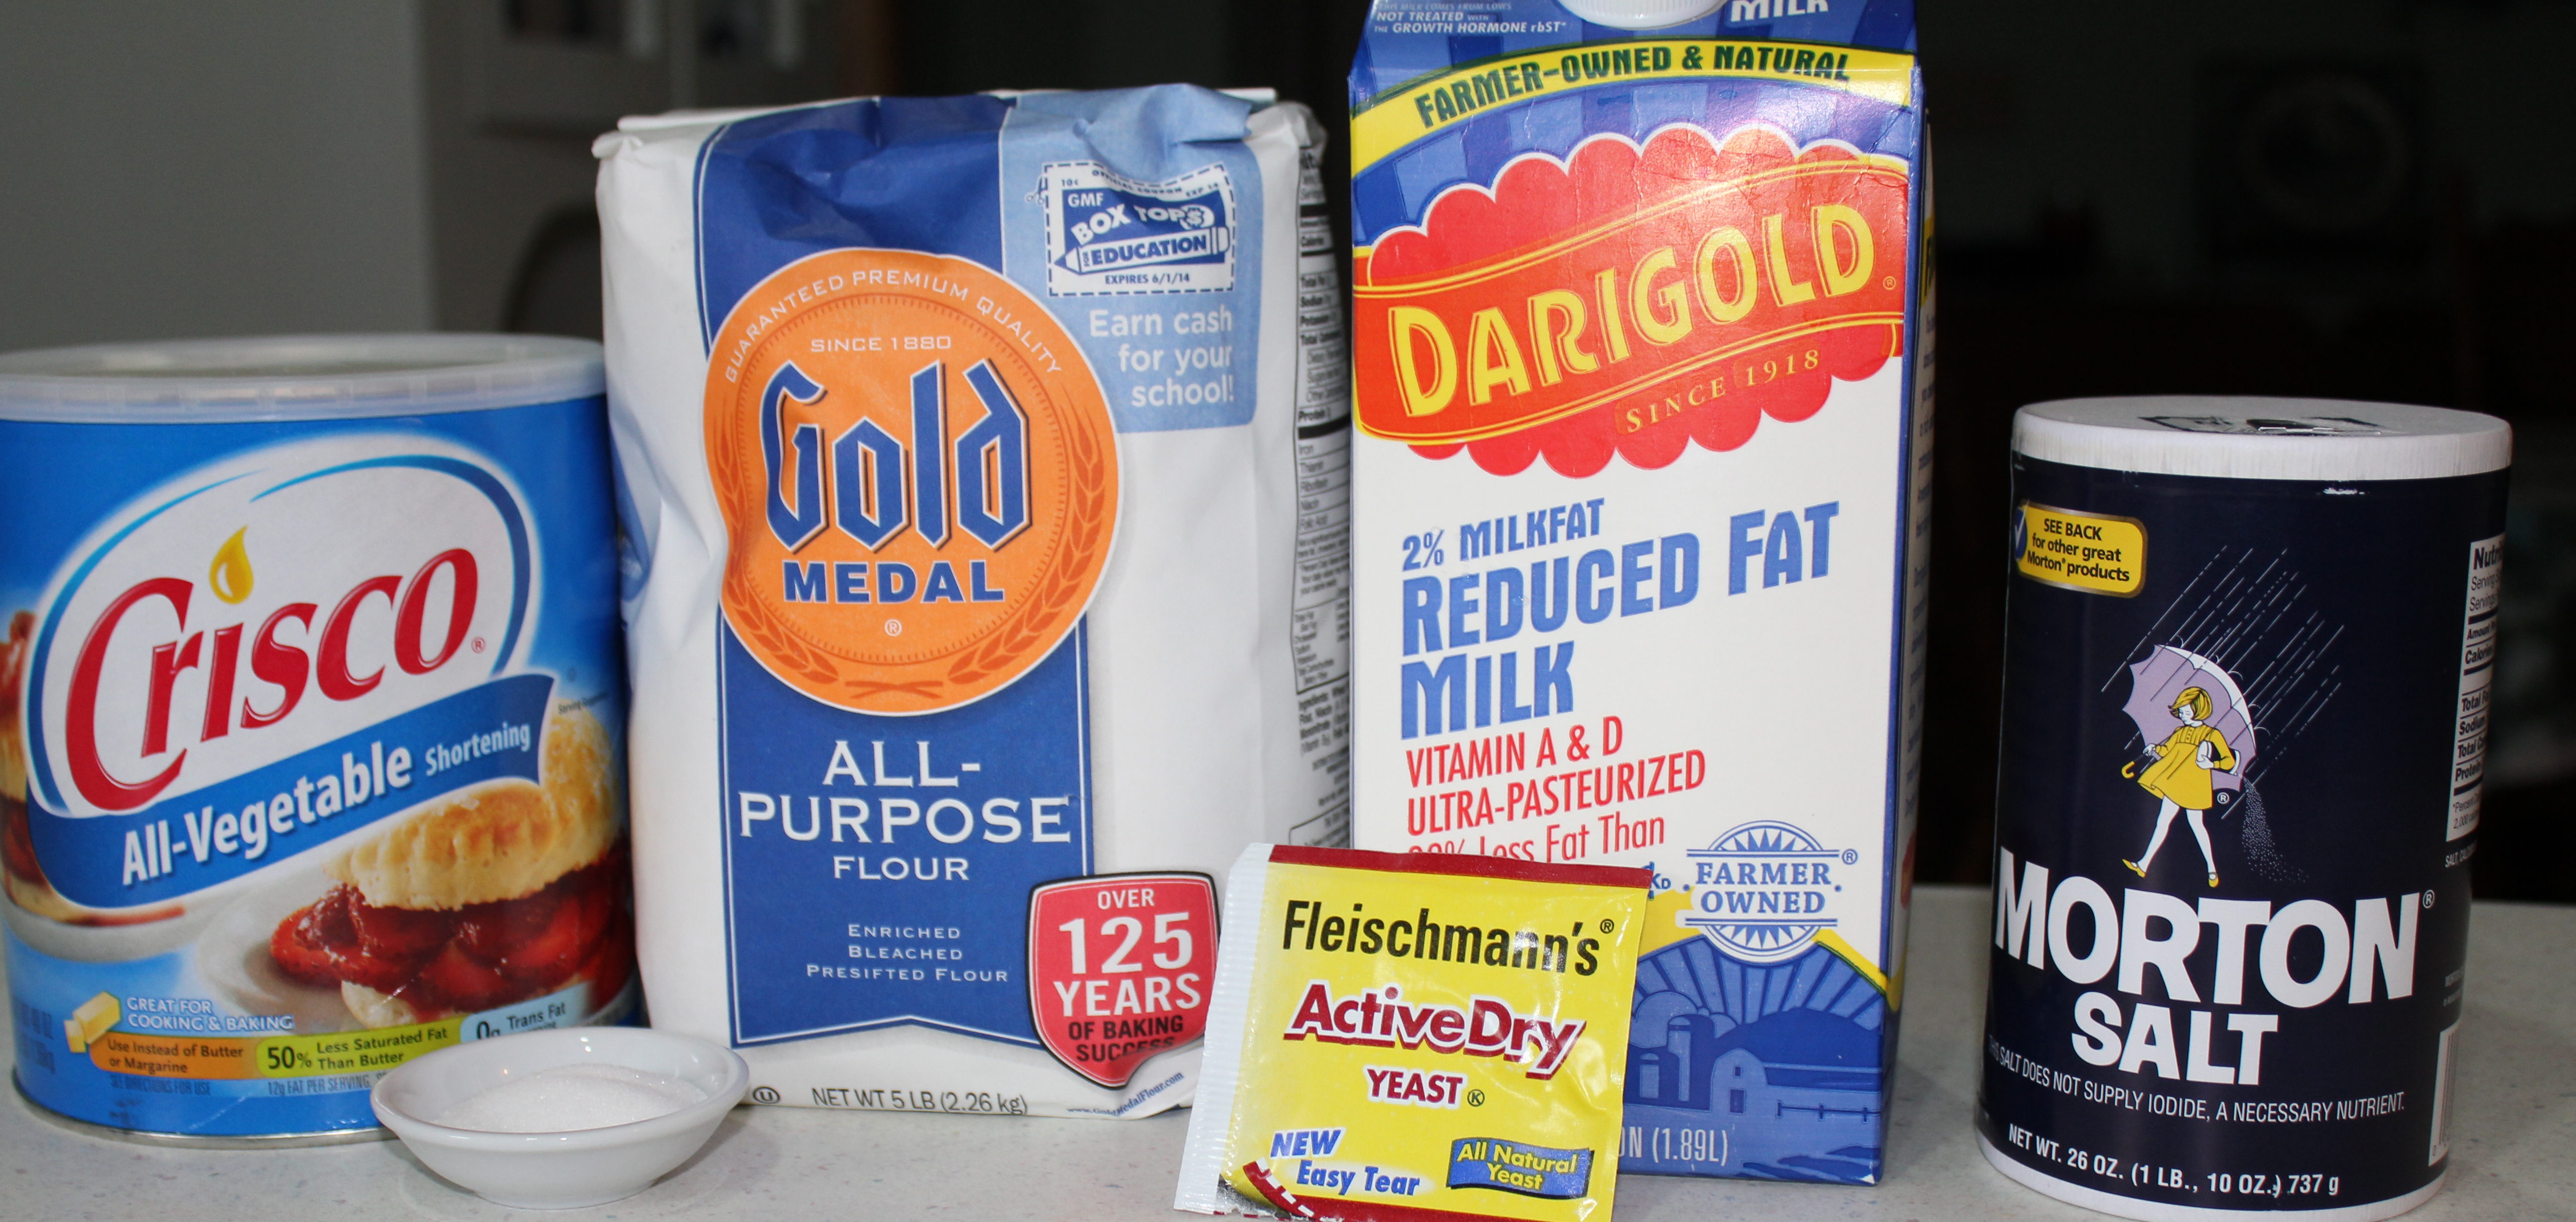
Ingredients

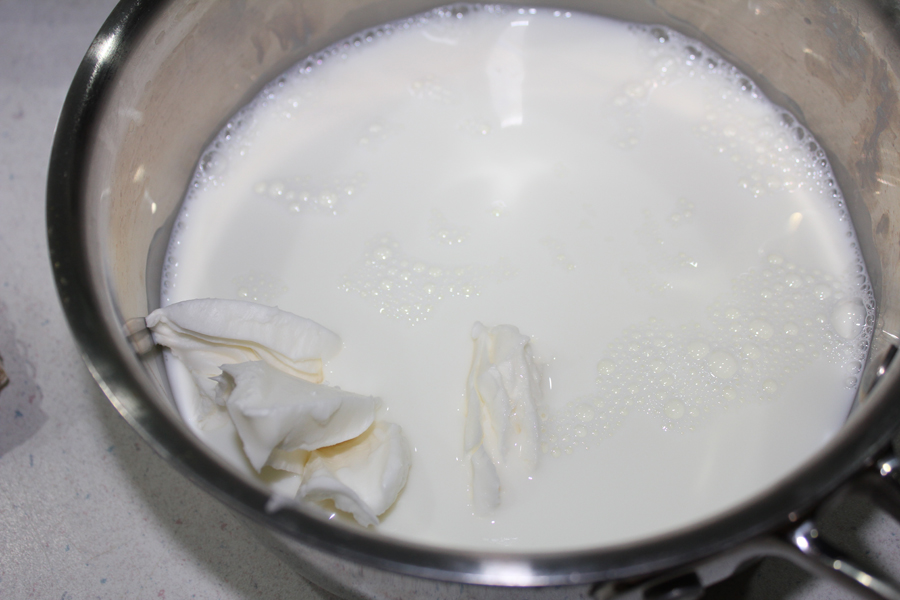
Mix milk, shortening, sugar and salt in a saucepan. Stir over medium heat until milk is scalded (180 F).

Pour warm milk into a large bowl to cool.
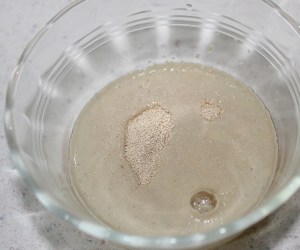
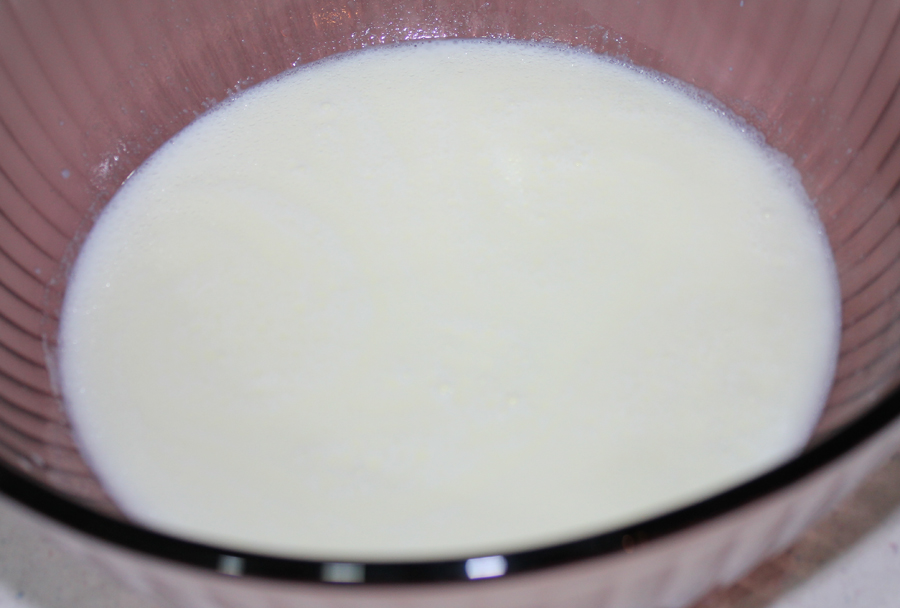
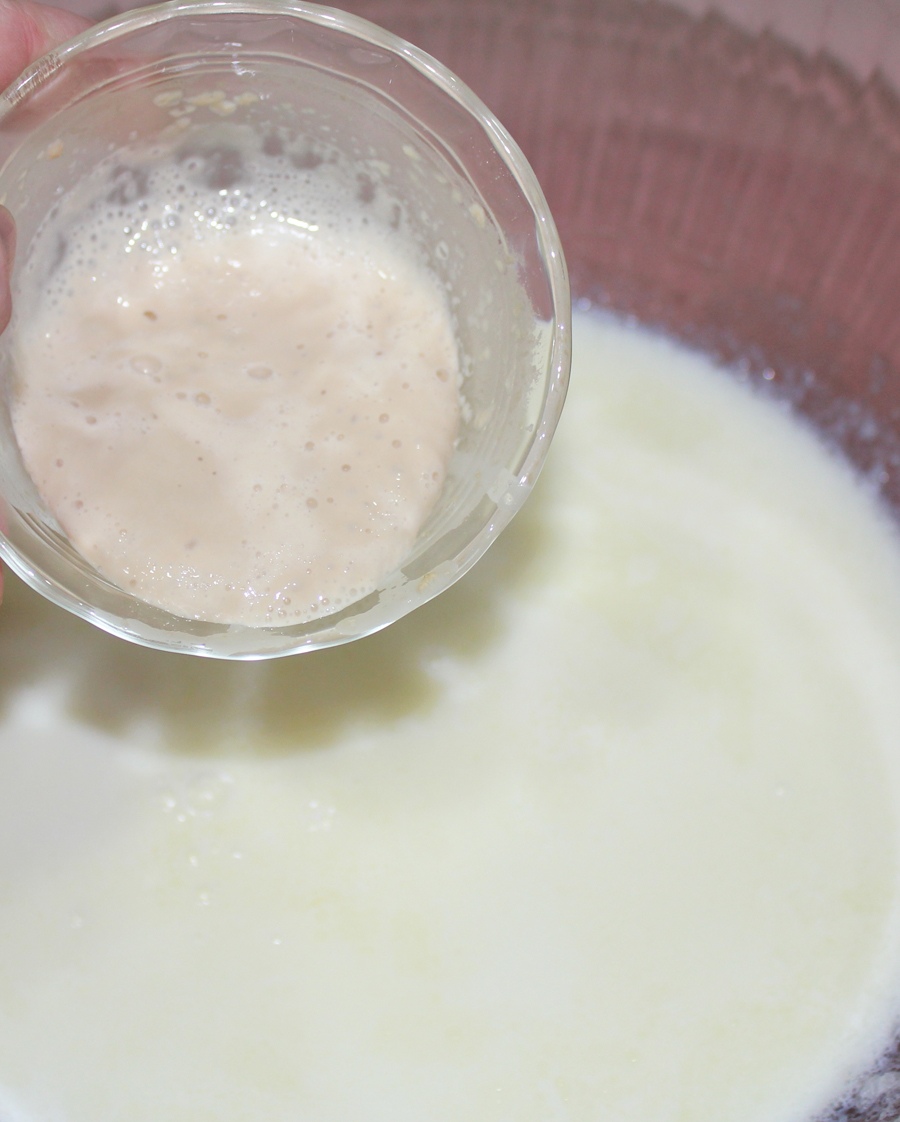
While milk is cooling, add yeast to 1/4 cup lukewarm water, stir until yeast is dissolved then leave it alone to do its thing for a few minutes while the milk cools.

Stir yeast into milk mixture when the milk is about the temp of a baby’s bottle.
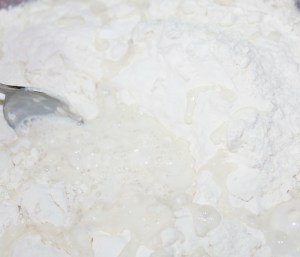
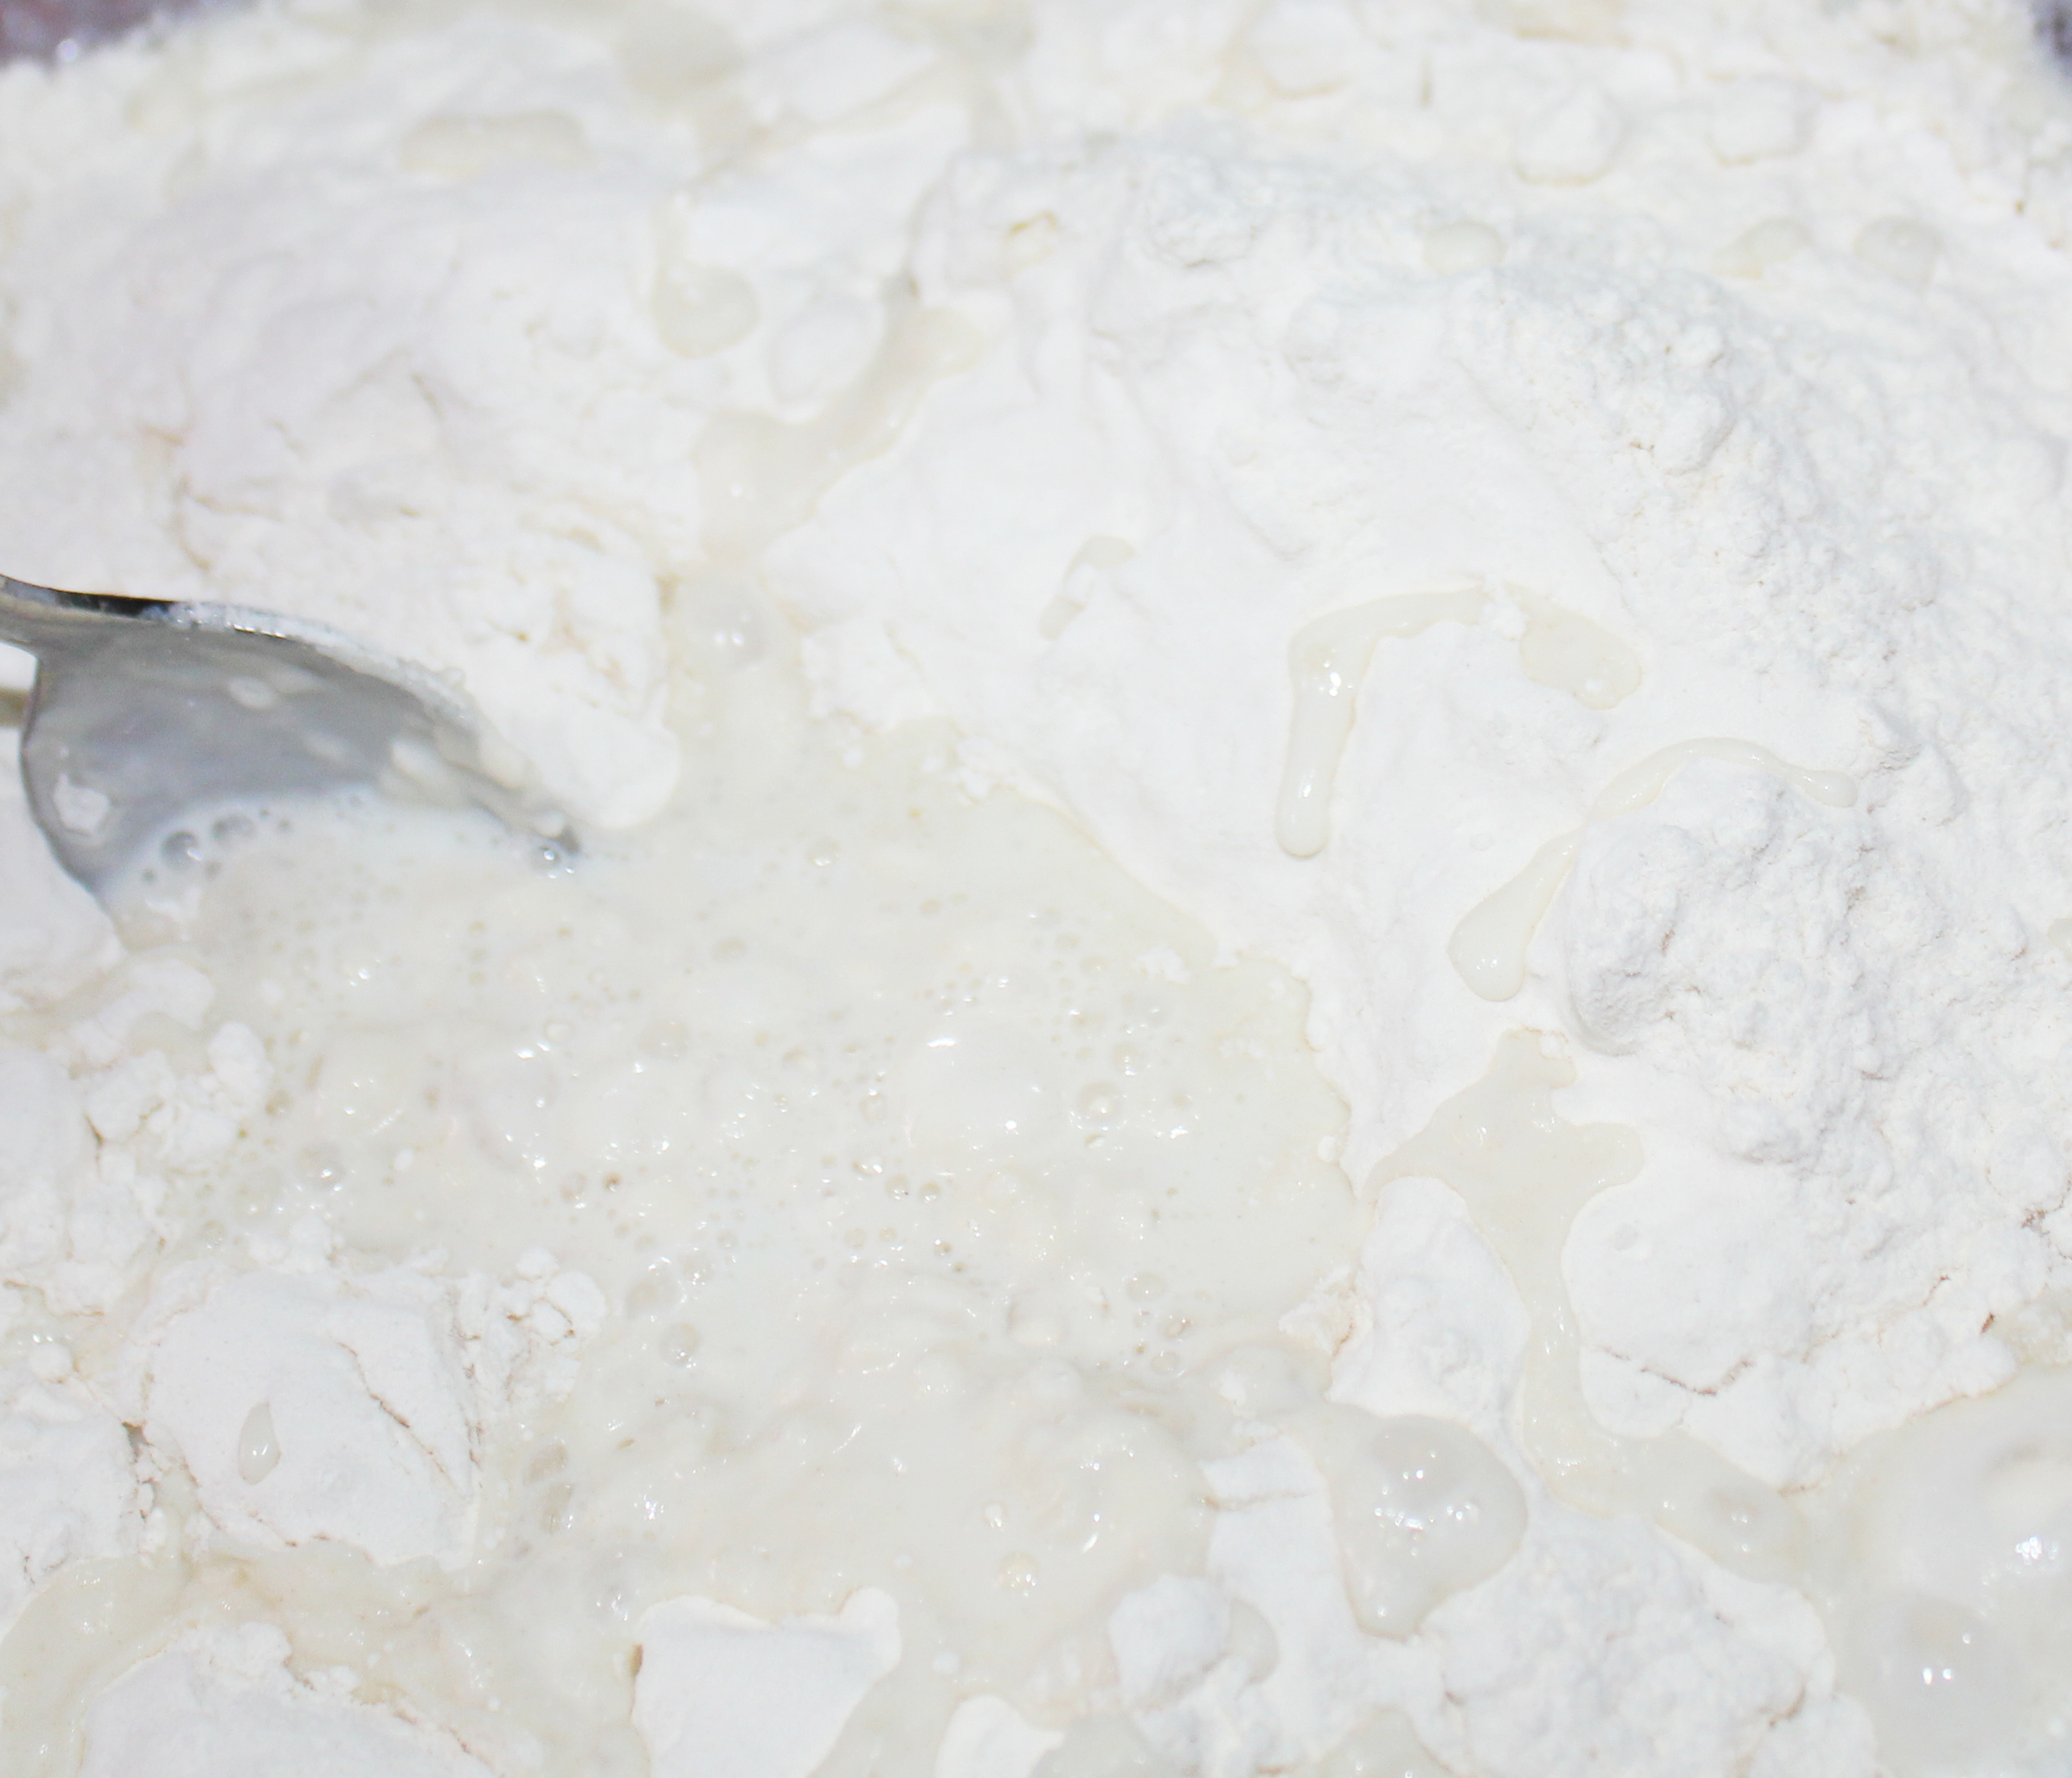
Stir in flour.

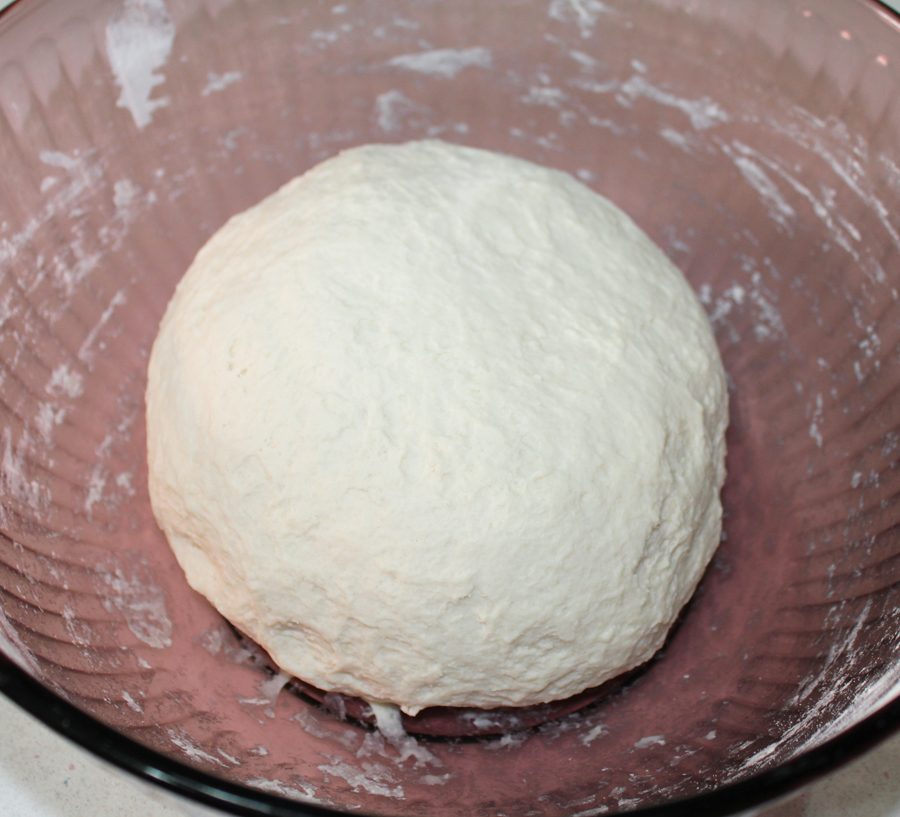
Knead dough, form into a ball, cover and let rise for an hour.

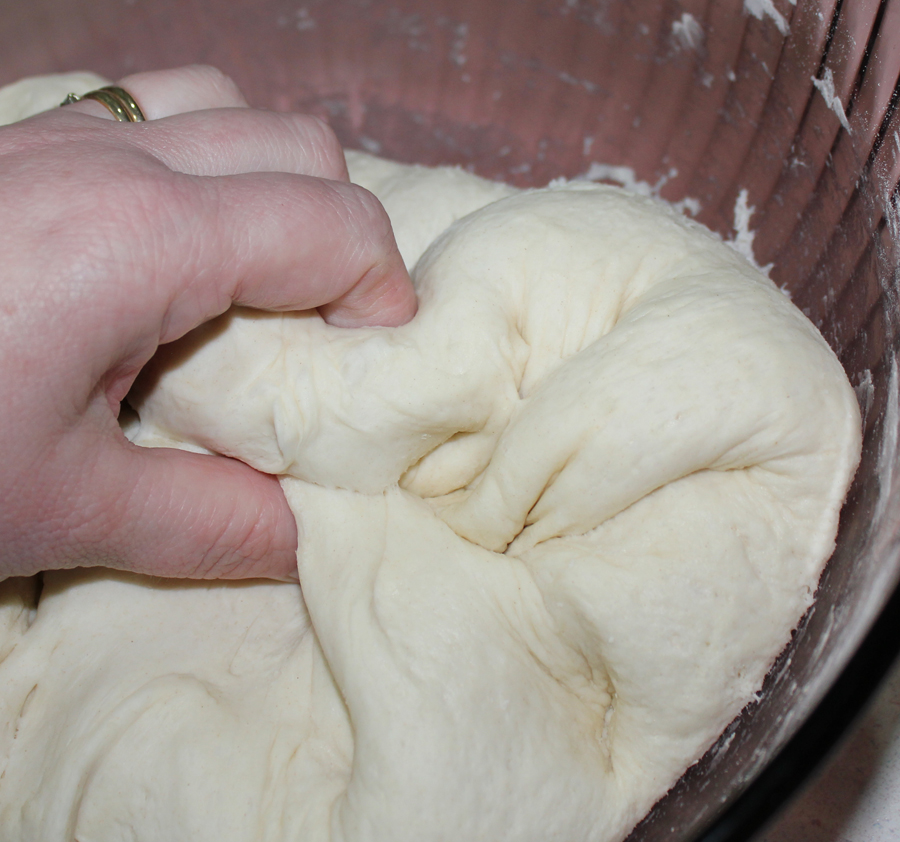
Dough should now be doubled in size. Punch down dough and knead again.

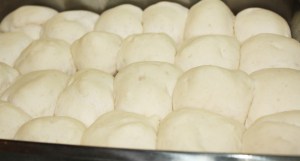
Pinch off a piece of dough, about the size of a golf ball, roll into a ball and place in a greased baking pan. Uniformity is NOT my middle name, so mine are all uniquely sized. Continue with this process until you’ve filled the pan with rolls, leaving space between each one. Cover and place a warm spot to rise for another hour.
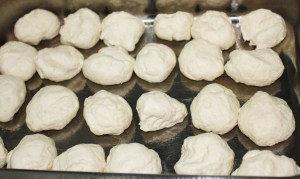
Your pan of rolls will go from this…
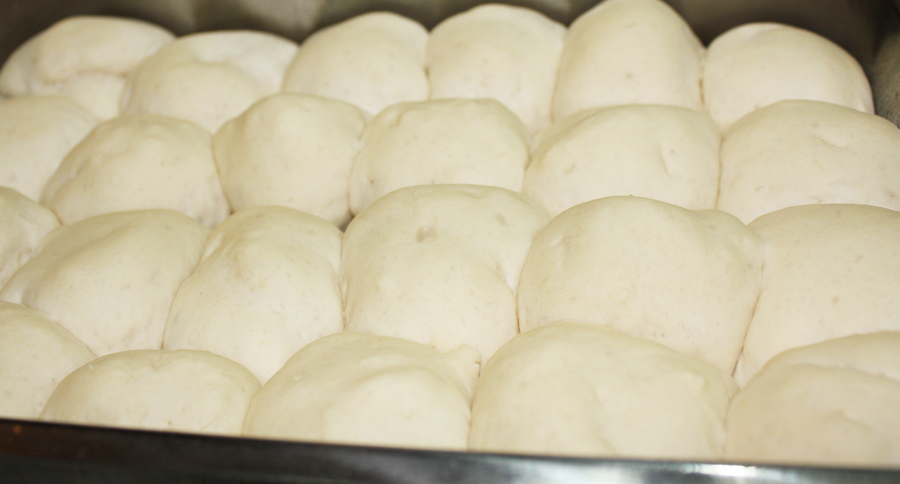
to this. Bake in 375 preheated oven until tops are golden brown.
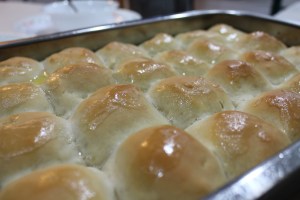
Slather the tops with butter and refrain from gobbling up a few while it oozes into every little corner and crevice.
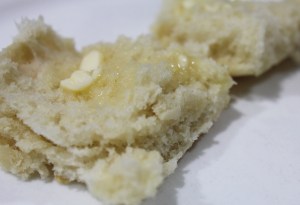
Cut one open, add butter and take a bite of yeasty bliss!
Home-made Dinner Rolls (or Bread)
2 cups milk
4 tbsp. shortening
1 tbsp. sugar
pinch of salt
1/4 cup lukewarm water
1 pkg. yeast
4 + cups of flour
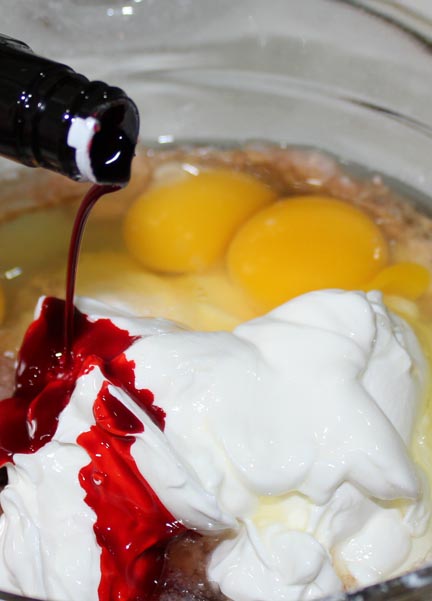
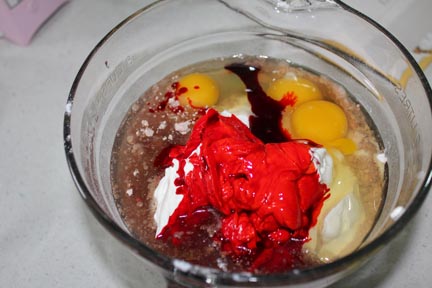
Combine milk, shortening, sugar and salt in a heavy saucepan over medium heat. Stir constantly until shortening is melted then continue to stir until milk scalds. Keep a close eye on it because you don’t want the milk to scorch in the pan.
(Note: Scalded milk is milk that has been heated to 180 °F. At this temperature, bacteria are killed, enzymes in the milk are destroyed and many of the proteins are rendered inactive. The bacteria have to be killed off because any “wild yeasts” in the milk can alter the texture and flavor or the bread.)
Once the milk mixture is heated up to temp, pour it into a large bowl to cool.
Pour the lukewarm water into a small cup or bowl. Gently stir in the yeast and let set for a few minutes, working its magic. I love that smell. It takes me back to childhood days when my mom made some yeasty treat on a weekly basis.
Test your milk mixture with the tip of your finger. You want it to be cool, but not cold when you stir in the yeast. Think the temperature of a baby’s bottle for a good point of reference. Stir the yeast into the milk until it is well blended.
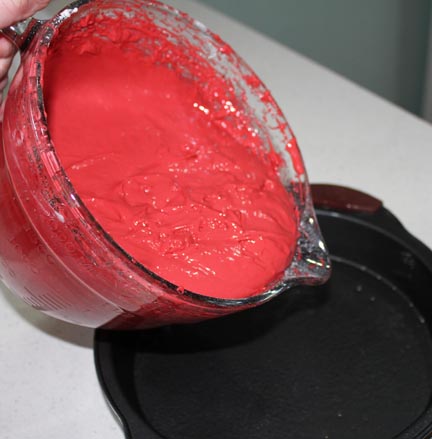
Start stirring in the flour, a cup at a time. You might end up using closer to five or six cups by the time it’s all said and done, but four is a good starting point.
Work the flour into the milk mixture. When it gets hard to stir, you can get your hands in there and start kneading the dough. If you’ve had a stressful day, this is a great way to work out some aggression. Punch the dough down with your fist, flip it around and keep going. It’s also a great work-out for those arm muscles! See, you are burning calories, destressing and making something delicious all at the same time. Talk about multi-tasking!
If the dough is really sticky, continue adding flour, about a half cup at a time until you can work it without it globbing up all over your fingers.
Keep kneading until the bread has an elastic feel to it (meaning you can feel it pop and give as you knead).
Grease the sides of your bowl with a little butter, placing your nice ball of dough in the center of the bowl. Cover with a tea towel and set someplace warm to rise. My favorite place is right in front of our fireplace. It’s warm, but not hot, and creates a perfect environment for the bread to rise.
Force yourself to leave the bread alone for an hour. By that time, it should have doubled in size.
Although this seems like cruel and unusual punishment, you are going to punch down the dough and knead it again. Just a couple minutes worth of kneading is fine.
At this point you can do any number of things with the dough – shape it into a loaf in a bread pan, form it into bread sticks or dinner-rolls, make fancy little shapes with it.
I generally make dinner rolls because I can freeze what we don’t eat for another day.
To make the dinner rolls, pinch off a piece of dough about the size of a golf ball. Roll it around and drop it into a greased baking pan. Leave a little space between each roll because they will expand. In a 9 x 13 pan, I probably end up with about 24 rolls.
Once you have the rolls all shaped, cover the pan with the tea towel and return to that warm spot for another hour.
Preheat the oven to 375 degrees. When the rolls have doubled in size, pop them in the oven and bake for about 12-15 minutes, until tops are golden brown.
Remove from the oven and immediately slather the tops with butter, while trying not to drool at the wonderful yeasty smell that is filling your home and making your mouth water.
Serve with butter, jam, honey or use to soak up the juice from a hearty bowl of stew.
You won’t be able to eat just one!
She Who Loves Home-made Bread
Read Full Post »