 My niece makes a mean angel food cake. When I incorporated “angel cake” into the soon-to-be-released Thimbles and Thistles, I begged her for the recipe and she willingly shared.
If you’ve never had homemade angel food cake (as in completely from scratch) – the effort is worth it!
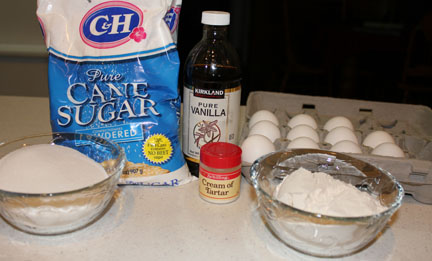
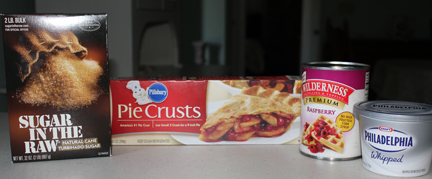
Simple ingredients
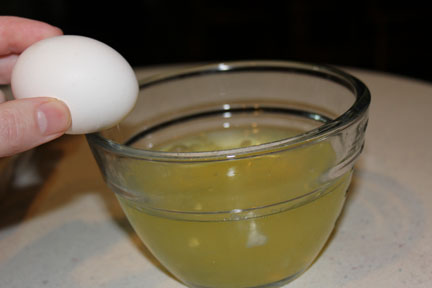
You need about nine to 10 eggs, separated. Let egg whites come up to room temperature.

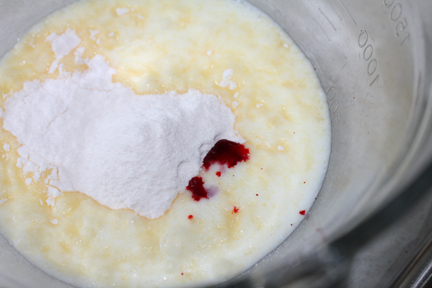
While the eggs are warming (or is it chillin’) sift powdered sugar and flour together.
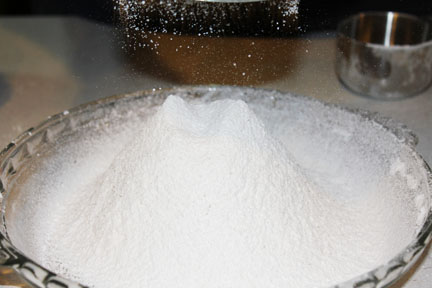
Alternate the two in your sifter – it comes out beautifully.
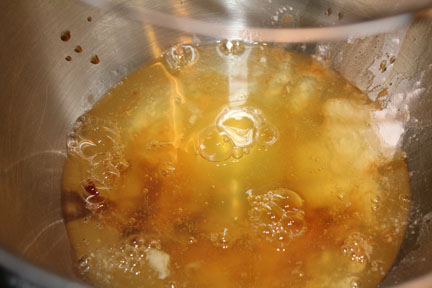
Once egg whites are up to temp, mix with vanilla and cream of tartar until soft peaks form.
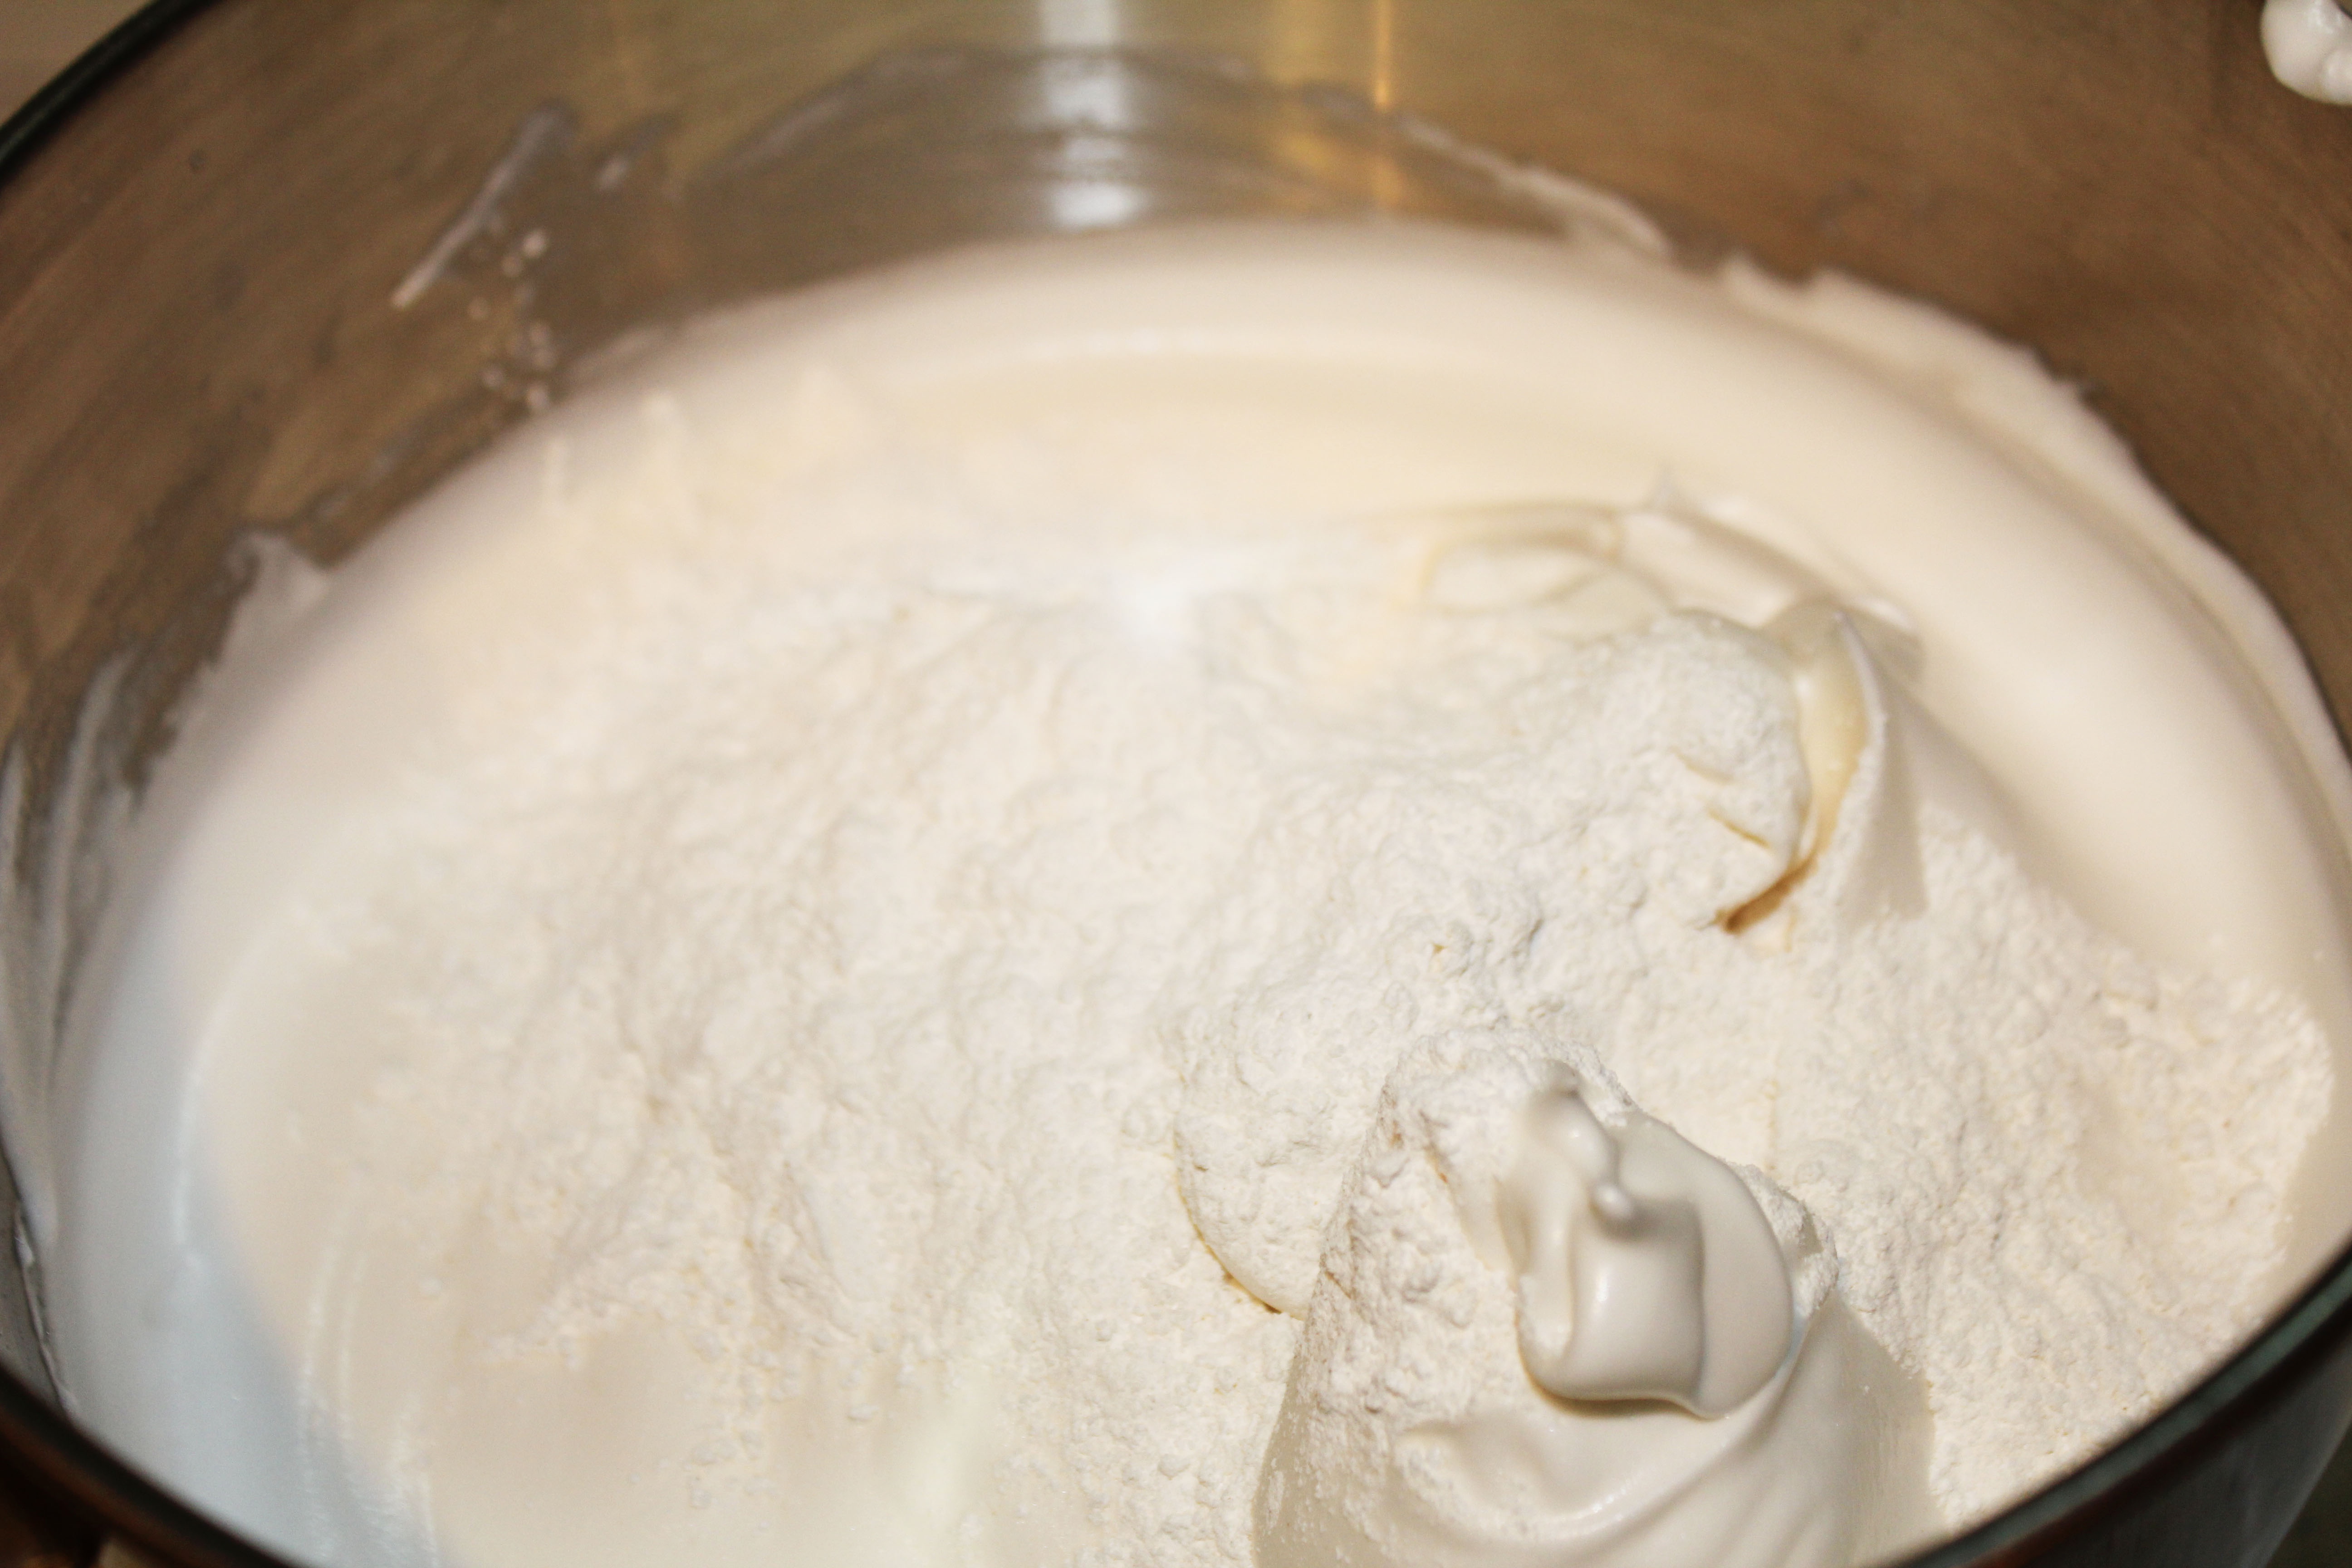
Blend in granulated sugar until stiff peaks form then gently fold in flour mixture.
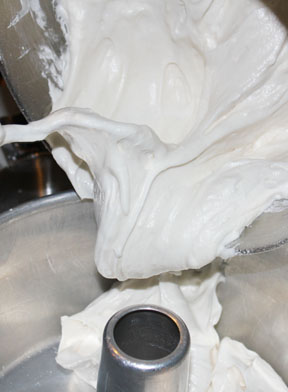
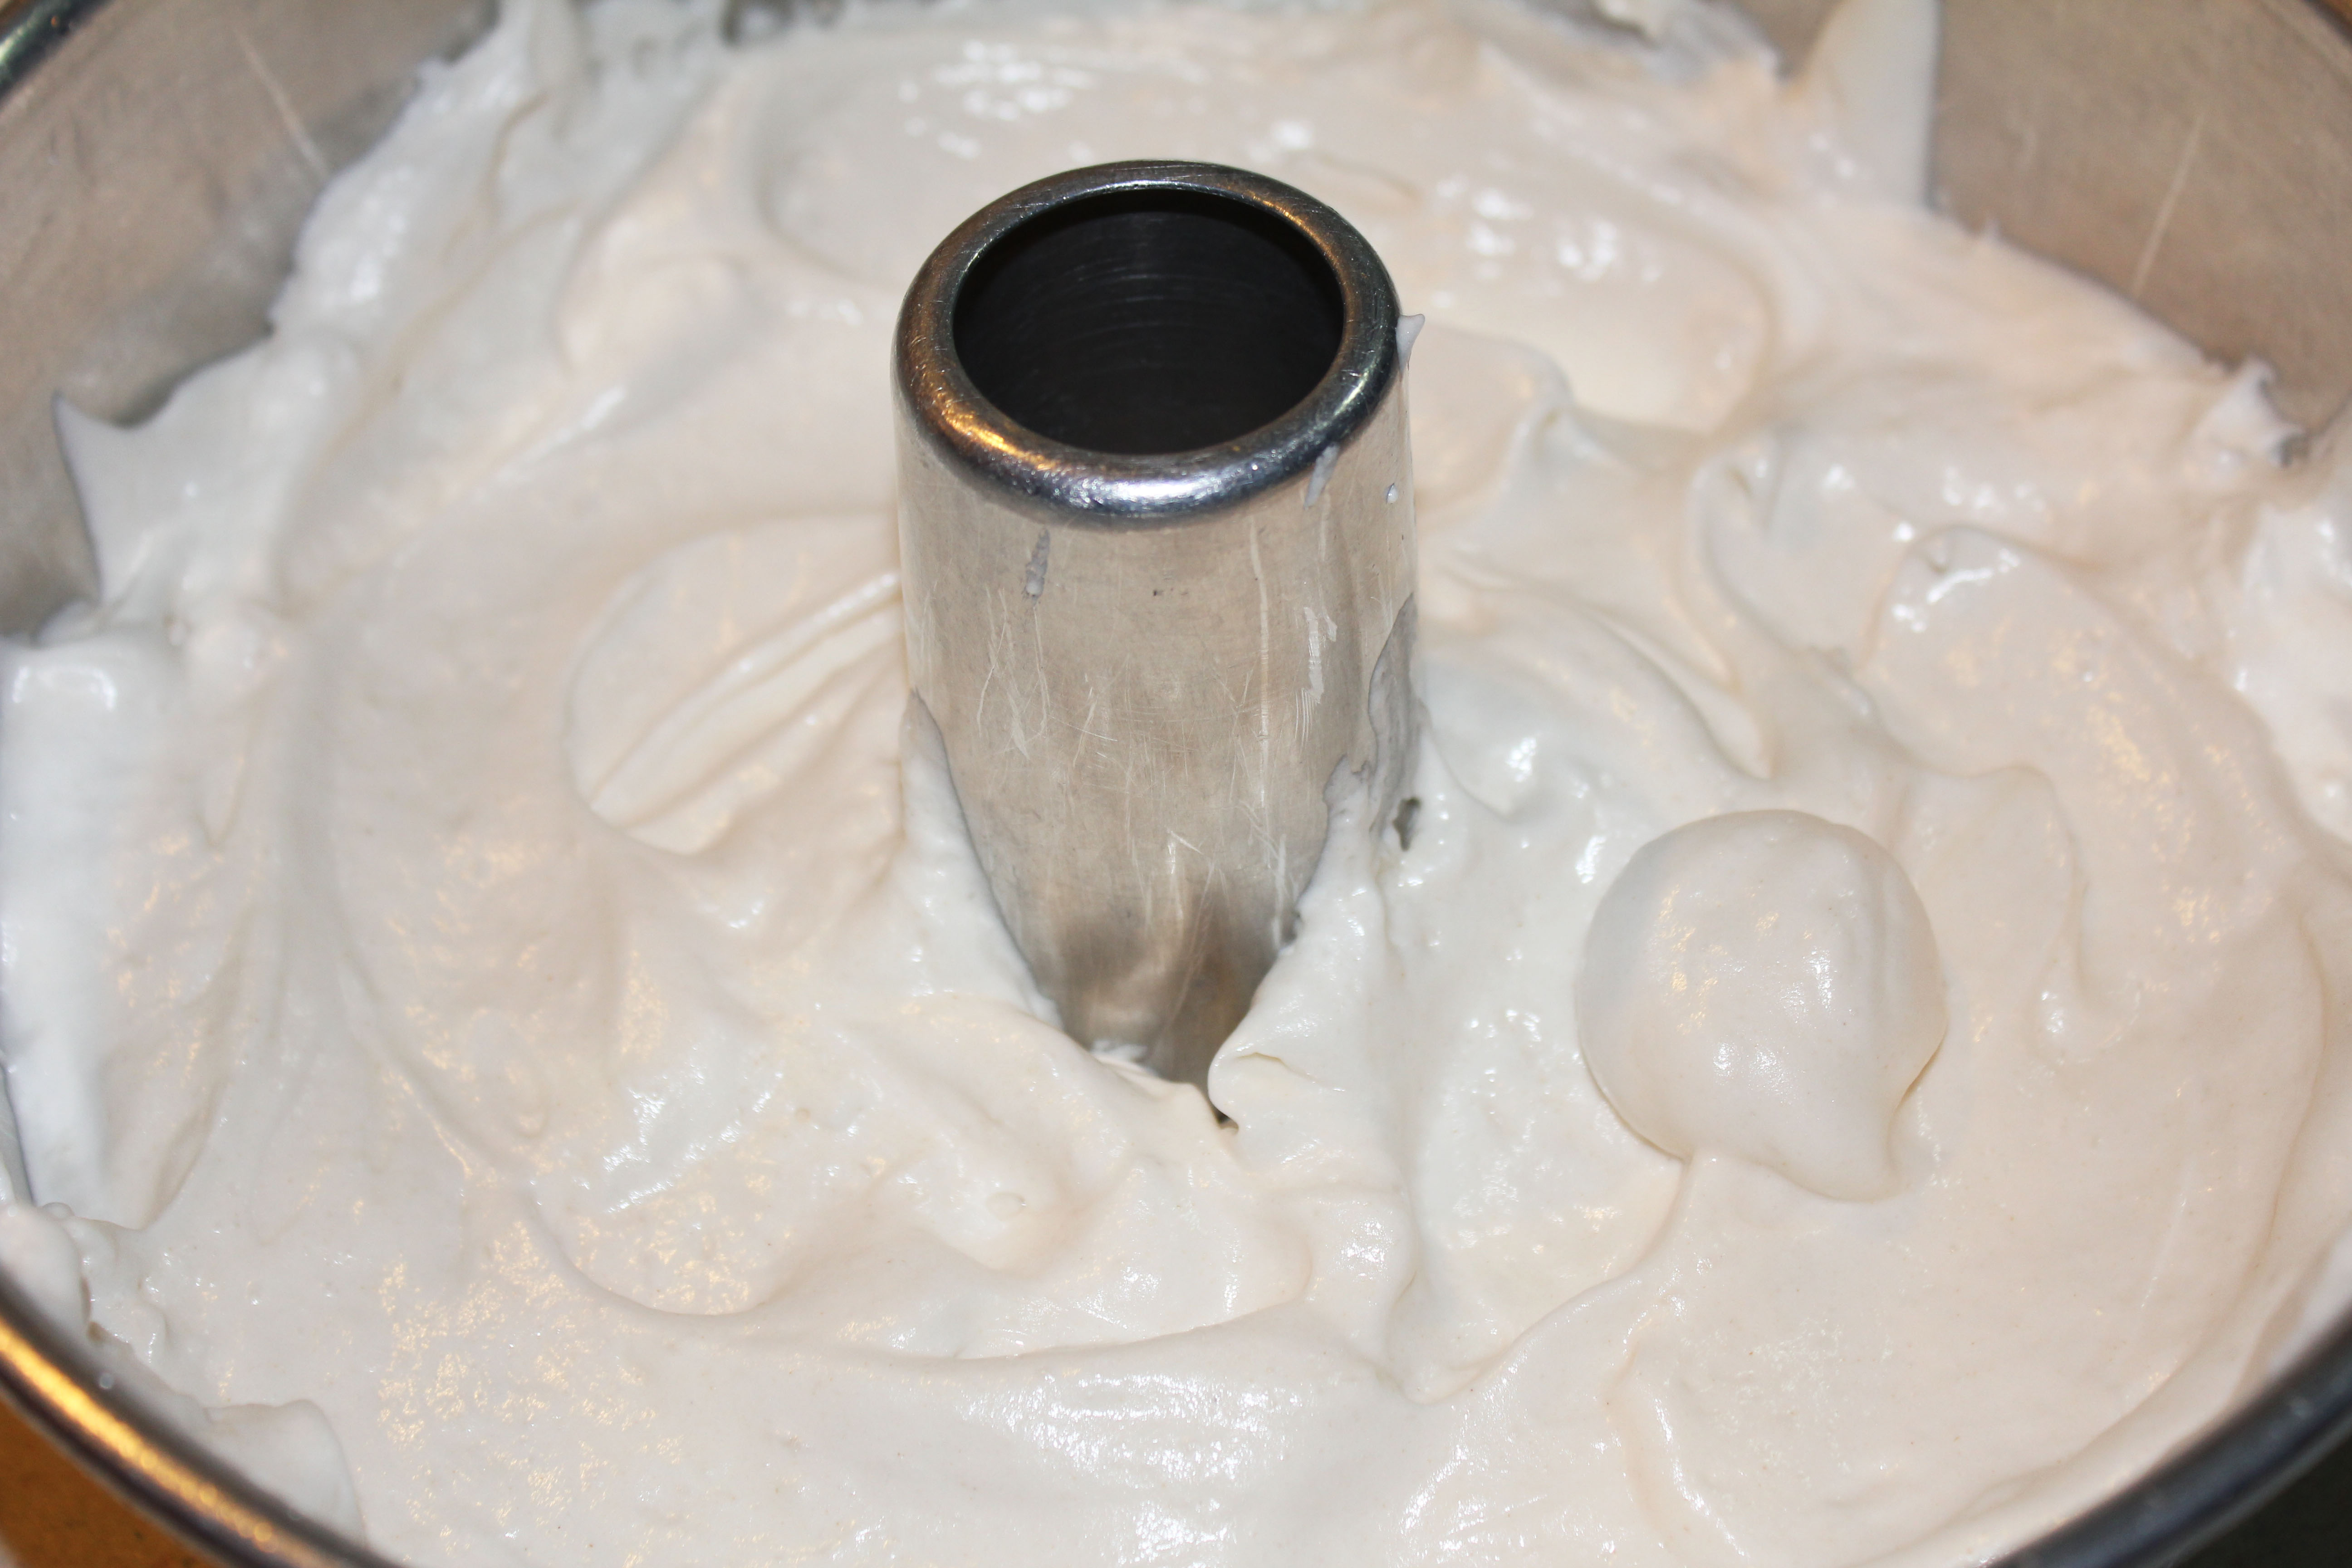
Spoon into a tube pan.
And bake in 350 degree preheated oven.

Remove when golden brown and cool completely.

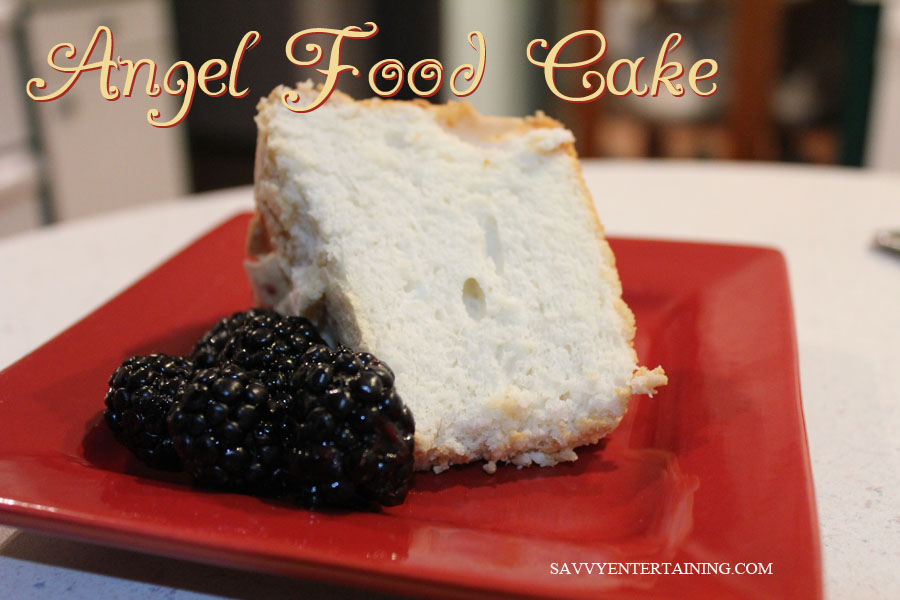
Run a knife around inside of pan to loosen edges then insert onto a serving platter or cake plate.

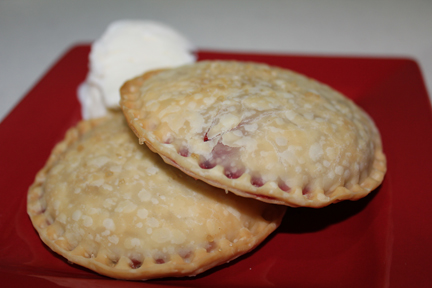
Yum! Don’t you just want a piece right now?
Angel Food Cake
1 1/2 cups egg whites (about nine eggs)
1 1/2 cups sifted powder sugar
1 cup sifted flour
2 tsp cream of tartar
1 teaspoon vanilla
1 cup sugar
Berries (optional)
Whipping Cream (optional)
Preheat oven to 350°.
Bring egg whites to room temperature.
Sift powdered sugar and flour together three times (Alternate the flour and sugar when putting it into the sifter. It makes sifting easier).
In large bowl beat egg whites, cream of tartar, and vanilla, with an electric mixer on medium speed until soft peaks form.
Gradually add sugar about 2 tablespoons at a time, beating until stiff peaks form.
Sift about 1/4 of the flour mixture over beaten egg mixture; fold in gently. Repeat folding in remaining flour mixture by fourths.
Pour into an ungreased 10-inch tube pan. Bake on lowest rack in oven for about 40 minutes or until top springs back when lightly touched.
Immediately invert pan and cool completely, about an hour.
Slide a knife around the side and center of the tube pan. Remove cake to a serving plate. Garnish with berries and whipping cream, if desired. Yield: approx. 8-10 servings.