 The other day, I decided I wanted an all new header for the blog.
I started playing around with some graphics.
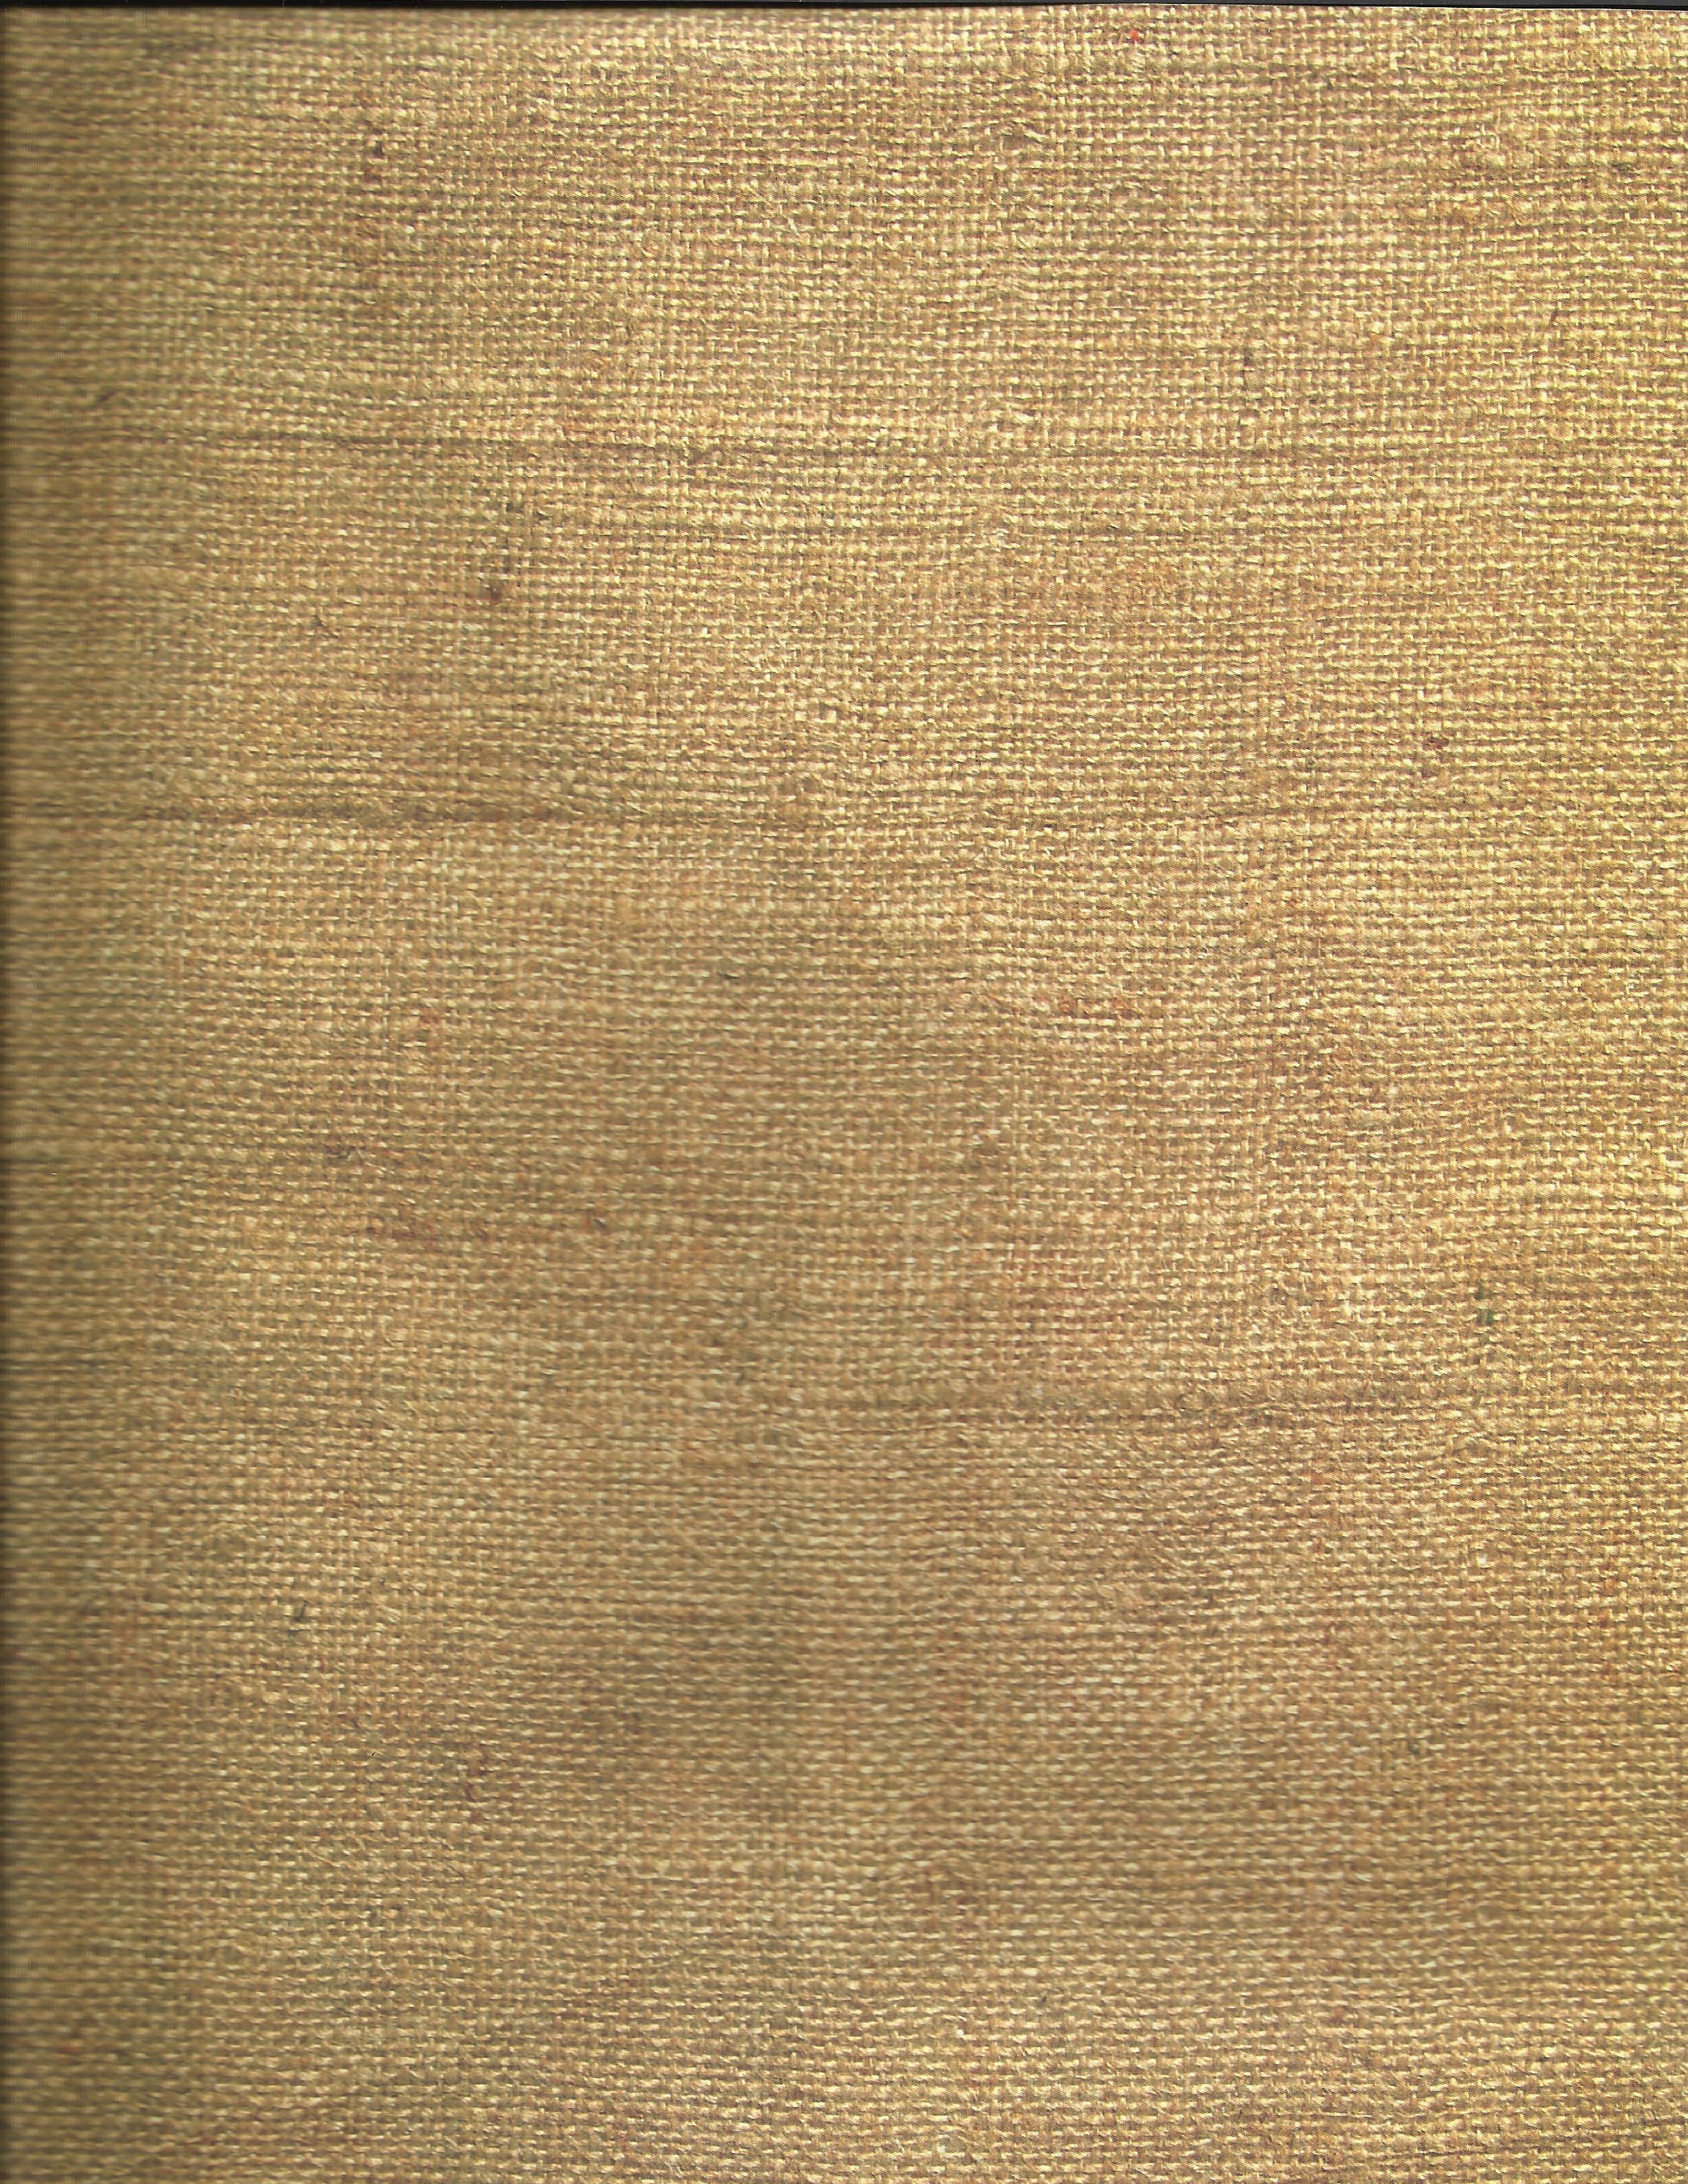
Like this burlap…
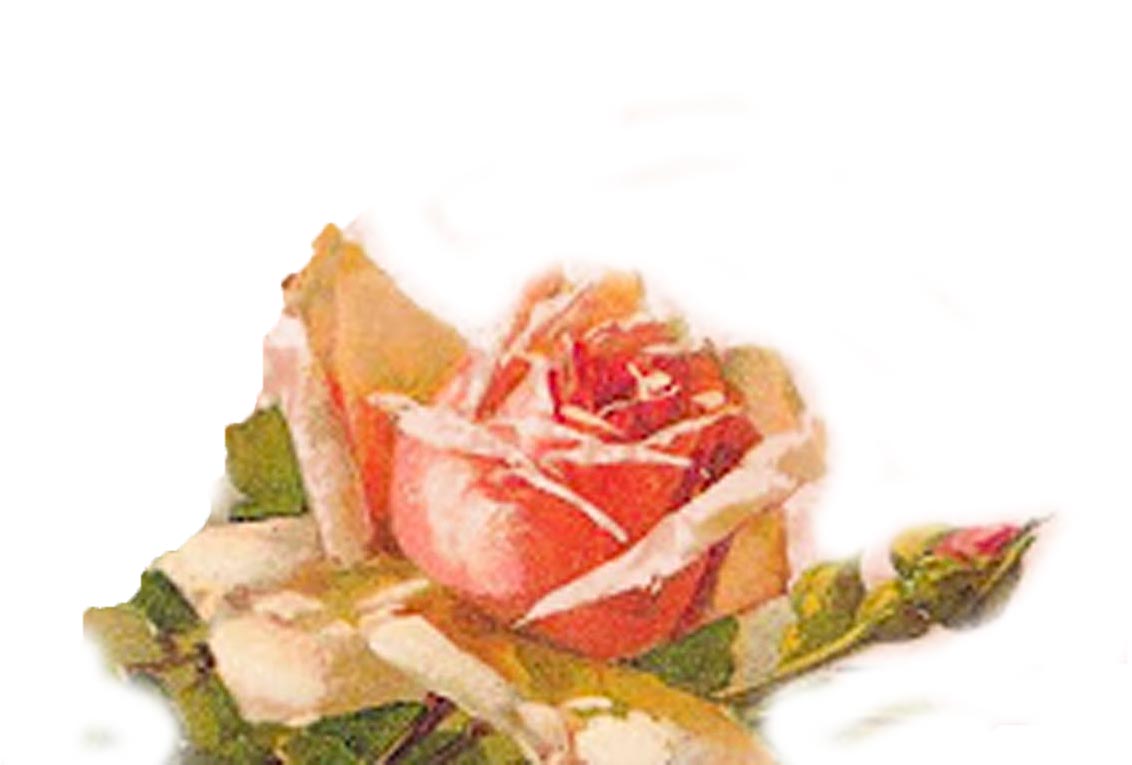

 and these roses.
What do you think of the new design?
The other day, I decided I wanted an all new header for the blog.
I started playing around with some graphics.
Like this burlap…
and these roses.
What do you think of the new design?
Posted in Home and Garden | Tagged burlap and roses, Graphic design, Savvy Entertianing, Shanna Hatfield | Leave a Comment »

As the grand finale for my Wish It Were Spring theme lunch, I went with Lemon Panna Cotta for dessert. That was a delicious decision. The smooth custard topped with the lemony curd and candied lemon peel created bursts of spring-time flavor with every bite.
It isn’t hard to make, but does take some time and planning ahead. I prepared everything the day before the gathering, because the Panna Cotta needs to sit for at least eight hours before serving.


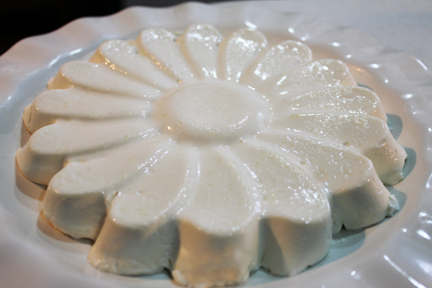 I used a silicone pan shaped like a daisy for my mold. Although it is non-stick, I gave it a shot of non-stick spray to make sure I could get it out of the mold when I was ready to serve. Isn’t it pretty?
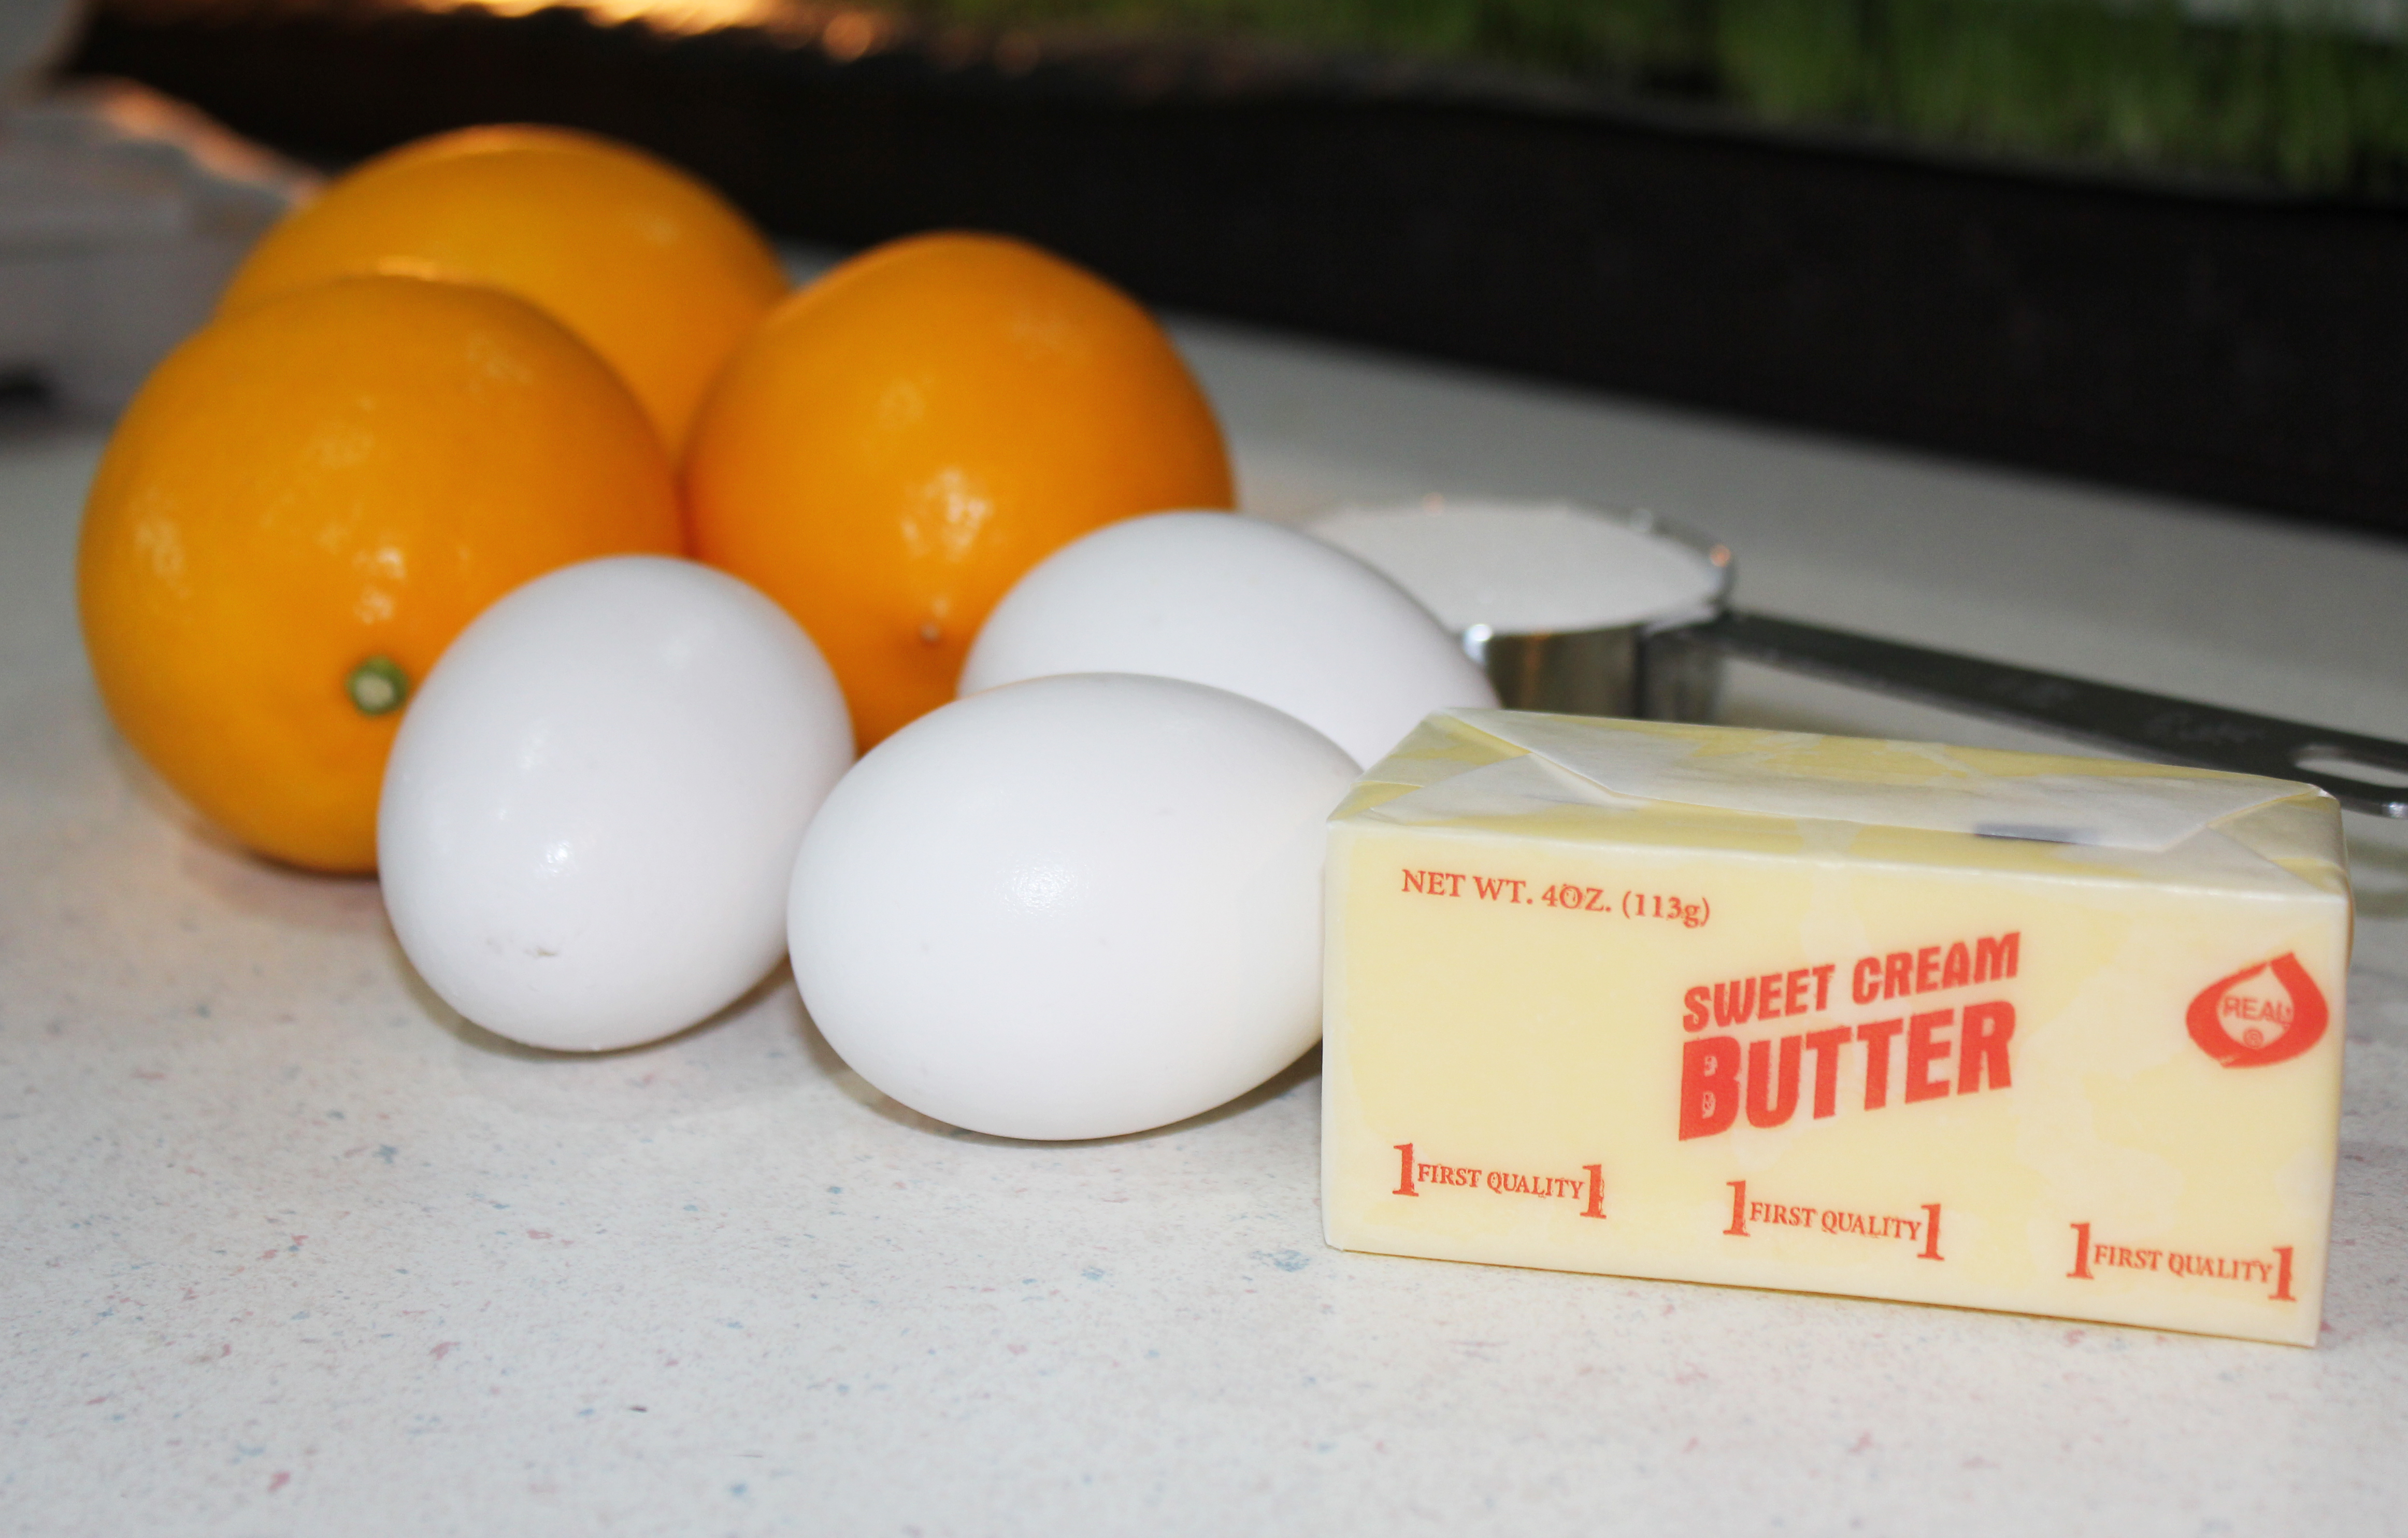
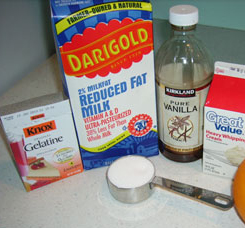
Next, make the lemon curd. Here are the ingredients.
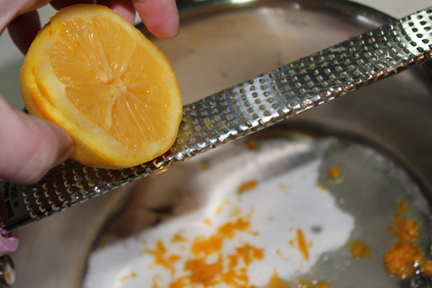
Zest half a lemon with a microplane. I’m lazy and did mine right in the pan.

Then squeeze the lemons until you get a quarter cup of juice.


Remove from heat and spoon into a bowl or jar, ready to top the Panna Cotta. Keep refrigerated until ready to use.

To make the candied lemon peel, I used the two lemons from the lemon curd and removed all pulp and pith (the white part).

Cut it into thin ribbons.

Then boil with a cup of cold water and drain. Repeat this step.
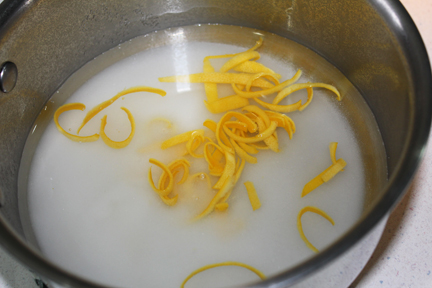
Add 1/2 cup of sugar and another cup of cold water to the peel and bring to a boil, stirring with a wooden spoon to dissolve sugar.

Continue simmering until lemon peel is soft and translucent – about 15 to 20 minutes. It is better to overcook than undercook because you want to cook out any bitterness left in the peel.

Dry on a paper towel.

Then dip into sugar, thoroughly coating.

Isn’t it pretty?
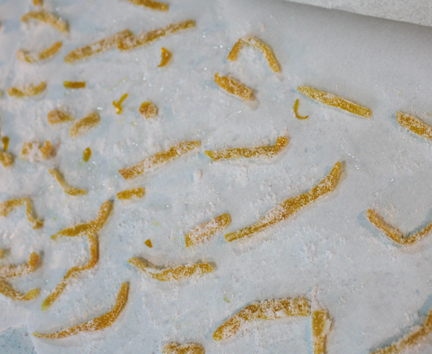
You’ll have a bunch of sugary squiggles of lemony goodness when you’re done. Place in a Ziploc bag or airtight container until you are ready to serve.
Vanilla Panna Cotta
A silky custard, made without egg…
1 3/4oz envelope unflavored gelatin
1 cup cold milk, divided
1 ¾ cups heavy cream
¼ cup granulated sugar
1½ tsp. vanilla extract
Sprinkle gelatin over ¼ cup milk in a small bowl. Stir until moistened. Let stand five minutes (it will be lumpy).
Cook heavy cream, granulated sugar and vanilla in a saucepan over medium-low heat, stirring occasionally for about four minutes or until sugar is dissolved. Remove from heat and add gelatin mixture, stirring until completely dissolved. Add in remaining ¾ cup milk. Stir in then pour mixture into six 4-ounce dessert glasses or wineglasses. Cover with plastic wrap and chill at least eight hours. If you have some forms that are easy to get treats out of, you can pour panna cotta into them. I would recommend silicone or something that is easy to work with.
Lemon Curd
2 Lemons
3 egg yolks
6 tbsp. sugar
1/4 cup butter
Roll lemons around on the counter to get the juice flowing. Slice in half and zest one half using a microplane.
Squeeze lemons until you have 1/4 cup of fresh lemon juice.
Cook egg yolks, lemon juice, eggs, sugar and butter in a heavy saucepan over medium heat, stirring constantly with a wooden spoon, until the mixture is thick. Spoon into a bowl or jar, cover tightly and refrigerate until ready to serve.
Candied Lemon Peel
2 Lemons
1/2 cup sugar plus 1 tbsp.
water
You need the peels off approximately two lemons. I used the same lemons from my lemon curd, so for this entire recipe, you would need two lemons. If you don’t want to use the ones you’ve squeezed into oblivion to render the juice, you can get two fresh lemons.
Take a knife and remove the pulp from the peel then carefully cut away all the white pith. This is the bitter part of the lemon and you want it all gone.
Slice the peel into thin ribbons and add to a saucepan with one cup of cold water. Bring to a boil, drain, and repeat.
After you have drained the lemon peel for the second time, add another cup of cold water and 1/2 cup sugar to the peels in the saucepan and bring to boil. Continue simmering until the peels are translucent and soft. (I let mine go about twenty minutes. It is better to overcook than undercook.)
Remove from heat and drain then let dry on a paper towel. When dry, dip each lemon ribbon in a small dish with sugar, coating thoroughly. Store in an air-tight container until ready to use. These are so, so yummy!
***
To serve the Lemon Panna Cotta, simply add a dollop of curd with a few pieces of Candied Lemon Peel to the Panna Cotta. If you made it in a big mold like I did, cut the Panna Cotta into individual servings before adding the lemon.
She Who Loves the Spring Flavor of Lemon
Posted in Desserts, Party Theme, Puddings and Custards, Recipes | Tagged Lemon Panna Cotta, Lemon Recipes, Panna Cotta, Savvy Entertaining, Shanna Hatfield, Spring Desserts, Spring Recipes | Leave a Comment »

Trying to think of an entree that went along with my Wish It Were Spring Theme, I liked the idea of something that looked like nests and eggs.
Pasta and meatballs immediately came to mind.
It would be easy to make, filling, and hopefully tasty!
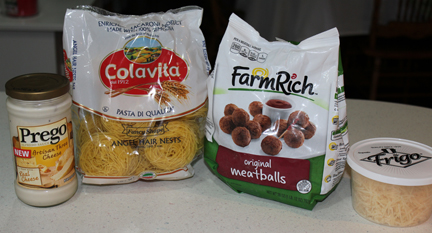
I found angel hair nests – pasta preformed into little nests! How fun is that?
Cook the meatballs according to package directions, as well as the pasta.

I will add a word of caution about not putting too many nests in the pot at once because it seemed to make them lose their cute little nest forms, which was the whole point of having them. (Sigh…)
 Since my nests were no loner nesting, I spooned the pasta onto plates, trying to make it look like a nest.
Then served it topped with Alfredo sauce, meatballs, and a sprinkling of Parmesan cheese. A bit of cilantro added a pop of green color.
She Who Needs To Practice with the Pasta Nests
Posted in Entertaining Ideas, Party Theme | Tagged Nest and Eggs, Pasta and Meatballs, Pasta Nests, Savvy Entertaining, Shanna Hatfield, Spring Party, Wish It Were Spring | Leave a Comment »
 I saw a photo on Facebook of bird bread a while back. I knew I had to give it a try at some point. When I decided to go with a Wish It Were Spring Theme for my book club gathering, it seemed like the perfect thing to make.
Of course, by then I could no longer find a link to the recipe or directions, so I decided to wing it (yes, pun intended).
It wasn’t hard to do but if you are looking for uniformity, that would so not be my name.
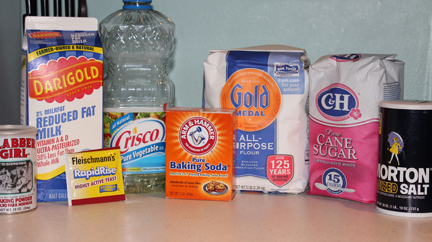
Ingredients. Plus you’ll need mini chocolate chips and slivered almonds.

Start by scalding milk with oil and sugar.

Once the milk mixture has cooled to lukewarm, you can add in a package of yeast.

Sprinkle yeast over the milk and let rest for a minute.

Stir in yeast and four cups of flour.

Place the pan in a warm area, cover with a tea towel and let the yeast do its thing for about an hour. I like to put my pan in front of the fire. It is warm and makes the dough smell heavenly.

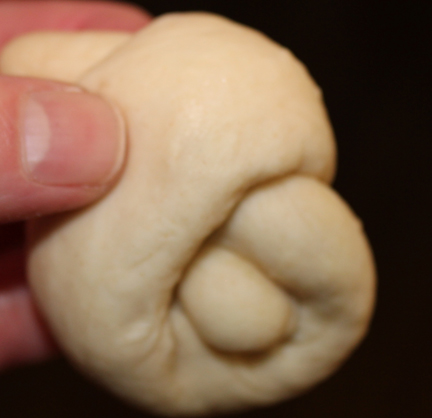
Punch the dough down again and start pinching off pieces about the size of a golf ball.
 You’ll have a couple dozen balls when you are finished.
 Then roll those balls into a long rope. I found about 12 inches worked well.
 You are basically going to tie a knot with the dough. Just fold one end under and one end over.
 It will look something like this when you get it pulled together. The end that is “over” is the head and the “under” end is the tail.
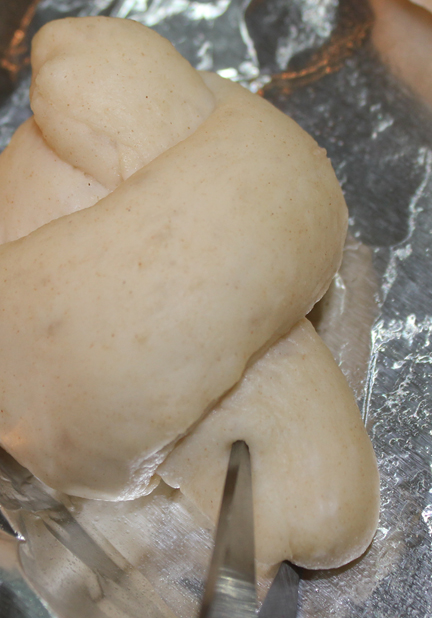 Take a pair of clean kitchen shears and cut little slices into the tail. This makes the feathers.
 See? How cute is that?
 Using slivered almonds for the beak
 Beaky…
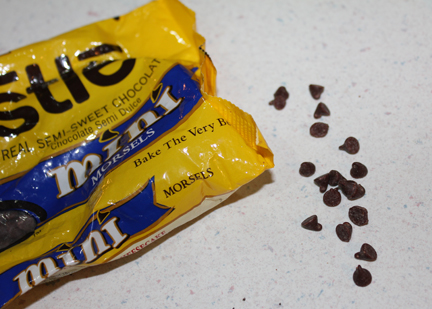 And mini chocolate chips for the eyes (you could use cloves, but chips sounded tastier to me!).
 And your birdy should look like this when you get done. Let the dough rest about ten minutes then bake at 350 degrees for about 12 minutes.
 And it looks all golden brown and lovely like this. Oh, and poke the chips so the narrow end goes into the dough instead of the flat end. It works much better!
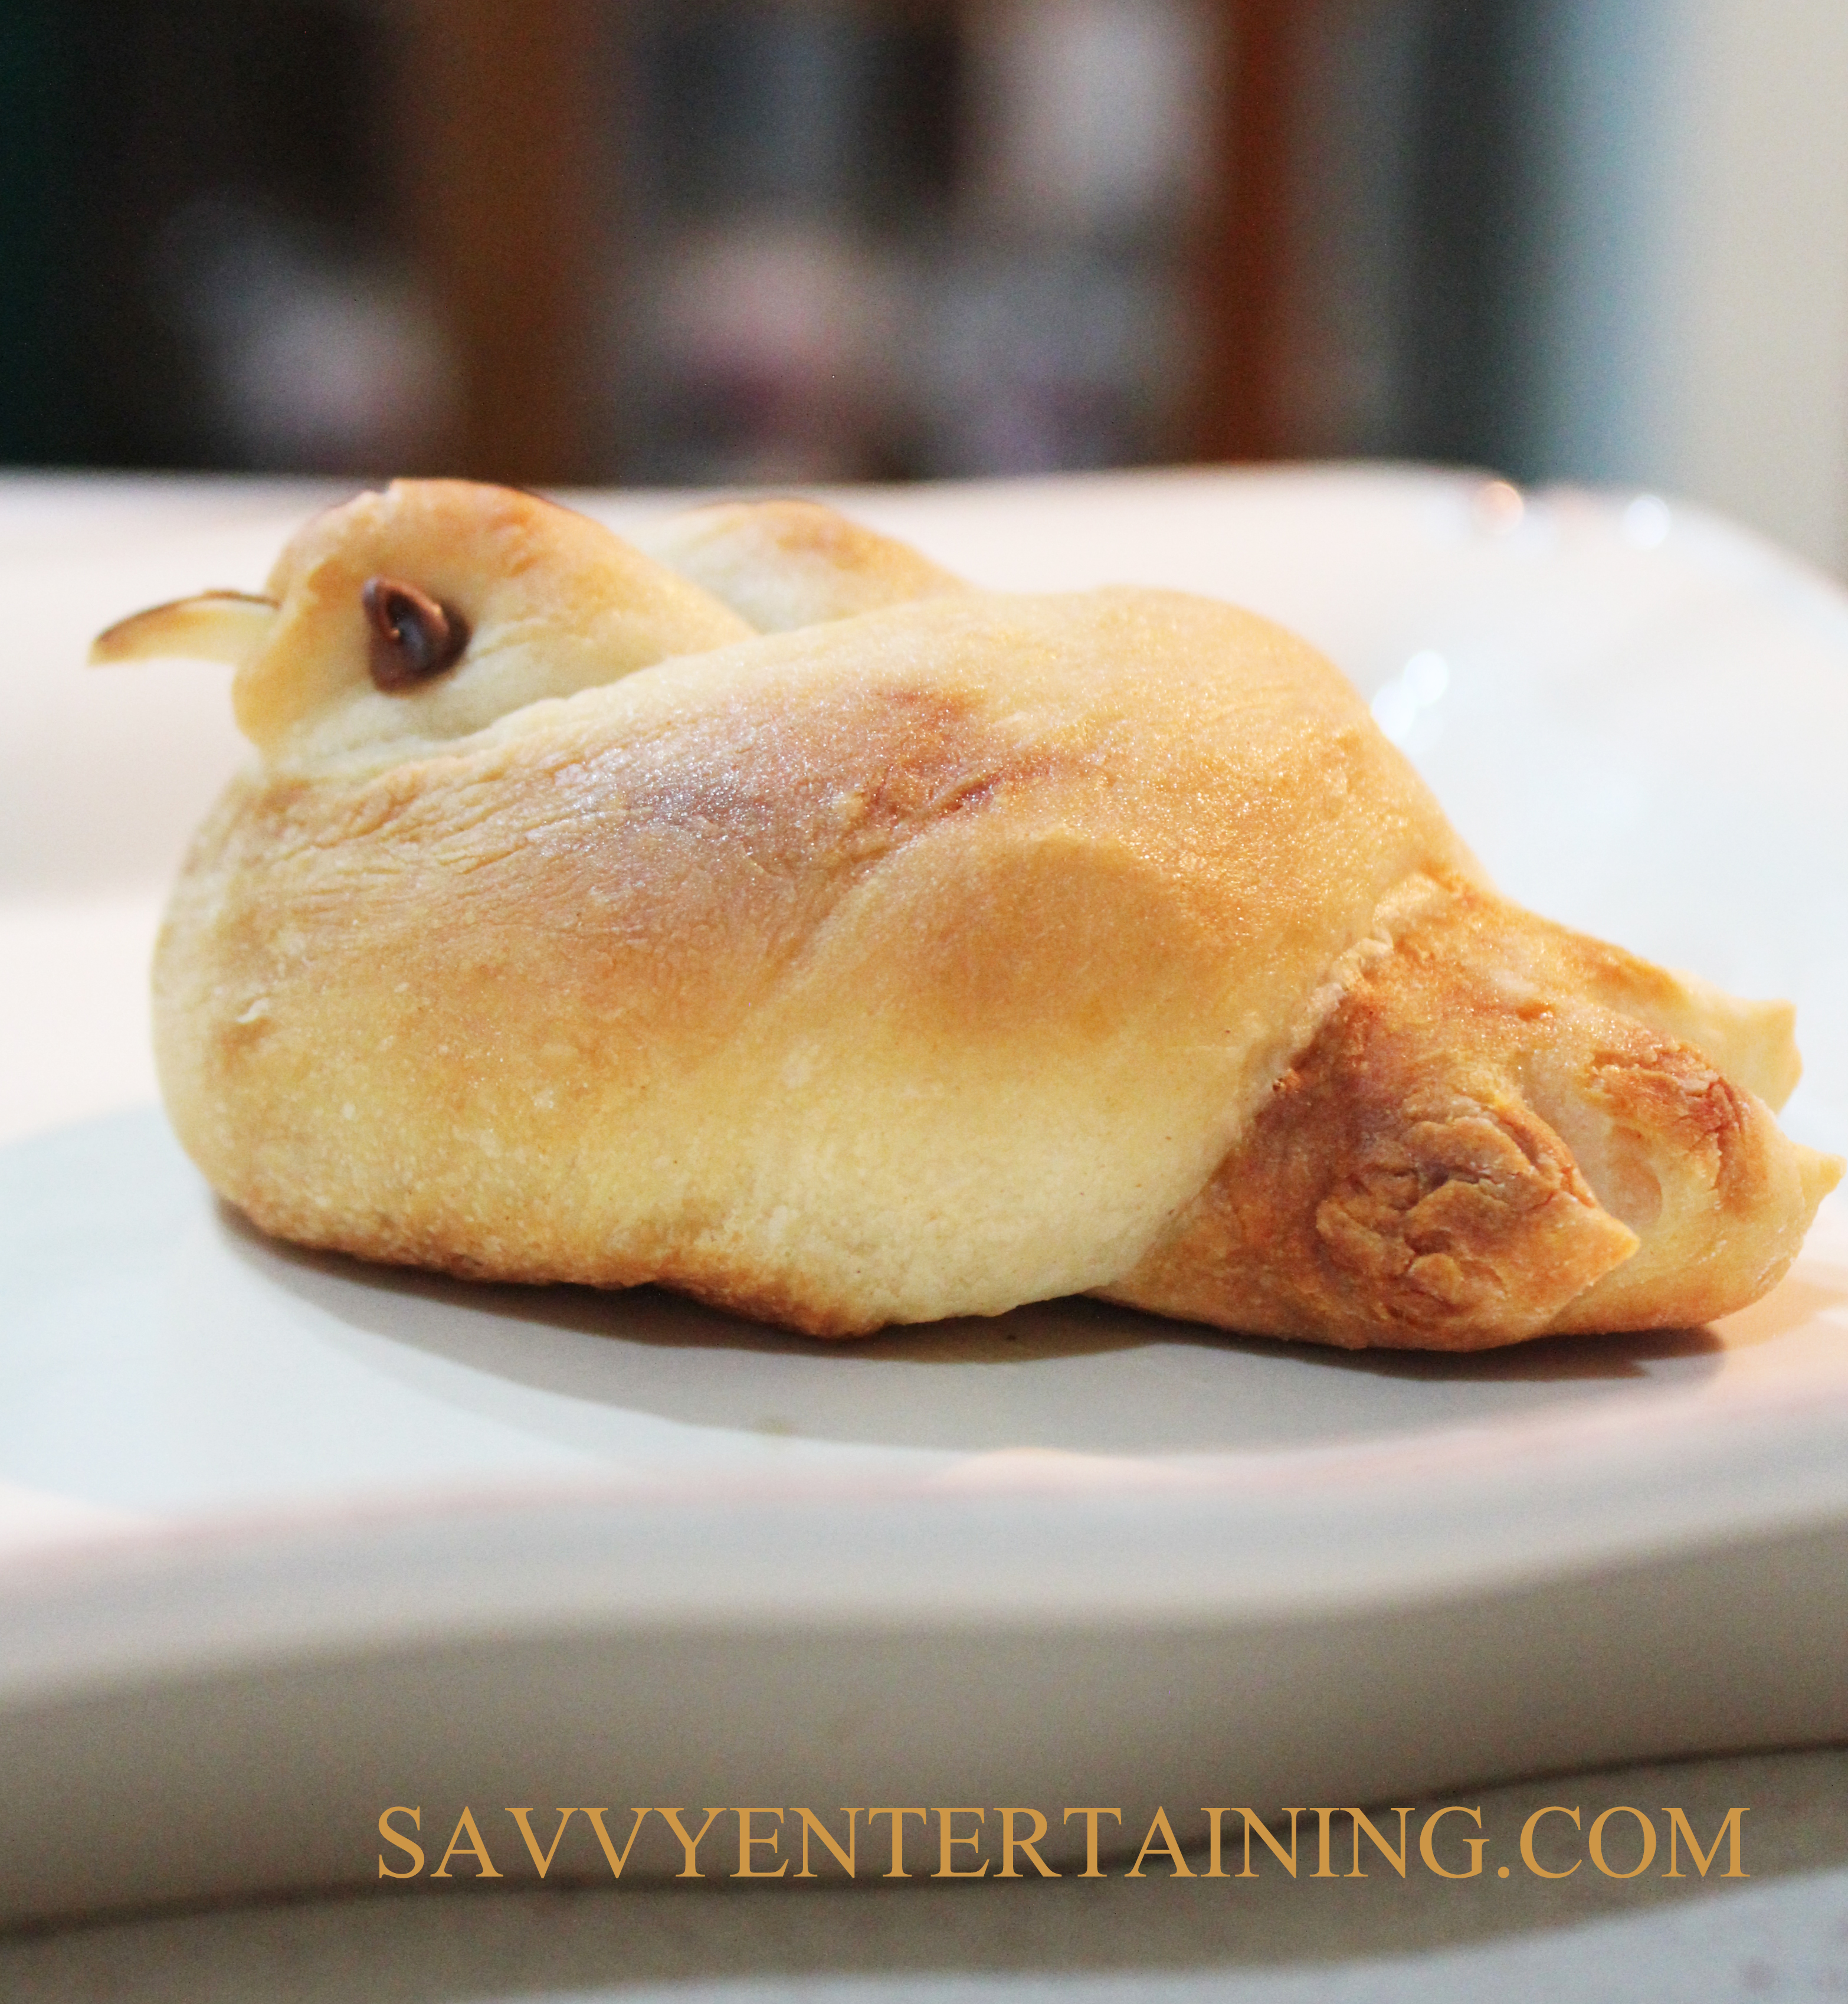 Tweet, tweet!
Bird Bread
2 cups milk
1/2 cup vegetable oil
1/4 cup sugar
1 package active dry yeast
4 1/2 cups flour
1/2 tsp. baking powder
1/3 tsp. baking soda
1/2 tbsp. salt
Scald the milk, oil and sugar in a medium saucepan over medium heat (bring heat to nearly a boil, but don’t let it boil!). Set aside and cool to lukewarm (think temperature of a baby’s bottle). Sprinkle yeast on top of milk and let rest for one minute.
Add four cups of the flour and stir until just combined. It is going to be sticky. Cover with a tea towel and set in a warm place for an hour.
Remove the towel and add baking powder, baking soda, salt and final 1/2 cup of flour. Stir to combine.
Pinch off golf ball sized pieces of dough and roll into ropes about 12 inches long. Fold each rope into a knot (just like tying your shoe) with one end up and one end down. The up end will be the bird’s head, the down end will be it’s tail.
Place on a baking sheet.
Using a clean pair of kitchen shears, cut feathers into the tails. I made about four half-inch slices.
For the beaks, poke a slivered almond into the head where it looks like beak should go. Add mini chocolate chips (pointy-end facing the dough) for eyes.
Let the dough rest for about ten minutes (preheat oven to 350), then bake for about 12 minutes, until the bread is golden brown.
You can’t help but smile with one of these little birds on your dinner plate!
She Who Loved These Little Birds
Posted in bread, Entertaining Ideas, Party Theme, Recipes | Tagged Animal Shape Food, Bird Bread, Savvy Entertaining, Shanna Hatfield, Spring Recipes | 1 Comment »

