If you’re looking for an easy to make dinner recipe, this one is really simple.
You can use leftovers to mix this casserole in a snap and serve a piping hot, tasty meal in no time with minimum fuss!
Captain Cavedweller likes this one, as long as I use mixed veggies without the green beans. (Talk about picky eaters… we have two at our house!).

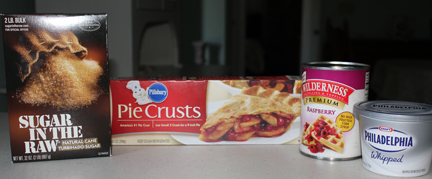
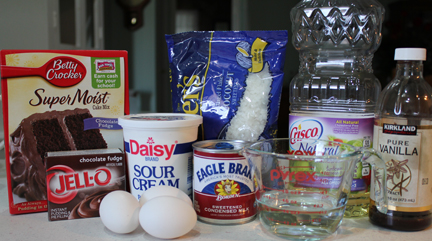
Ingredients – the unknown substance in the bowl is chicken stock that I had in the freezer and had not yet thawed.
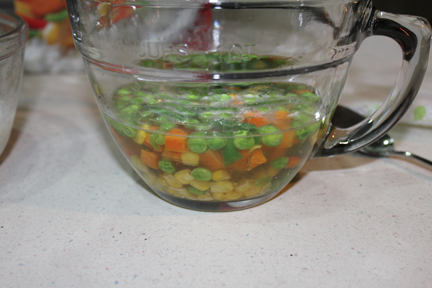
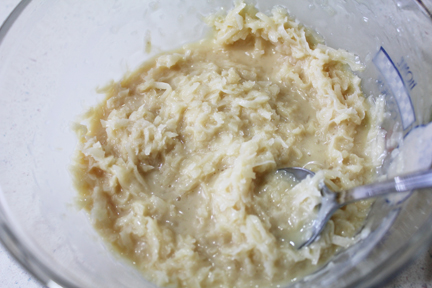
Cook your veggies in the chicken stock for about two minutes in the microwave. Just to get them hot and start the cooking process. You can either add in the minute rice and cook with the veggies (using the stock instead of water) or use left-over rice. Either works fine, although the chicken stock gives the rice a nice flavor.

Mix in a can of cream of mushroom soup. You could also use cream of celery or cream of chicken.
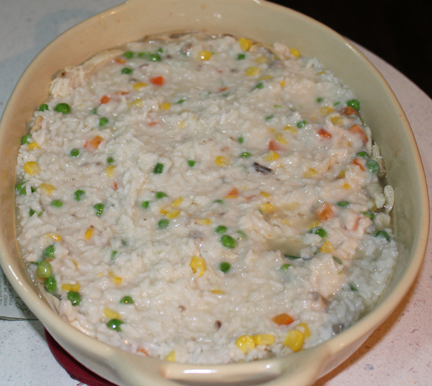
Layer pre-cooked chicken into a casserole pan (sprayed with non-stick spray – the pan, not the chicken). I cut the chicken into bite-size pieces before layering in the pan. Top with veggie and rice mixture then cover in foil.

Bake about 20 minutes, until everything is bubbling and looks cooked. Remove from oven, sprinkle with cheese and return to oven for a few minutes until cheese melts. Serve and enjoy!
Cheesy Chicken and Rice Casserole
2 cups cooked chicken (cut into small pieces)
1 1/2 cups cooked rice
Small bag of frozen veggies
1 small can cream of mushroom soup
1 1/2 cups chicken stock
1 cup shredded Colby-Jack cheese
Preheat oven to 350 degrees.
Spray a casserole pan with non-stick cooking spray. Layer in chicken and set aside.
In a micro-wave safe bowl, cook veggies in chicken stock (or water) for about two minutes. You can also add your minute rice and cook with the veggies and chicken stock if you don’t have left-over rice to use.
If you aren’t cooking the rice in the stock, drain excess off veggies before mixing with rice and soup.
Otherwise, mix in the soup then spread over the chicken.
Cover the pan with foil and back about 15-20 minutes, until everything is hot and bubbling. Remove from oven and sprinkle with cheese. Return to oven (uncovered) and bake about five minutes, until cheese is a melted pool of gooey deliciousness.
Serve and enjoy your one-dish meal.
She Who Needs to Pick Out the Green Beans Next Time