I needed to make dessert for our monthly book club meeting and wanted something that had a taste of fall, could be easily transported, and tasted yummy.
So I decided to make my own version of Apple Pie Bites.
These scrumptious little tidbits use the same crust I make for Pecan Tassies with an apple pie filling and crumb topping.
They do take a little time to make, but nothing in the process is difficult.
And the effort is definitely worth it!

The cast of characters

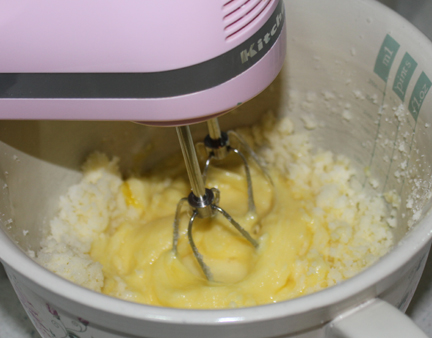
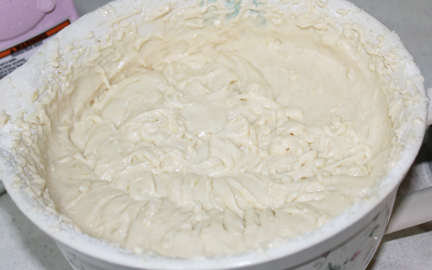
Start by making the crust, because it needs to chill. Combine cream cheese, butter and flour until it forms into a ball then chill for an hour (or overnight. If you’re in a huge hurry 30 minutes in the freezer).

Make the crumb topping next by mixing softened butter, cinnamon, brown sugar, flour and oatmeal until crumbly. Set aside.

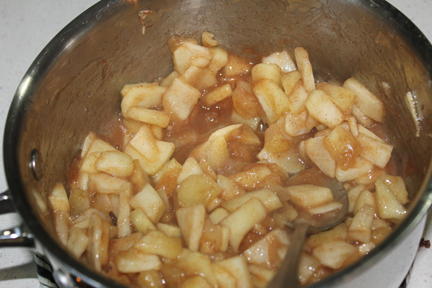
While the dough is chillin’ in the fridge, peel, core and slice your apples into small pieces.

Add cinnamon, flour and sugar to the apples and cook over medium heat in a heavy saucepan.

It took about ten minutes for the apples to soften and the mixture to get that caramel look.

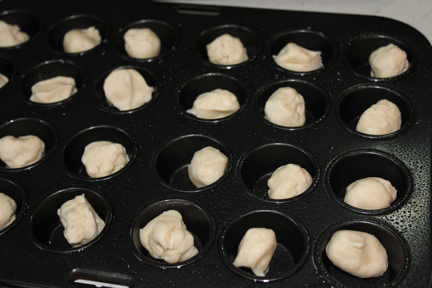
While the apples are cooking, you can start filling your mini-muffin cups with the chilled dough. Shape dough into balls about the size of walnuts.

Use a tart tamper to press the dough into the cups.

So they look like this when your done.

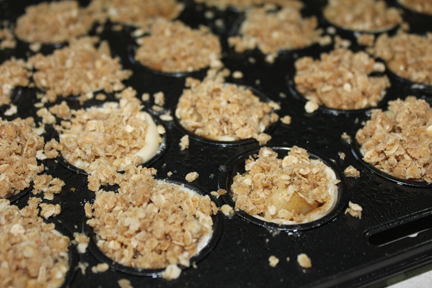
Using a teaspoon, spoon apple filling into cups.

It takes just about a teaspoon to fill one.

Then sprinkle on crumb topping. I pressed it down just a little into the cups so it stayed where I wanted it.

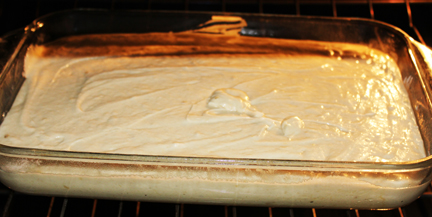
Bake in 350 oven for about 12 minutes, until filling bubbles and crumbly topping looks brown.

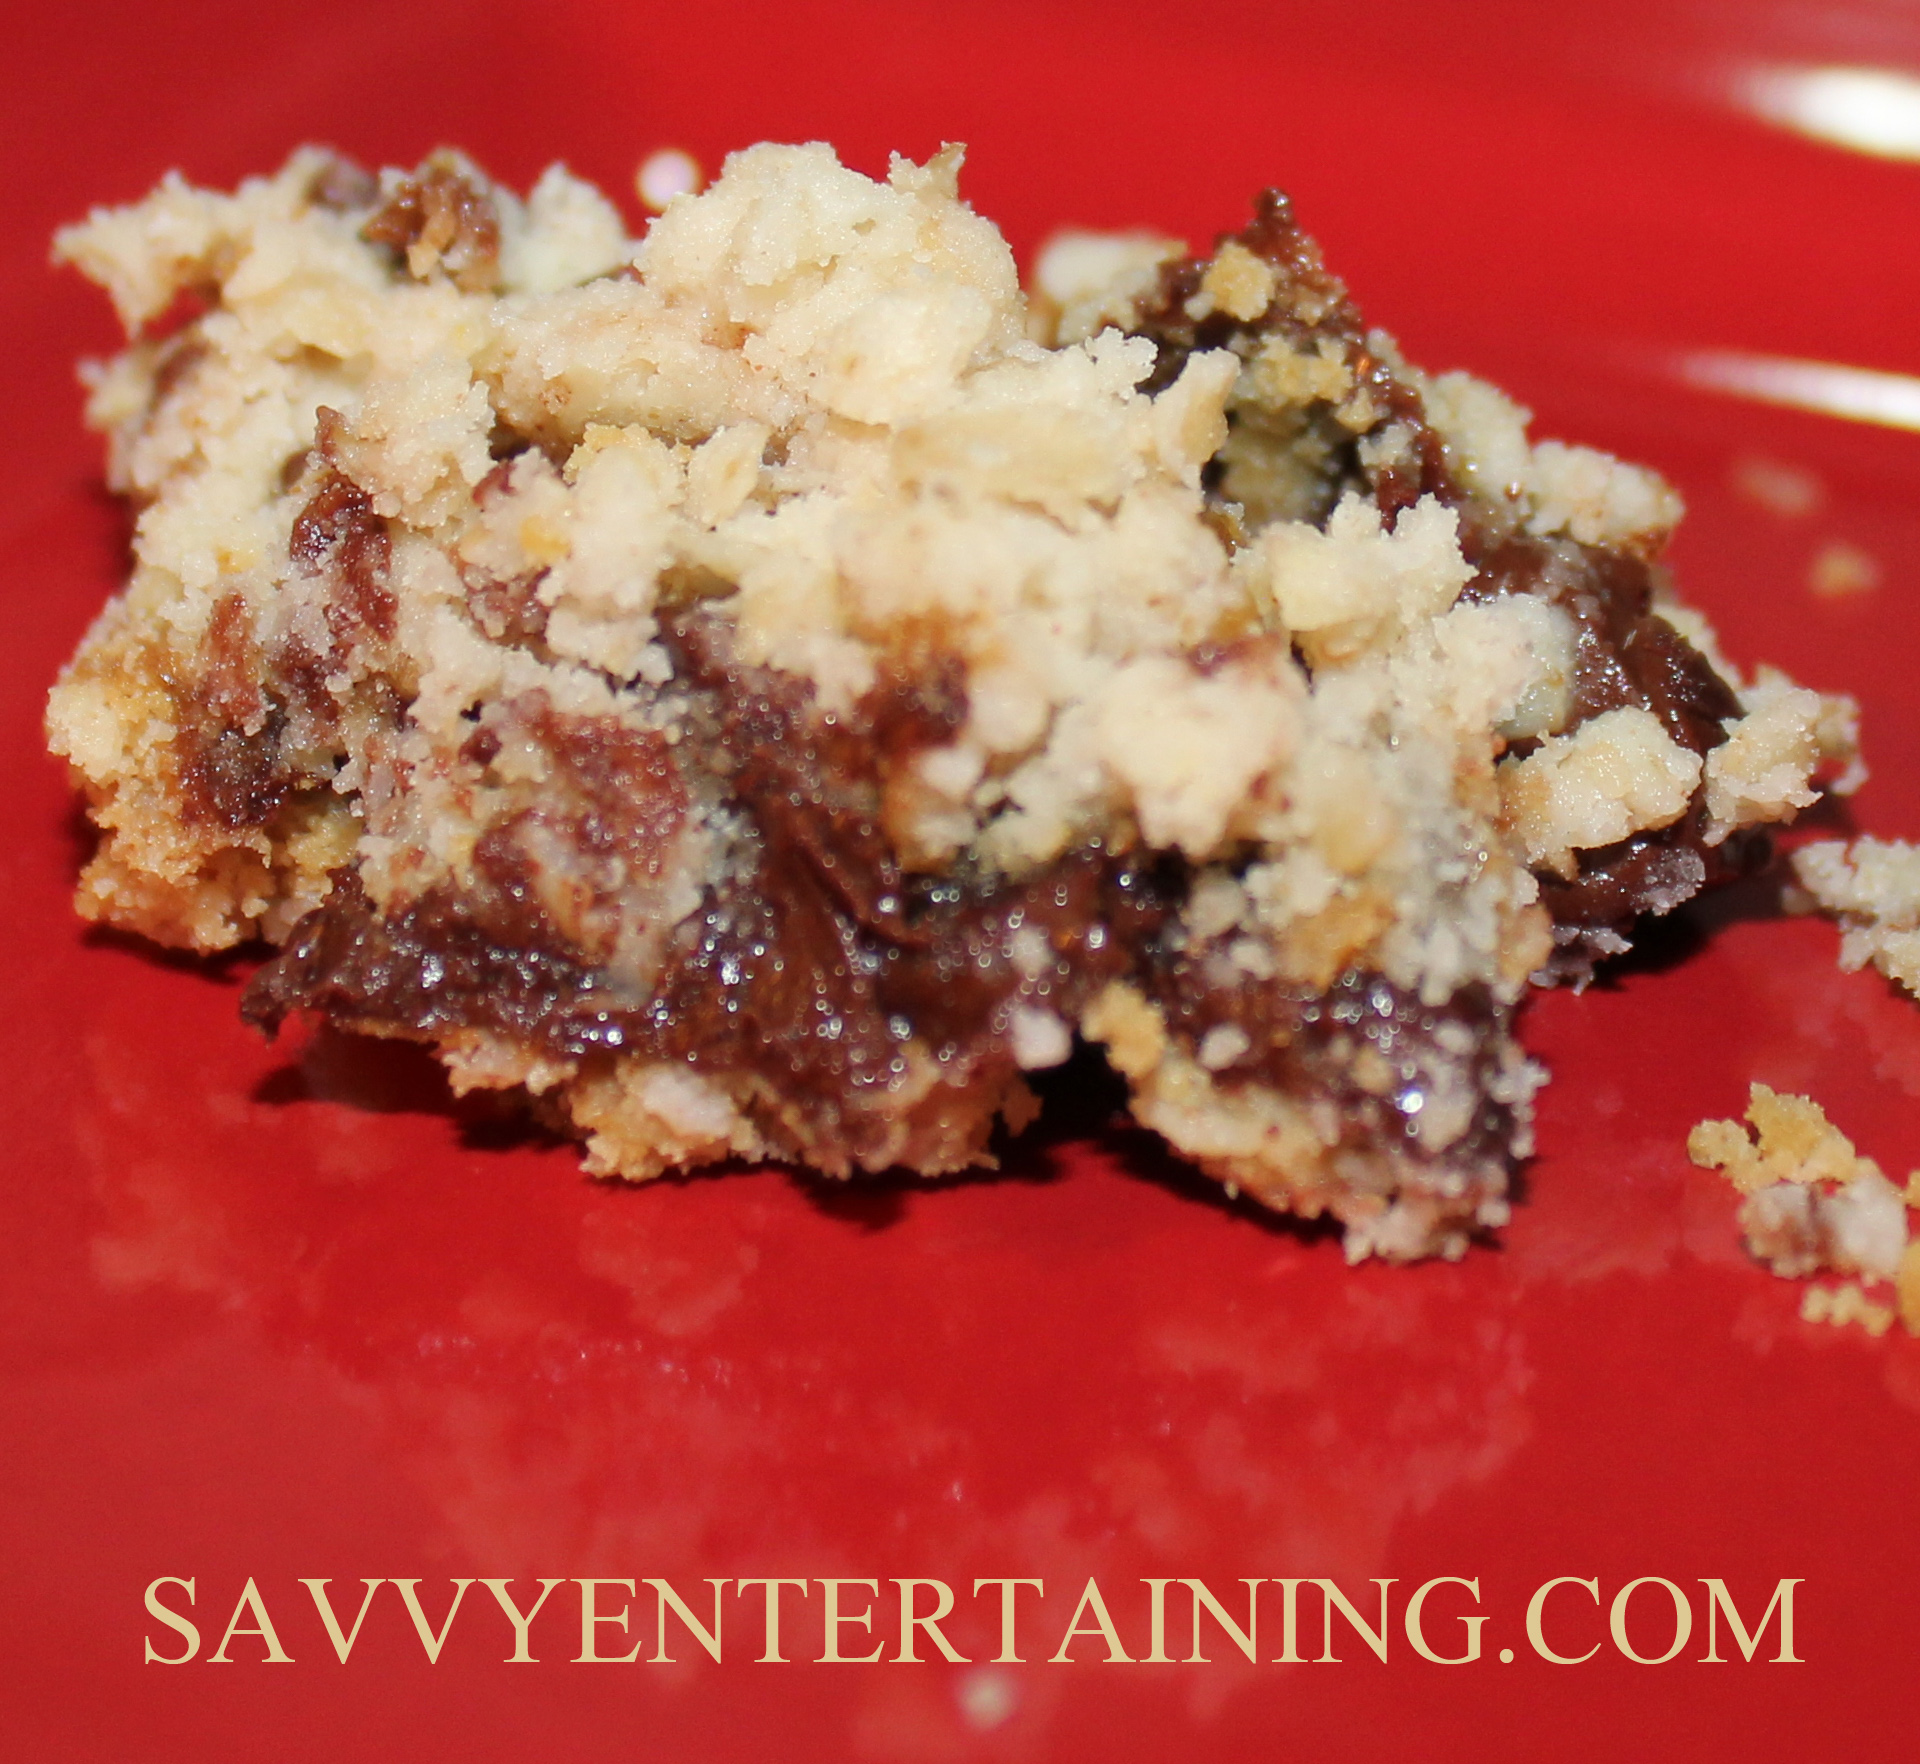
Drizzle with caramel sauce and devour!
Apple Pie Bites
Crust
1/2 cup butter
1 8 oz. pkg. cream cheese
1 cup flour
Filling
3 large Granny Smith apples
1 tbsp. cinnamon
1/3 cup flour
2/3 cup sugar
Topping
1/3 cup butter
1 tsp. cinnamon
1/2 cup flour
3/4 cup quick oats
dash of salt
Caramel Sauce (optional)
Preheat oven to 350 degrees.
Crust: Soften butter and cream cheese. Combine until smooth then add in flour. Continue mixing until it forms a ball. Cover with plastic wrap and set in fridge for an hour or overnight (you can also stick it in the freezer for about 30 minutes if you are pressed for time but it works better in the fridge).
Topping: Soften butter then mix with cinnamon, dash of salt, flour and oats. Stir until crumbly. Set aside.
Filling: Peel, core and slice apples into small pieces. In a heavy saucepan, stir apples with cinnamon, sugar and flour and well coated. Cook over medium heat until apples soften and the filling looks a little like caramel. As it thickens, you’ll need to stir it more frequently. The reason for precooking the apples is because the crust cooks really fast and if you put the apples into the cups uncooked, they’ll still be crunchy when the crust is long past done.
To assemble, coat mini muffin-cups with non-stick cooking spray. Remove crust from fridge and form into balls about the size of a small walnut. Use a tart tamper (coated in flour) to push the crust into the bottom and up the sides of each cup. Fill each cup with about a teaspoon of the apple filling then top with the crumb topping, pressing it down gently.
Bake for about 12 minutes until the tops are brown and juice is bubbling. Remove and serve immediately or refrigerate until ready to use. You can also freeze these.
I served mine warm with a little caramel sauce over the top. You could also add a dollop of whipping cream or a scoop of ice cream (like dulce de leche).
She Who Loves Fall Desserts
Read Full Post »